The best cleaning solutions for vinyl siding really depend on what you're trying to remove. For everyday dirt and that yellow film of pollen, a simple mix of mild soap and water usually does the trick. But if you're seeing green or black stuff, a 70/30 solution of water and white vinegar is a fantastic starting point for tackling algae and mildew. The secret is to match your cleaner to the specific stain—that’s how you get great results without harming your siding.
Why the Right Vinyl Siding Cleaner Is Crucial
Your home’s vinyl siding is tough, but it’s constantly exposed to the elements, and that means dirt, grime, and other gunk will eventually build up. It's tempting to just grab any old cleaner from the store, but that’s a rookie mistake that can leave you with streaky, unimpressive results. The reality is, different types of grime need different cleaning agents. Figuring out exactly what you're dealing with is the first, most important step to making your home look new again.

Think about your home's specific situation. Is there a wall on the north side that never gets much sun? That’s a perfect spot for green algae to take hold. If you live somewhere humid, you might be fighting a constant battle with stubborn black mold. These aren't just dirt; they're living organisms that a basic soap-and-water scrub won't kill off. You need a more targeted game plan.
Diagnosing Your Siding's Needs
Before mixing up any cleaners, you have to play detective. Walk around your house and take a good, hard look at the siding to identify what you’re up against.
- Green or Black Streaks: This is almost certainly algae, mold, or mildew. Since they're alive, you need a solution that actually kills them, not just rinses them off the surface. For a deep dive on this, check out our guide on how to clean mold off vinyl siding for more detailed steps.
- Chalky or Dusty Film: This is usually oxidation—the natural breakdown of the siding's surface—mixed with pollen and plain old dust. A gentle, detergent-based cleaner is your best bet here.
- Red or Brown Stains: Often, this is rust runoff from nails, screws, or outdoor fixtures. It could also be tannins from wet leaves that have been sitting against the house for too long.
This idea of using a specific cleaner for a specific problem isn't unique to siding. The same logic applies when caring for diverse vinyl surfaces, where the wrong chemical can cause permanent damage.
Your local environment is a huge factor. A house surrounded by big oak trees is going to have issues with pollen and sap, while a home out in a sunny, open field will face different challenges. You have to adapt your cleaning strategy to your surroundings to keep your siding looking good for years.
At the end of the day, vinyl siding is great because it isn't very porous. This means everything from a mild detergent to a more specialized formula for algae can work wonders. A good cleaning once a year is usually enough to prevent the kind of buildup that leads to permanent stains or damage. Choosing the right cleaner isn't just about making your house look nice—it's about protecting your investment.
Choosing a Commercial Vinyl Siding Cleaner
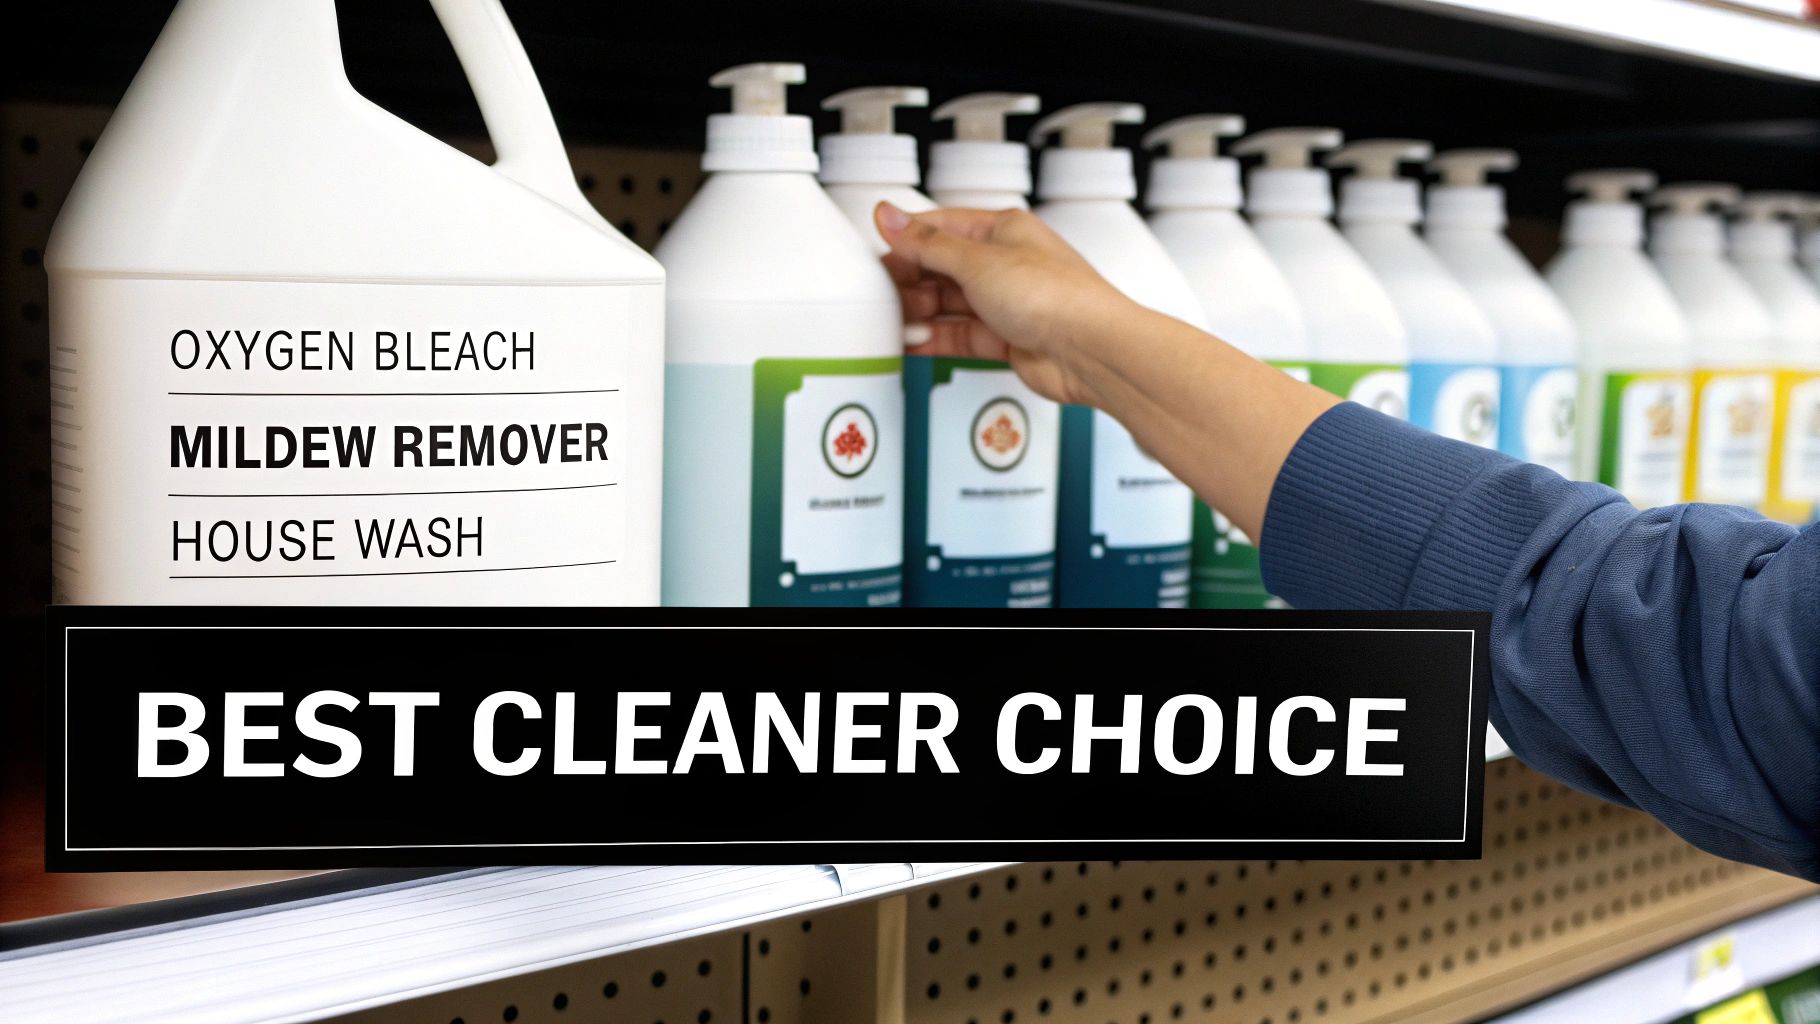
Walking down the cleaning aisle at a hardware store can feel a little overwhelming. You're faced with a wall of cleaning solutions for vinyl siding, and it's tough to know which one will actually work without damaging your home's exterior. The secret is matching the product's active ingredients to the specific type of grime you're trying to remove.
It's also worth noting that siding itself is changing. Many manufacturers are incorporating recycled PVC to make their products more sustainable. As a result, cleaning formulas are also shifting toward more eco-friendly, biodegradable options that are tough on dirt but gentle on modern siding materials.
General-Purpose House Washes
For that yearly spring cleaning, a general-purpose house wash is usually your best bet. These are your everyday workhorses, designed to cut through light layers of dirt, dust, and pollen without being too aggressive.
Think of it like washing a slightly dusty car—you’d reach for a basic car soap, not an engine degreaser. It’s the same idea here. These detergent-based cleaners are perfect for routine maintenance, lifting away the grime that builds up over the seasons.
Mold and Mildew Removers
Got a wall that never seems to see the sun? If it’s covered in green algae or black mildew, a general cleaner won't be enough. Those stubborn growths have put down roots and require a specialized formula to kill them off.
You'll need to look for a product specifically labeled as a "mold and mildew remover." These cleaners usually contain ingredients like sodium hypochlorite that are formulated to eliminate the organic growth at its source, which helps stop it from coming right back.
Always test a mold and mildew remover on a small, hidden spot first. While effective, these stronger solutions need to be handled carefully to protect your siding's color and the surrounding landscaping.
Oxygen Bleach Cleaners
If you want something with more punch than a general cleaner but you're wary of using traditional chlorine bleach, oxygen bleach is an excellent alternative. Brands like OxiClean use sodium percarbonate, which breaks down into harmless oxygen, water, and soda ash.
This type of cleaner is fantastic for brightening dingy siding and lifting tough organic stains. It does the job without the harsh fumes or the risk to your plants and pets that comes with chlorine bleach. It's the perfect middle ground—stronger than a general wash but gentler than aggressive mold killers. While the context is different, resources like Your Guide to Marine Vinyl Cleaner and Restoration offer great insights into caring for vinyl surfaces in general.
Mixing Your Own Effective DIY Siding Cleaners
If you're the type who likes to roll up your sleeves, you can whip up some fantastic vinyl siding cleaners right at home. It’s a great way to save some money, and you probably already have everything you need under your sink. The trick is just knowing what to mix together to get the job done right.
Most homemade solutions rely on a couple of simple, powerhouse ingredients. The most common and versatile recipe by far is a mix of plain old water and white vinegar. It’s a classic for a reason.
The Go-To Water and Vinegar Mix
For tackling the everyday dirt, dust, and light grime that builds up over a season, you can't beat a simple water and vinegar solution. The vinegar has just enough mild acidity to cut through the beginnings of mold and mildew—that faint green or black stuff you see—while easily lifting off pollen and dirt.
A good starting point is a 70/30 ratio of water to white vinegar. This blend is gentle enough that you don't have to worry about your siding, but it still packs enough punch to handle that greenish haze that loves to creep up on the shaded side of the house.
Quick tip: Always mix your cleaners in a clean bucket or a garden sprayer. And a crucial safety note—never, ever mix different cleaners, especially bleach with anything containing ammonia. That combination creates seriously toxic fumes.
If you're dealing with something a little more stubborn, like greasy residue near a grill or just caked-on gunk, add a small squirt of mild dish soap. The soap helps the solution stick to the siding for a bit longer, giving it more time to break down the grime.
A Stronger Solution for Tougher Grime
Sometimes, vinegar just won't cut it. When you're up against years of buildup or deep, dark stains from mold and algae, you need to bring in the bigger guns. In this case, that means oxygen bleach.
Oxygen bleach (the main ingredient in products like OxiClean) is a fantastic, non-chlorine alternative. It's much safer for your siding, your prize-winning roses, and your pets.
Here’s a simple recipe that really works wonders:
- Start with one gallon of warm water.
- Add one cup of powdered oxygen bleach.
- Stir everything together until the powder is completely dissolved.
- For extra sticking power, add about a teaspoon of dish soap.
This mix is a game-changer for brightening up dull, discolored siding and knocking out those stubborn organic stains. While it’s powerful, it’s still way gentler than traditional chlorine bleach. These basic principles of using material-safe ingredients apply to other exteriors, too, much like when you learn how to clean aluminum siding.
A Quick Guide to DIY Cleaners
When you need a quick reference, it helps to have the recipes all in one place. Here are a few reliable mixes for whatever your siding throws at you.
| DIY Vinyl Siding Cleaner Recipes |
|---|
| A quick reference guide for mixing your own effective and safe cleaning solutions for vinyl siding based on the type of cleaning needed. |
| Cleaning Need | Water | Active Ingredient | Mixing Ratio | Best For |
|---|---|---|---|---|
| General Grime | 70% | White Vinegar | 7 parts water to 3 parts vinegar | Light dirt, pollen, and early-stage mildew. |
| Greasy Buildup | 70% | White Vinegar & Dish Soap | 7:3 ratio + 1 tsp of soap per gallon | Grime near outdoor kitchens or exhaust vents. |
| Heavy Stains | 1 Gallon | Powdered Oxygen Bleach | 1 gallon of water to 1 cup of powder | Stubborn mold, algae, and discoloration. |
These simple recipes can handle most of what you'll encounter, keeping your siding looking fresh without harsh chemicals.
Ingredients to Absolutely Avoid
Knowing what not to use is just as important as knowing what works. Using the wrong chemical can cause permanent damage to your vinyl siding, and nobody wants that.
Stay far away from these:
- Chlorine Bleach: It can fade the color of your siding and, over time, make the vinyl brittle and prone to cracking.
- Abrasive Powders: Scouring powders will scratch the finish, leaving a dull, scuffed-up look that you can't fix.
- Ammonia-Based Cleaners: These can eat away at the siding's protective coating.
- Solvents: Things like paint thinner or nail polish remover will literally melt the vinyl.
Stick with the gentle, proven ingredients, and you'll get your siding clean without risking its integrity or cutting its lifespan short.
How to Apply and Rinse Your Cleaner Correctly
Having the perfect cleaner is only half the battle. Your application technique is what really delivers that flawless, streak-free finish you're after. The whole process really boils down to a few key details that help you avoid common mistakes like streaks and residue.
Before you even think about mixing your solution, a little prep work goes a long way. Take a few minutes to protect the things around your house. I always recommend covering delicate flowers, shrubs, and any vegetable gardens with plastic sheeting or tarps. You'll also want to tape some plastic over outdoor electrical outlets and light fixtures to keep water out.
Once you’ve got everything protected, it’s time to apply your chosen cleaning solutions for vinyl siding. It doesn't matter if you're using a simple garden sprayer, a bucket and brush, or a pressure washer—the golden rule is always the same: work from the bottom up.
The Bottom-Up Application Method
It might feel a little counterintuitive, but applying your cleaner from the ground up is the single best way to prevent streaks. If you start spraying from the top, the cleaner inevitably runs down the dry, dirty siding below. This creates clean lines that, trust me, are a real pain to get rid of later.
By starting at the bottom and working your way up in manageable sections, you keep the entire surface wet. This lets the cleaner do its job evenly without creating those tell-tale drips.
Let the solution sit for about 5 to 10 minutes. The most important thing here is to never let it dry on the siding. This is why pros often clean on an overcast, cool day. Direct sunlight can make the solution evaporate way too quickly, leaving behind a chalky, splotchy residue.
This infographic breaks down which DIY cleaner to grab based on the kind of grime you're up against.
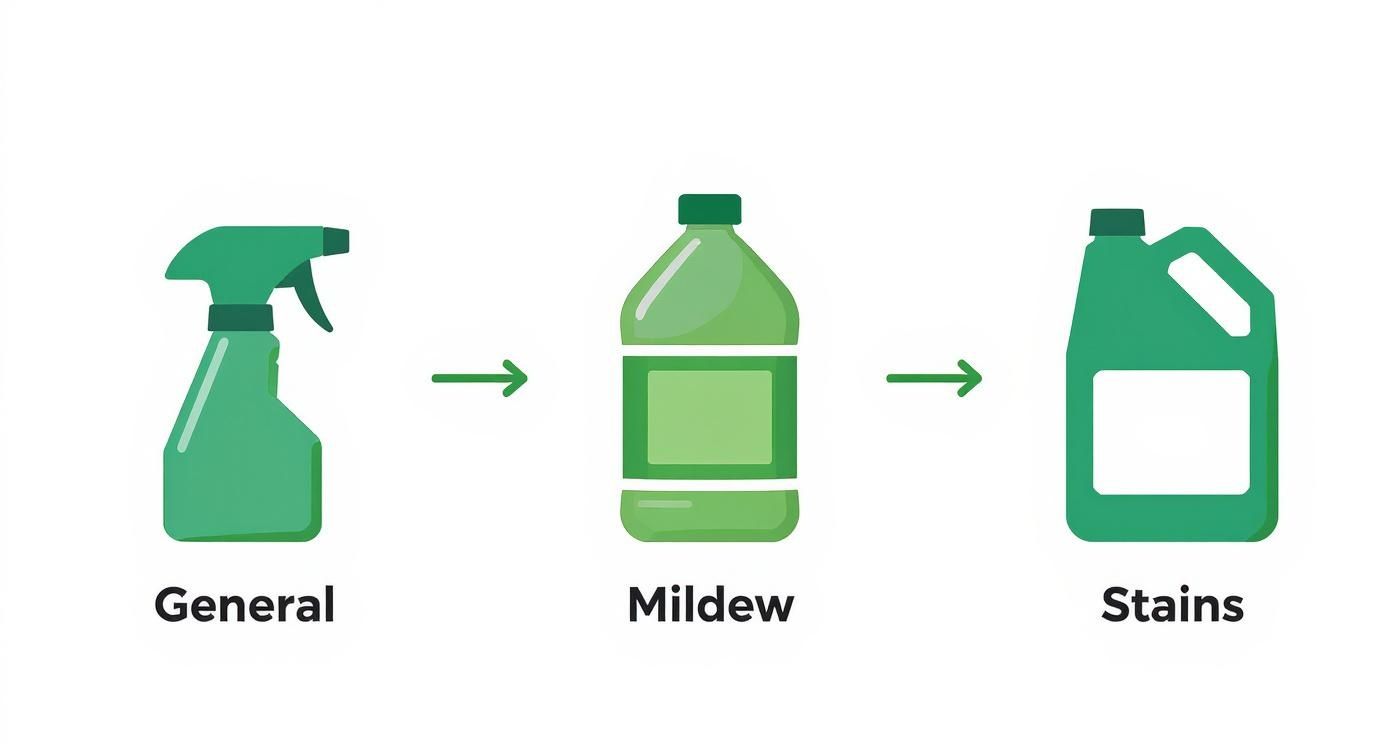
It’s a handy little guide that simplifies things, helping you match the right ingredient—like vinegar for mildew or oxygen bleach for stubborn stains—to the problem you're trying to solve.
Rinsing from the Top Down
Okay, once the cleaning solution has had a few minutes to break down all that dirt, it's time to rinse. And here, you're going to do the exact opposite of how you applied it: rinse from the top down. This simple switch uses gravity to your advantage, washing all the dirt, grime, and leftover cleaner straight down and off the house.
A garden hose with a standard spray nozzle works perfectly fine for this. If you are using a pressure washer, be sure to dial it back to a low-pressure setting—anything under 1,500 PSI is ideal. You'll also want to use a wide-angle spray tip, like a 25 or 40-degree nozzle.
Crucially, always keep the nozzle pointed at a downward angle. You never want to force water up and behind the siding panels, as that’s a recipe for moisture problems and mold growth down the road.
I can't stress this enough: work in small, controlled sections for both applying and rinsing. This is the best strategy to ensure no part of the siding dries with cleaner still on it, which is the number one cause of streaks and spots.
As a final step, give your plants a quick, gentle rinse with fresh water when you’re all finished. This washes away any cleaning solution that might have splashed onto their leaves, keeping your garden just as happy as your sparkling siding.
Staying Safe and Keeping Your Siding Clean for the Long Haul
Getting your siding to look brand new is a great feeling, but let's talk about doing it safely. This is one of those jobs where taking a few precautions upfront makes all the difference.
Before you even mix your first batch of cleaner, make sure you have the right gear. I'm talking about safety glasses, waterproof gloves, and shoes with a good grip. It might seem like overkill, but cleaning solutions can splash, and wet surfaces get slick.
If you need to use a ladder, please be careful. Always set it up on solid, flat ground. A wobbly ladder is an accident waiting to happen. The golden rule is to always keep three points of contact on the ladder—that means two feet and a hand, or two hands and a foot. Honestly, the best move is to have a friend or family member hold the base steady for you.
Smart Maintenance That Prevents Grime Buildup
Once you’ve got the siding sparkling, you’ll want it to stay that way. A little proactive upkeep goes a long way and means you won't have to do a major scrub-down as often.
It really boils down to managing the environment right next to your house.
-
Give Your Landscaping a Haircut: Any bushes, trees, or vines touching your siding are basically an open invitation for mold and mildew. They trap moisture and block the sun, creating the perfect damp, shady spot for gunk to grow. Trim everything back at least 12-18 inches from the house to let the air circulate and the sun shine in.
-
Keep Your Gutters Flowing Freely: Clogged gutters are the #1 culprit behind those ugly, dark streaks you see running down siding. When they get backed up with leaves and gunk, dirty water just spills over the side. Keeping them clean is probably the most effective thing you can do. We've got a full walkthrough on how to clean downspouts and gutters if you need a little guidance.
Taking care of your siding isn't just about looks. A clean, well-maintained exterior is a critical part of your home's overall health, ensuring it protects you from the elements just like it's supposed to.
There's a financial upside, too. The insulating qualities of vinyl siding can actually help homeowners trim an estimated $300-$400 a year from their energy bills. Keeping it clean ensures it performs at its best. If you're interested in the latest in siding technology, you can read additional industry insights on seabergconstruction.com.
A little bit of annual cleaning and these simple maintenance steps will keep your home looking sharp and protect your investment for years. It's all about working smarter, not harder.
Answering Your Top Vinyl Siding Cleaning Questions
Even with a solid plan, it's natural to have a few questions before you start scrubbing. Let's tackle some of the most common ones I hear from homeowners about cleaning their vinyl siding. Getting these answers straight will help you avoid common pitfalls and get the job done right the first time.
Can I Just Use a Pressure Washer?
You can, but you have to be careful. A pressure washer can be a fantastic time-saver, but it can also be a one-way ticket to damaged siding and a waterlogged wall cavity if you're not paying attention.
The secret is to use low pressure—staying under 1,500 PSI is a good rule of thumb. Always fit it with a wide-angle nozzle, like a 25-degree or 40-degree tip, to fan the spray out. Never blast the siding head-on; instead, keep the wand angled downward. This prevents you from driving water up and behind the panels, which is where the real trouble with mold and rot begins. If you’re at all hesitant, stick with a garden hose and a soft brush. It’s a safer bet and still gets the job done.
How Often Does Siding Really Need to Be Cleaned?
For most houses, giving your siding a good wash once a year is perfect. A yearly cleaning, maybe in the spring after the pollen has settled, is usually all it takes to handle the normal buildup of dust and dirt.
That said, your home's specific location really matters. You might find yourself cleaning more frequently if:
- Your house is surrounded by trees, making it a prime spot for mold and mildew to grow in the shade.
- You're close to a high-traffic road or new construction that kicks up a lot of dust.
- Overhanging branches are constantly dropping sap, pollen, or other debris onto your walls.
Is Bleach a Good Idea for Siding?
This one's a classic debate. While it's true some pros use a carefully diluted chlorine bleach solution, I generally steer homeowners away from it for a DIY job. Chlorine bleach is incredibly harsh. Mix it wrong, and you could end up with discolored, damaged siding. It's also no friend to your garden, your pets, or the environment.
My go-to recommendation is oxygen bleach. It's a much safer alternative that still packs a punch when it comes to brightening siding and lifting tough stains. You get the cleaning power without the caustic fumes or the risk of ruining your siding's color.
When Is the Best Time of Day to Wash My Siding?
Picking the right day and time can make a surprising difference. Your ideal cleaning day is overcast and cool. The last thing you want is the hot, direct sun beating down on your house.
Why? Because sunlight will make your cleaning solution evaporate almost instantly. If the cleaner dries on the surface before you can rinse it, you'll be left with ugly streaks and a chalky film that’s a real pain to get off. Working in the shade or on a cloudy day gives the solution time to do its job and break down the grime properly.
Keeping your home's exterior looking its best is an ongoing task. If you spot any potential siding or roof issues while you're cleaning, it's best not to ignore them. The team at Penn Ohio Roofing & Siding Group is always ready to help with professional inspections and quality repairs. Feel free to visit us online for a free estimate.