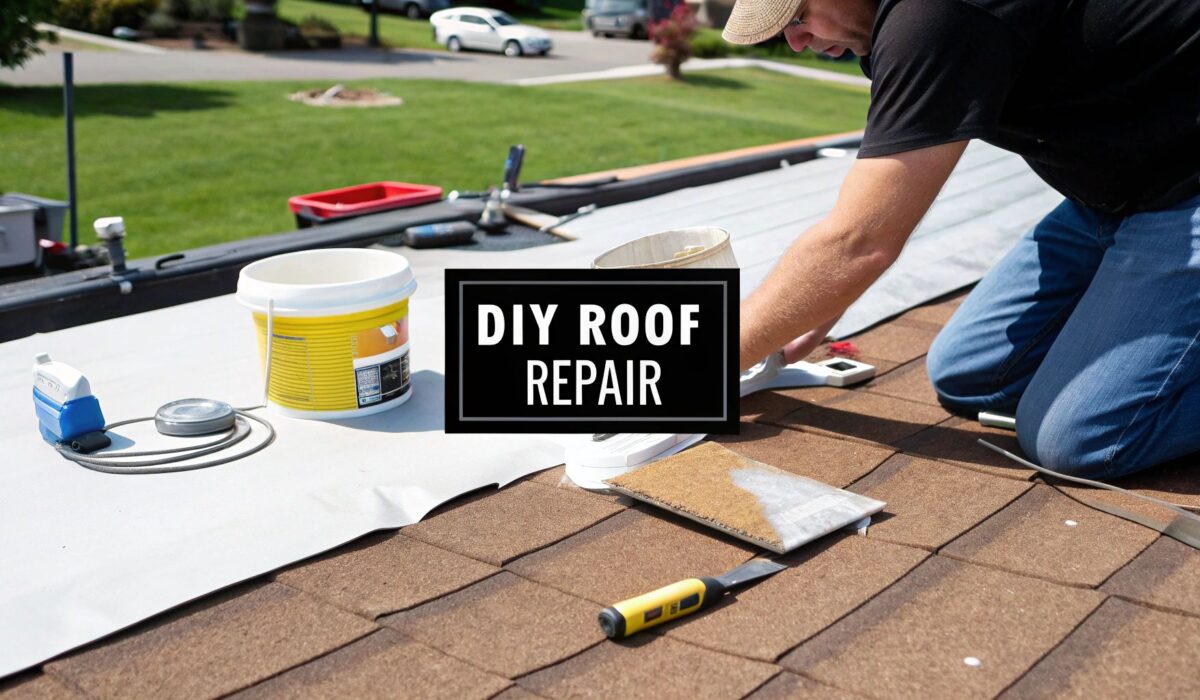
Repairing a flat roof isn't just about slapping on some tar and calling it a day. The real secret to a lasting fix is a methodical approach: you have to find the source of the problem, prep the area like a surgeon, use the right materials for your specific roof, and seal it up tight. This process is what separates a quick patch from a permanent repair.
Understanding Your Flat Roof Before You Repair It
Before you even think about grabbing a sealant, you need to know exactly what you're dealing with. A flat roof is a complete system, not just a simple surface. Getting familiar with your specific roof is the most critical part of any successful repair.
These roofing systems are more common than ever. The flat roofing market hit a value of USD 59,194.55 million in 2024 and continues to grow, especially in residential construction. You can dig into more data on the flat roofing systems market to see just how popular they've become. With this trend, it's crucial for homeowners to understand the basics of how to properly repair a flat roof.
Identifying Your Roof Material
The single biggest mistake in DIY repairs is a material mismatch. Using a product meant for a rubber roof on a TPO membrane can cause a chemical reaction that literally dissolves the material, turning a small leak into a major problem. You have to know what you've got before you buy a single tube of caulk.
Here’s a quick rundown of the most common materials out there:
- EPDM (Ethylene Propylene Diene Monomer): Everyone calls this a "rubber roof." It looks and feels just like a giant black inner tube. It's incredibly durable and usually black, but you can find white versions too.
- TPO (Thermoplastic Olefin): This is a single-ply membrane, almost always white, prized for its energy efficiency. It has a more plastic-like feel, and its seams are typically heat-welded together.
- Modified Bitumen: Think of this as rolled-out asphalt shingles. It's an asphalt-based product that often has a granular surface, giving it a slightly rough, sandy texture.
Your roof's material dictates every choice you make, from the cleaner you use to the type of patch you apply. Get this wrong, and your repair is doomed from the start.
The Basic Repair Framework
Even though the specific products change, the core process for fixing a leak is pretty much the same across the board. It's a foundational checklist you run through before diving into the actual repair. Whether you're dealing with a tiny pinhole from a dropped screw or a long split seam, following these stages is non-negotiable.
Here's a quick overview to help you visualize the entire job.
Flat Roof Repair Process at a Glance
| Stage | Key Action | Objective |
|---|---|---|
| 1. Inspection & Damage ID | Visually inspect for cracks, blisters, and ponding water. | Pinpoint the exact source and extent of the leak. |
| 2. Thorough Cleaning | Scrub the area with a compatible cleaner; remove all debris. | Ensure repair materials can form a strong, lasting bond. |
| 3. Material Preparation | Cut patches to size, prime the surface if required. | Have all components ready for a smooth application. |
| 4. Repair Application | Apply sealant, adhesive, or patch according to product specs. | Create a primary waterproof barrier over the damaged spot. |
| 5. Sealing & Feathering | Seal all edges of the patch with a compatible sealant. | Prevent water from getting under the edges of the repair. |
This process helps you understand what's involved and gauge if it’s a job you can handle.
A successful repair is 90% preparation and 10% application. Skipping the initial steps of cleaning and identifying the material is the fastest route to a patch that fails after the next rainstorm.
This framework also gives you a realistic sense of the job's scope. For minor issues, a DIY approach is perfectly fine. But if you find widespread blistering or signs of water trapped under the membrane, it’s time to call a professional. Understanding these steps will give you the confidence to make the right call for your property and avoid wasting time and money on a fix that won't hold up.
Uncovering the Real Source of a Flat Roof Leak
Here’s the frustrating truth about flat roof leaks: the water stain on your ceiling almost never lines up with the actual breach on the roof. Water is sneaky. It can get in through a tiny pinhole, travel several feet sideways along the roof deck, and finally drip down far from where it started. This lateral travel is the single biggest headache when trying to track down a leak.
To find the true source, you have to think like a detective. That interior water damage? It's just the final clue, not the scene of the crime. The real work starts up on the roof, where you need to look for the subtle signs that give away the leak's hidden entry point.
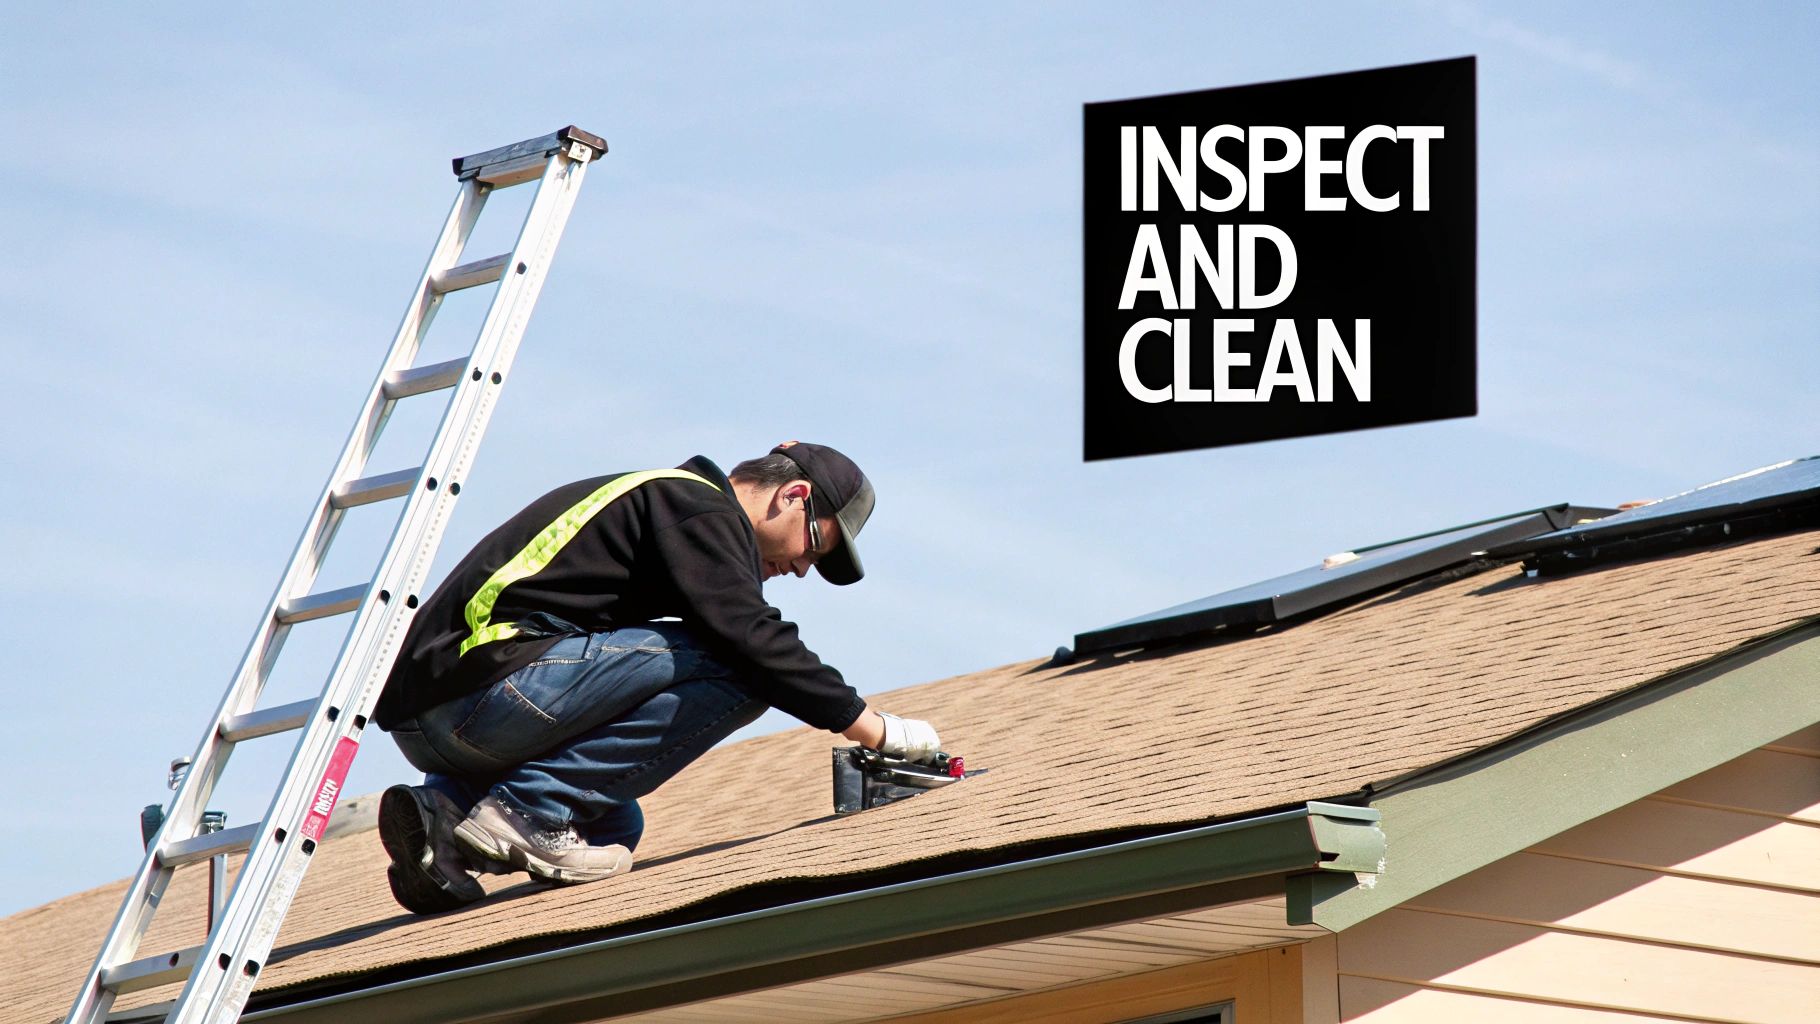
Your Visual Inspection Checklist
You'll want to start your search on the roof directly above the interior stain, but be ready to expand outward from there. On a nearly flat surface, water follows the path of least resistance, which can be a microscopic slope or channel you’d never see with the naked eye.
As you sweep the area, keep an eye out for these usual suspects:
- Blisters and Bubbles: If you see raised pockets in the roofing membrane, that’s a sure sign moisture is trapped underneath. Even a small blister can be hiding a sneaky leak.
- Cracks and Splits: Years of sun and temperature swings make roofing materials brittle. Pay close attention to seams where two pieces of membrane join, as this is a classic spot for splits to form.
- Damaged Flashing: Flashing is the material that seals the joints around anything poking through your roof—vents, pipes, skylights, chimneys. It is often said that more than 90% of flat roof leaks come from failed flashing.
- Ponding Water: If you see puddles still standing 48 hours after a storm, you have a problem. Constant moisture just eats away at roofing materials and drastically increases the odds of a leak.
Often, a good walk-around is all it takes to spot the obvious culprit. But if the source is still playing hide-and-seek, you’ll need a more hands-on approach.
A quick tip from experience: don't get distracted by the biggest, ugliest crack you see. A tiny, hairline fracture in the flashing around a vent pipe is a far more likely source for a persistent leak than a large, weathered tear in the middle of the roof.
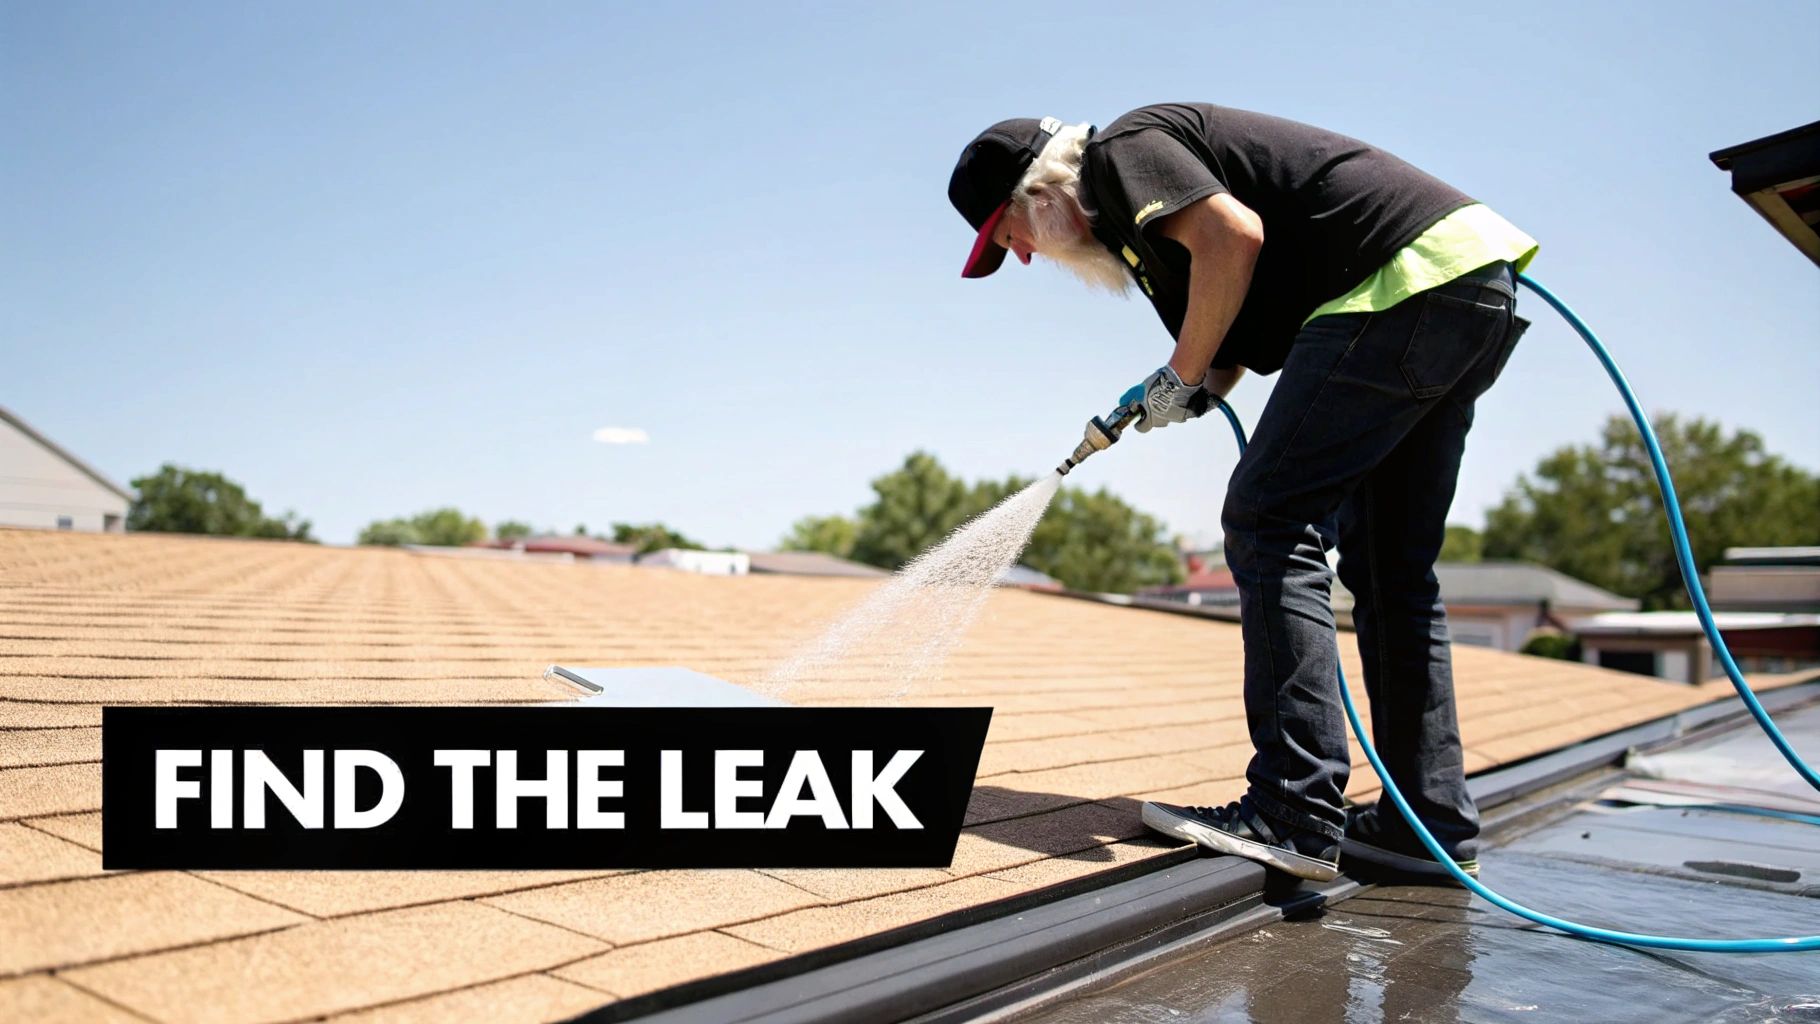
Performing a Controlled Water Test
When a visual check comes up empty, a controlled water test is your best bet. It’s a pretty straightforward process, but it does require patience and a partner. You're basically going to soak small sections of the roof one at a time until you make the leak show itself inside.
Here’s how to do it right:
- Get a Helper: You need one person on the roof with a garden hose and another inside watching for the drip. Keep your cell phones handy to communicate.
- Start Low: Begin the test at the lowest point of the roof area above the stain, maybe near a drain or scupper. Water runs downhill, so you want to work your way up.
- Isolate and Soak: Use a gentle stream of water—no pressure washers!—and soak one small, specific area for about 10-15 minutes. Focus on one potential trouble spot at a time, like the flashing around a single pipe.
- Wait and Watch: After you've soaked a section, turn off the water and have your inside person keep a close eye out. It can take a few minutes for the water to travel, so don't get impatient.
- Work Your Way Up: No drip? Move to the next section slightly higher up the roof and do it all over again. Methodically test every seam, patch, and penetration until your partner inside finally yells, "We've got a drip!"
Once the leak appears inside, you've found your source. This systematic process removes all the guesswork and ensures you’re fixing the actual problem, not just patching a symptom.
For an even more detailed breakdown, you can learn more about the best techniques for finding a roof leak in our full guide, which will help you diagnose even the trickiest issues.
Choosing the Right Materials for a Lasting Repair
Walking into the roofing aisle at a hardware store can feel overwhelming. You're faced with shelves packed with tubes of sealant, rolls of patches, and tubs of cement, and grabbing the wrong product is an easy—and costly—mistake to make.
Choosing the right materials is the difference between a repair that lasts a decade and one that fails after the next big storm. This isn't just about picking a product; it's about matching the solution to your specific roof.
The roofing materials market is a massive industry, projected to hit $134.08 billion in 2024 and climb to $192.82 billion by 2032. You can read up on the latest trends in roofing materials on ConsumerAffairs.com, but for your immediate needs, what matters is knowing which small slice of that market is right for your roof.
Common Repair Materials and When to Use Them
Not all roofing patches are created equal. For a DIY fix, you'll mainly run into three options: liquid sealants, peel-and-stick patches, and traditional roofing cement. Each has a specific job, and using them correctly is the key to a durable repair.
-
Liquid Sealants and Coatings: These are paint-on solutions, usually silicone or elastomeric-based, that create a flexible, seamless waterproof membrane over a damaged area. They're excellent for sealing around tricky spots like pipes and vents or for covering areas with lots of hairline cracks.
-
Peel-and-Stick Patches: Think of these as heavy-duty, waterproof bandages for your roof. They have a super-sticky adhesive layer bonded to a protective outer membrane. These are fantastic for quickly and cleanly covering punctures, splits, or short cracks.
-
Roofing Cement: This is the thick, black, tar-like stuff most people picture when they think of roof repair. It’s an asphalt-based product you apply with a trowel. While it works well for certain things, like sealing flashing on a modified bitumen roof, it’s often overused and can be a disaster on rubber or TPO roofs.
The most critical factor here is material compatibility. A mismatched product can cause more harm than good, creating a bigger, more expensive problem down the road.
The Cardinal Rule: Material Compatibility
If you take one thing away from this section, let it be this: never use an asphalt-based product (like most roofing cements) on an EPDM or TPO roof. The petroleum distillates in the asphalt will literally eat away at the single-ply membrane, causing it to swell, weaken, and eventually fall apart. This turns a small leak into a catastrophic failure.
I cannot stress this enough: always read the product label. It will explicitly state which roofing materials it is designed for. Ignoring this detail is the fastest way to guarantee your repair will fail.
To help you avoid this common pitfall, I've put together a simple compatibility guide.
Matching Repair Materials to Your Flat Roof Type
This table pairs common flat roof types with the most effective repair materials to ensure a durable and compatible fix.
| Roof Type | Recommended Repair Material | Materials to Avoid |
|---|---|---|
| EPDM (Rubber) | EPDM primer and patch kit; silicone or butyl sealant. | Asphalt-based roofing cement, tar, any petroleum-based product. |
| TPO (Plastic) | TPO-specific patch kit; heat-weld patch; specialized sealant. | Asphalt, general-purpose sealants, silicone (without a primer). |
| Modified Bitumen | Asphalt-based roofing cement; compatible peel-and-stick patches. | Silicone or elastomeric sealants not rated for asphalt surfaces. |
Keep this table handy when you head to the store. And for a deeper understanding of all the layers involved, it's worth exploring what is roof underlayment and how it contributes to the whole system's integrity.
Your Essential Toolkit for Flat Roof Repair
Showing up to a job without the right tools is just as bad as having the wrong materials. A well-prepared toolkit makes the work faster, safer, and more effective. You don't need a truck full of professional gear, but a few items are non-negotiable.
Here’s a checklist of what you should have on hand before you even think about climbing that ladder:
- Stiff-Bristle Brush and Cleaner: You have to scrub the repair area until it's perfectly clean. Make sure the cleaner is compatible with your roofing material.
- Utility Knife with Extra Blades: For cutting patches cleanly and trimming away damaged roofing. A dull blade is a dangerous blade.
- Trowel or Putty Knife: Essential for applying roofing cement or sealant smoothly and evenly.
- Caulking Gun: A must-have for applying tube-based sealants.
- Heavy-Duty Work Gloves: To protect your hands from abrasive surfaces and harsh chemicals.
- Non-Slip Boots: Critical for keeping a secure footing, even on a seemingly flat roof.
- Safety Glasses: To protect your eyes from flying debris and chemical splashes.
Having these items ready to go means you can work efficiently from start to finish without making frustrating extra trips to the hardware store. Proper preparation is a huge part of doing the job right.
How to Execute a Professional-Grade DIY Repair
You’ve tracked down the source of the leak and picked out your materials. Now it's time to switch from detective to roofer. All that prep work is about to pay off, and believe me, this is the part that makes or breaks the entire job.
I'd estimate that a staggering 90% of DIY patch failures have nothing to do with a faulty product. The real culprit is almost always poor surface preparation. A lasting repair is all about getting the new material to form an unbreakable bond with the old roof, and that's just not going to happen on a dirty, damp surface.
Mastering Surface Preparation
Think of this part like a surgeon scrubbing in for an operation. Every bit of dirt, loose grit, or lingering moisture is a contaminant that will sabotage your repair. It creates a barrier, preventing the patch or sealant from getting a proper grip. Before you know it, water will find its way under the patch, and you'll be right back where you started.
Don't rush this. Be methodical.
- Clear the Debris: Get a broom and sweep the repair zone clean. Don't just clear the immediate spot; give yourself at least a six-inch clean border all the way around.
- Scrub it Down: Grab a stiff-bristled brush and a roof-compatible cleaner. You need to scrub away all the ground-in dirt, algae, and grime. Put some elbow grease into it.
- Rinse it Clean: Once you've scrubbed the area, rinse it thoroughly with fresh water to wash away all the gunk and any cleaner residue.
- Let it Dry Completely: This is the step everyone wants to skip, and it’s the most important. The roof has to be bone dry. A little dampness is all it takes to ruin the adhesion. On a warm, breezy day, this might take a couple of hours. If it's humid or overcast, you might need to leave it until the next day.
Do not cut corners on drying time. Trapped moisture is the enemy of a flat roof patch. It leads to blisters and will eventually pop the seal from underneath as the temperature changes.
Taking the time to do this right ensures your patch will stick like it's factory-installed, giving you a truly waterproof seal that can handle whatever the weather throws at it.
This infographic can help you visualize the material selection process.
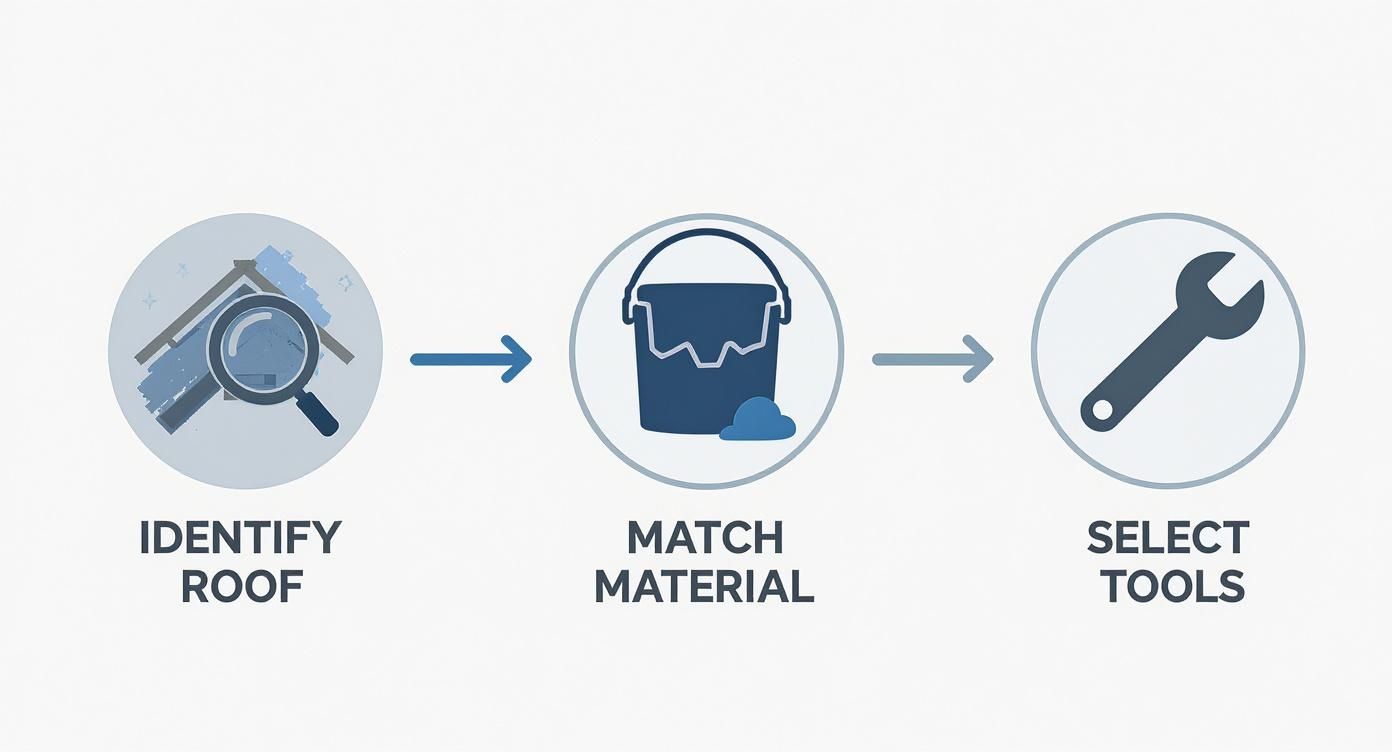
As you can see, a good repair starts with knowing your roof type, long before you even open a can of sealant.
Applying the Repair Material Like a Pro
With a perfectly clean and dry surface, you're ready to go. Your exact technique will depend on whether you’re working with a liquid sealant, a patch, or roofing cement, but a few professional tricks apply to all of them.
For Liquid Sealants and Coatings
If you're dealing with a mess of hairline cracks or sealing around a flashing, liquid products are fantastic. Use a cheap, disposable paintbrush to apply it. The key is to work the sealant into the cracks, not just paint over them.
For any crack wider than 1/8 inch, you'll want to add some reinforcing fabric. This is a game-changer.
- First, lay down a thick base coat of the sealant.
- While it's still wet, press a strip of polyester reinforcing fabric right into it.
- Immediately follow up with a top coat, making sure you completely saturate the fabric.
Think of the fabric like rebar in concrete—it gives the repair incredible strength and stops the crack from pulling apart again.
For Patches (Peel-and-Stick or Adhesive)
Patches are your go-to for clear punctures or splits. Here’s a pro tip: always cut the patch with rounded corners. Sharp 90-degree corners are natural weak points that love to peel up over time. Rounding them off makes for a much more durable repair.
After you position the patch, use a small, hard seam roller to press it down. Start rolling from the center and work your way out to the edges. This forces out any air bubbles and guarantees 100% contact between the adhesive and the roof surface.
The Art of Feathering Your Edges
No matter what kind of repair you've done, the final touch is to "feather" the edges. You want to create a smooth, tapered transition from the patch back to the roof. A hard, thick edge is just asking for water to dam up against it and start working its way underneath.
Take a putty knife and spread a thin layer of compatible sealant around the entire perimeter of your patch. Taper it down so it sits flush with the roof. This small detail creates a seamless edge that helps water flow right over the repair instead of getting hung up on it. It’s a simple step that adds years to the life of your work.
Working Safely and Preventing Future Roof Leaks
Any job done right is a job done safely, and that’s especially true when you’re up on a flat roof. They might not have the steep pitch of a traditional roof, but working at any height comes with risks. Getting the safety protocols down pat is just as crucial as the repair technique itself.
First things first: ladder safety. Always plant your ladder on solid, level ground and make sure it extends at least three feet above the roofline. This gives you something secure to hold onto when you get on and off. Wear sturdy, non-slip shoes, and never, ever work on a wet or windy day. Weather can turn on a dime, so keep an eye on the forecast.
A successful repair doesn't just solve today's problem—it prevents the next one. Shifting from a reactive to a proactive mindset is the key to extending your roof's lifespan and avoiding costly surprises down the road.
Proactive Maintenance to Prevent Future Leaks
Once your patch is solid, the game shifts to prevention. A simple inspection routine, done seasonally, can help you spot trouble long before it turns into a damaging leak. You don't need to be a professional roofer for this; you just need to know what to look for.
This proactive approach is more important than ever. The global roof repair service market was valued at around US$ 38,820 million back in 2025 and is only expected to grow. You can see the full forecast for the roof repair service market on infinitymarketresearch.com, which shows just how much homeowners are investing in property maintenance.
Your Seasonal Inspection Checklist
Twice a year—I always recommend late spring and late fall—carve out 30 minutes to walk your roof and check these key areas.
- Clear Drains and Scuppers: Leaves, twigs, and dirt are the number one cause of ponding water. Make sure all drainage points are completely clear so water has an easy path off the roof.
- Inspect All Seams: Take a close look at where the sections of roofing membrane are joined. You're looking for any signs of separation, cracking, or peeling.
- Check Penetrations: Carefully examine the seals around every pipe, vent, and skylight. The sealant in these spots takes a beating from the sun and can become brittle over time.
- Look for Blisters or Cracks: Scan the main field of the roof for any bubbles, blisters, or new cracks that have popped up since your last inspection.
Catching some failing sealant around a vent pipe early can save you from a major interior leak. The same goes for flashing, which is the material that seals the roof's most vulnerable joints. For a deeper dive, check out our guide on what is roof flashing and why it’s so critical to a watertight roof.
If you have solar panels, you’ll need to be extra careful. Understanding how solar panels are fixed to the roof is vital for doing repairs safely and making sure your inspections don't compromise your roof’s integrity. By making this simple maintenance routine a habit, you’ll go from just knowing how to repair a flat roof to actively preventing the need for fixes in the first place.
Common Questions About Flat Roof Repair
Even with the best guide in hand, you're bound to have questions when you're staring down a flat roof repair. That’s perfectly normal. Getting the right answers can be the difference between a job well done and a frustrating do-over. Let's tackle some of the most common things people ask.
How Long Does a DIY Flat Roof Patch Last?
This really boils down to three things: how well you prepped the surface, whether you used the right materials, and how bad the original damage was. If you patch a small, clean, and completely dry area with a high-quality sealant made for your specific roof type, that fix could easily hold for several years.
On the other hand, if you slap some generic roofing cement over a dusty, damp spot, you'll be lucky if it lasts through the next big storm. Think of DIY patches as a solid solution for minor issues, but make a habit of checking on them every few months to make sure they're still holding strong.
Can I Coat My Entire Roof Instead of Patching?
Absolutely, and for many roofs, it's an even better long-term strategy. If your roof is showing its age with lots of tiny cracks and general wear but is still structurally sound, applying a restorative coating is a fantastic option.
Here’s what a new silicone or acrylic coating can do for you:
- Seals up all those tiny, potential leak points in one go.
- The reflective surface bounces sunlight away, which can noticeably lower your AC bills in the summer.
- It can add another 5 to 10 years of life to your existing roof.
Just know that this is a much bigger undertaking than a simple patch job. The success of a roof coating depends entirely on painstaking preparation across the entire surface. If it doesn't bond correctly, it won't perform.
When Is It Time to Call a Professional?
Knowing when to step back and call in a pro is the smartest thing any DIYer can do. It's time to pick up the phone and get a roofer involved if you run into any of these situations:
- The leak is coming from a damaged area larger than a few square feet.
- You feel soft, spongy, or bouncy sections underfoot. This is a red flag for wet insulation or rotted decking beneath the membrane.
- The leak is near a tricky spot like a chimney, skylight, or where an HVAC unit sits.
- You’ve already tried patching the area yourself, but the leak came back.
Look, if you’re at all uneasy about working at heights or you don't have the right safety equipment, just hire an insured contractor. It’s always the safest bet. You eliminate the personal risk and get the confidence of knowing the job was handled by an expert.
What Is the Most Common Cause of Flat Roof Leaks?
By a long shot, the number one enemy of a flat roof is ponding water. When water sits in one spot for more than 48 hours, it puts relentless pressure on the roofing material and its seams, causing them to break down way faster than they should. This is almost always caused by a clogged drain or a sag in the roof structure.
Coming in at a close second are failed seams and flashing. The sealant and flashing around pipes, vents, and the roof's perimeter take a constant beating from the sun, which eventually leads to cracks and gaps. When you’re doing an inspection, always start with these vulnerable spots—it's where you'll find trouble most of the time.
When a DIY fix isn't enough, or you want the peace of mind that comes with professional expertise, trust the team at Penn Ohio Roofing & Siding Group. With over 25 years of experience, we provide reliable, high-quality flat roof repairs and replacements. Contact us for a free estimate today.