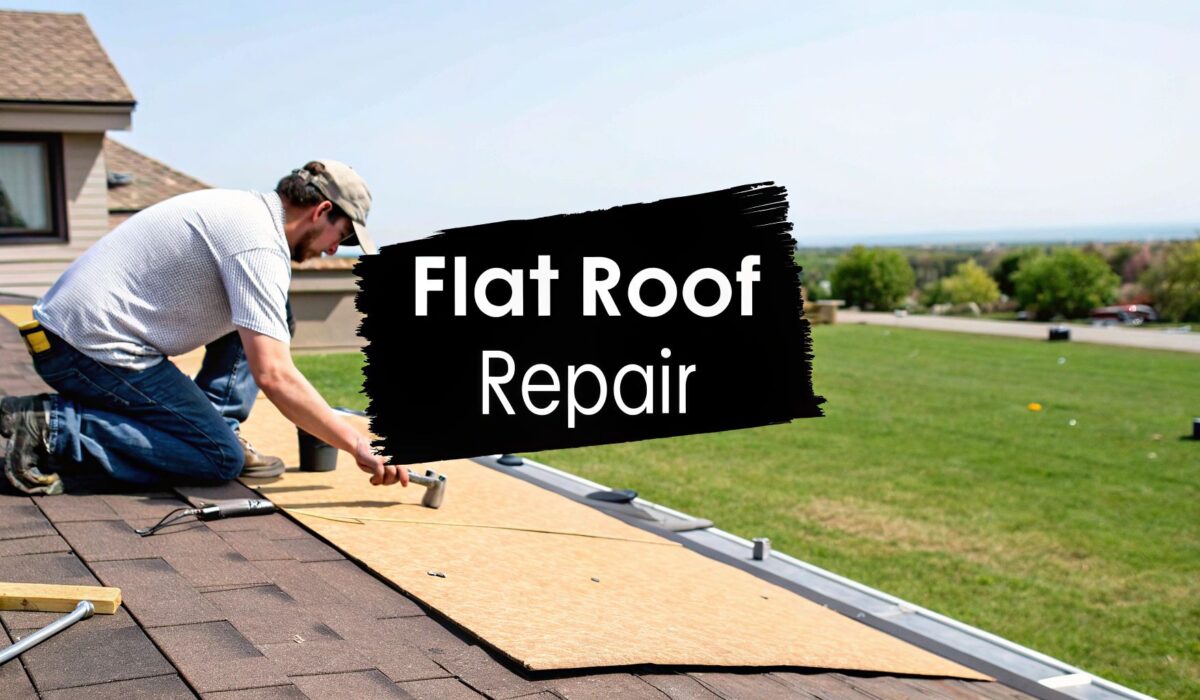
Before you can fix a flat roof, you have to play detective. The process usually boils down to finding where the water is getting in, prepping the area properly, and then using the right kind of patch or sealant. The most critical rule? Make sure the surface is bone dry before you start. You also have to use materials designed for your specific roof type, whether that's EPDM, TPO, or modified bitumen.
Your First Steps in Flat Roof Repair
Before you even think about cracking open a can of sealant, the first—and most important—part of any repair is a safe and thorough diagnosis. If you rush in and patch the first thing you see, you’re just treating a symptom. We’ve seen it time and time again: a quick fix that fails because the real problem was missed. You need to develop a roofer's eye to spot the true source of the issue.
It all starts with safety. Make sure your ladder is planted on solid, level ground and extends at least three feet past the edge of the roof. Always wear sturdy, non-slip shoes and consider a good pair of gloves. And never, ever get on a roof that's wet, icy, or covered in debris. It's just not worth the risk.
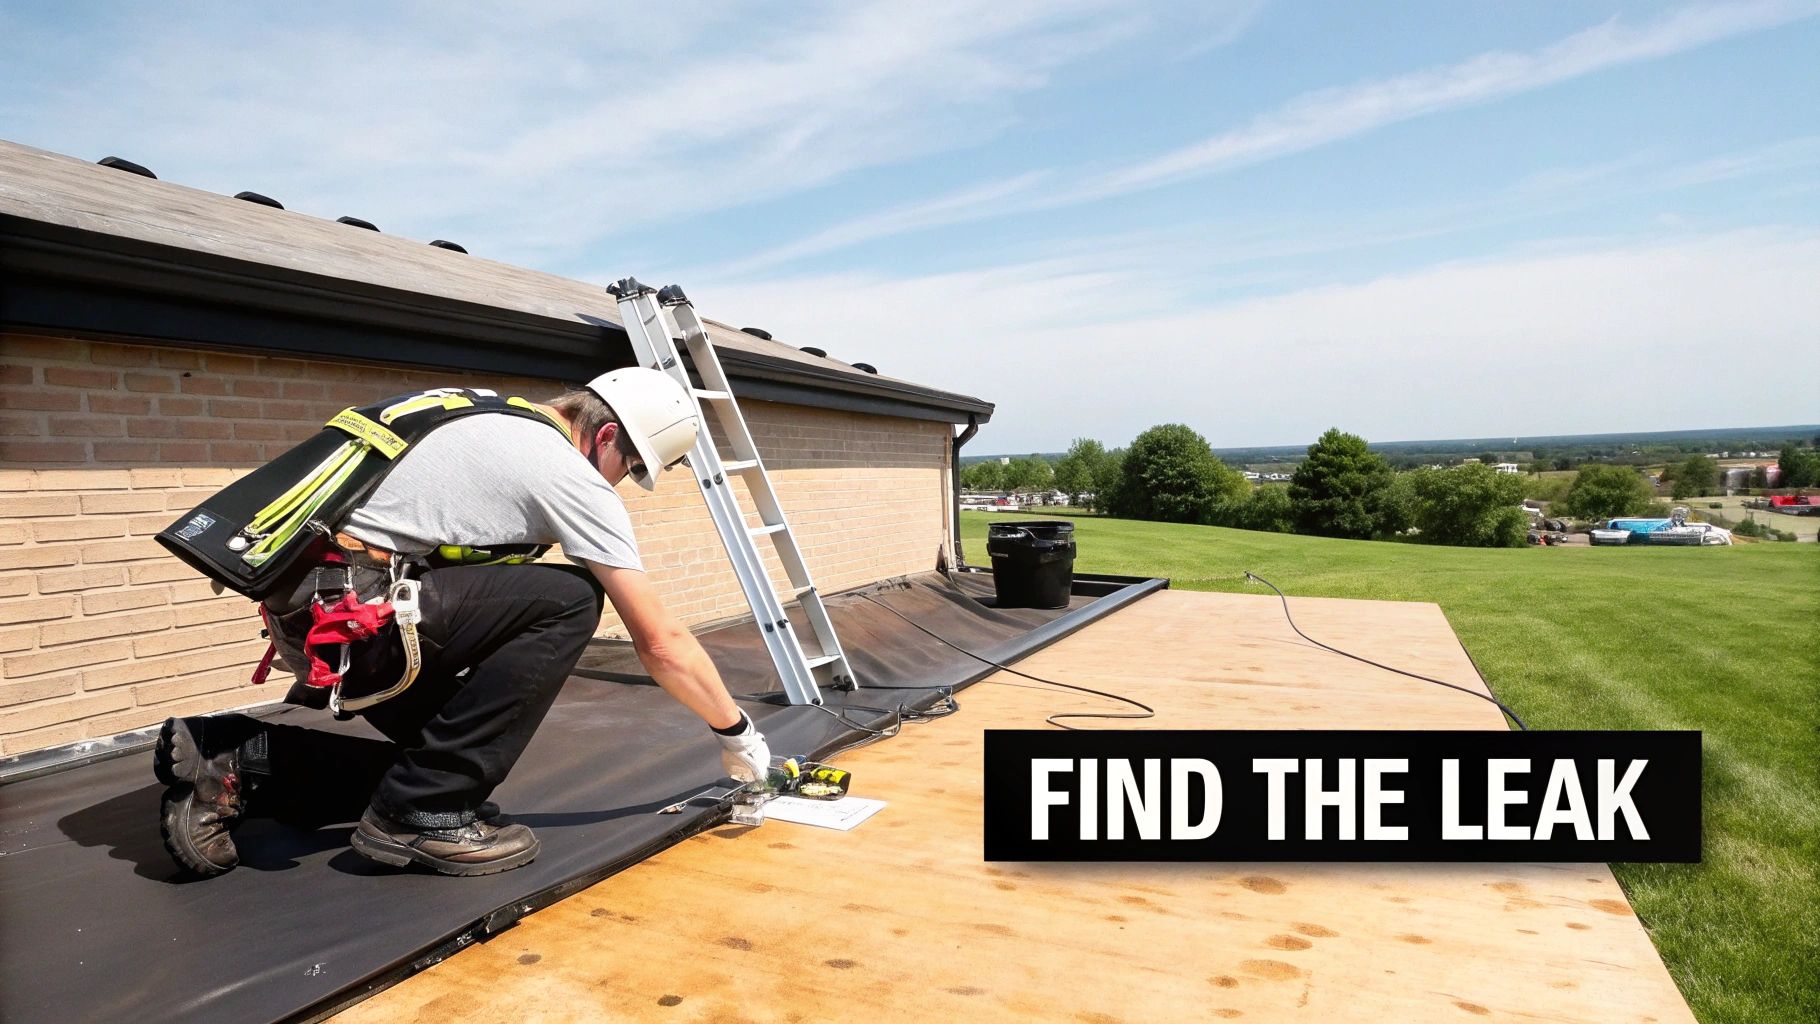
Finding the Real Source of the Leak
Here’s the tricky part about flat roofs: where you see a water stain on your ceiling is almost never where the leak is on the roof. Water is sneaky. It can travel a long way under the roofing membrane or along insulation before it finally decides to drip.
That’s why a methodical inspection is so essential. Don't just focus on the area directly above the interior damage. Instead, start your search at the lowest points of the roof—drains, scuppers, and any other spots where water naturally pools. From there, work your way up, keeping an eye out for any clues. For a deeper dive, our guide on how to find a roof leak walks you through more advanced techniques for tracking down these hidden water paths.
Your mission is to look for the usual suspects: ponding water, punctures, and failing seams. Older flat roofs, especially those with modified bitumen, typically have a lifespan of 10 to 20 years, depending heavily on the climate and how well they've been maintained. A major culprit we often see is persistent ponding water, which can be responsible for 30-40% of flat roof failures simply because of poor drainage design.
Before diving into a hands-on repair, a systematic initial check can save you a ton of headaches. This checklist will help you assess the situation safely and spot the most common red flags.
DIY Flat Roof Repair Initial Assessment Checklist
| Check Area | What to Look For | Action If Problem Found |
|---|---|---|
| Overall Roof Surface | Standing water (more than 48 hrs post-rain), large bubbles/blisters, widespread cracking. | Significant ponding or blistering points to a systemic issue. Consult a professional. |
| Roof Membrane | Obvious punctures, tears, or gashes from debris or foot traffic. | Small punctures can often be patched. Mark the area for repair. |
| Seams | Areas where roofing material joins. Look for peeling, separating, or cracked sealant. | Failing seams are a common leak source. These areas need to be cleaned and resealed. |
| Flashing & Penetrations | Around vents, pipes, HVAC units, and skylights. Check for gaps, rust, or deteriorated sealant. | Damaged flashing is a critical failure point. Plan to reseal or replace the flashing. |
| Drainage Systems | Drains, scuppers, and gutters. Check for clogs from leaves, dirt, or debris. | Clear all blockages immediately to prevent water from backing up and ponding. |
Running through this quick checklist gives you a clear picture of what you're up against, helping you decide whether this is a simple DIY job or something best left to the experts.
What to Look For During Your Inspection
As you move across the roof, you need to know what you’re looking at. A small puncture from a fallen tree branch is one thing, but widespread seam separation is a much bigger problem.
Here are the key signs of trouble to hunt for:
- Punctures or Tears: Look for any holes or gashes in the membrane. These are usually caused by storm debris, dropped tools, or even heavy foot traffic.
- Blisters and Bubbles: These are raised pockets of trapped air or moisture under the roof surface. Over time, they can split open and create a leak.
- Failed Seams: Carefully check every seam where two pieces of roofing material meet. Look for any spots that are peeling up, cracked, or pulling apart.
- Damaged Flashing: Inspect the flashing around all penetrations—vents, pipes, chimneys—and along the roof edges. Gaps and rust here are prime entry points for water.
- Ponding Water: Make a note of any areas where water is still standing 48 hours after a storm. This is a clear sign of a drainage problem that’s putting immense stress on your roof.
We've learned from years in the field that prevention is always smarter—and cheaper—than reaction. As you assess the damage, it's worth thinking about the importance of regular property maintenance, which can help you catch these issues early and avoid major repairs down the road. A proactive mindset is the best tool you have for extending your roof’s life.
Gearing Up: The Right Tools and Materials for the Job
Nothing’s worse than getting up on the roof only to realize you’re missing the one tool you need. A poorly planned trip to the hardware store is a quick way to waste time and money. When you're tackling a flat roof repair, you need more than a generic tube of caulk. You’ve got to have the right gear for the prep work and the correct materials for your specific type of roof. Getting it all sorted out before you even touch the ladder makes everything safer, faster, and a lot less frustrating.
A good repair is all about the prep work, and that starts with getting the roof surface spotless. You'll need a good, stiff-bristle brush to get rid of the loose dirt, leaves, and any algae that's taken hold. For stubborn spots, you can carefully use a pressure washer on its lowest setting, but be warned—too much pressure can easily slice through an old membrane. Also, grab some basic rags, a bucket of soapy water, and a solvent like acetone. That final wipe-down with a solvent is the secret to getting a perfectly clean surface that adhesives will actually stick to.
Your Go-To Repair Kit
Beyond the cleaning supplies, the actual repair toolkit is pretty straightforward. These are the essentials I wouldn't climb a ladder without.
- Utility Knife: Don't skimp here. A sharp, heavy-duty knife is a must for cleanly cutting away damaged sections or trimming a patch. A dull blade just rips the material and sets your repair up for failure.
- Caulking Gun: Absolutely necessary for applying sealants and roofing cement. A decent gun gives you the control you need for a clean, even bead.
- Trowel or Putty Knife: You'll need one of these for spreading roofing cement or adhesive. The goal is to get a smooth, consistent layer with nicely "feathered" edges on your patch.
- Weighted Roller: This is what separates a DIY job from a professional one. A small, heavy handheld roller pushes out all the air bubbles and ensures your patch makes 100% contact with the surface.
Having this stuff ready in a bucket or tool bag saves you from those risky, repeated trips up and down the ladder. It’s about working smart, not just hard.
Matching Materials to Your Roof: The Most Important Step
Listen up, because this is where most DIY repairs go wrong. If you use the wrong product, your patch might fail in a few weeks—or even make the leak worse. Flat roofs aren't all the same, and your sealant or patch must be chemically compatible with the roof you have.
The golden rule of flat roof repair is simple: Know your material. An EPDM patch will not bond properly to a TPO roof, and a bitumen-based cement can degrade a rubber membrane. Mis-matching products is a guaranteed way to make the leak worse over time.
To cut through the confusion at the store, here's a quick rundown of what you'll need for the most common roof types. Think of these as your cheat sheets.
For EPDM (Rubber) Roofs:
- EPDM Primer/Cleaner: This is a non-negotiable first step. It chemically prepares the old rubber to accept the new adhesive.
- EPDM Seam Tape or Patch Kit: These are your best bet. They come with a specialized, pre-applied adhesive that creates a permanent, waterproof bond.
- Lap Sealant: A specific type of caulk you'll run along the very edge of the patch. It’s the final line of defense to keep water out.
For TPO (Plastic) Roofs:
- TPO Primer: Just like with EPDM, this stuff cleans the membrane and gets it ready for a solid bond.
- Heat Gun/Welder: Professionals heat-weld TPO for a seamless repair. For a small DIY fix, you might find adhesive patches, but welding is the permanent solution.
- TPO-Compatible Sealant: Check the label! It must explicitly say it's safe for TPO. The wrong stuff will not stick.
For Modified Bitumen (Asphalt) Roofs:
- Asphalt-Based Roofing Cement: This is the thick, black, tar-like goo you'll use to glue down patches and fill cracks.
- Reinforcing Fabric: For bigger cracks or failing seams, you'll embed this fiberglass mesh into the wet cement. It adds serious strength and stops the crack from reappearing.
- Aluminum Roof Coating: Once the repair is cured, it’s a good idea to paint over it with a reflective coating. This protects the patch from the sun's harsh UV rays.
Understanding how all these parts work together is key. Just as the top membrane is your roof’s first shield, other layers underneath provide critical backup. To get the full picture, it’s worth learning more about what roof underlayment is and how it functions as a vital secondary barrier for your entire roofing system.
How to Fix Common Flat Roof Problems
Alright, you've figured out what’s wrong and have your tools ready. Let's get to the actual repair work. I know looking at a roof problem can feel a bit overwhelming, but the trick is to focus on one specific issue at a time. The real secret to a repair that lasts isn't just globbing on some tar; it’s all about meticulous prep work and using the right method for the specific problem you're facing.
We’re going to cover the four most common issues you'll run into. No matter which one you're dealing with, remember this fundamental rule: the repair area must be perfectly clean, dry, and prepped. If you don't get that right, no patch or sealant on earth will create the permanent, watertight bond you need. Nail the prep, and you're already halfway there.
This simple flow—Clean, Patch, and Seal—is the non-negotiable core of any successful flat roof repair.
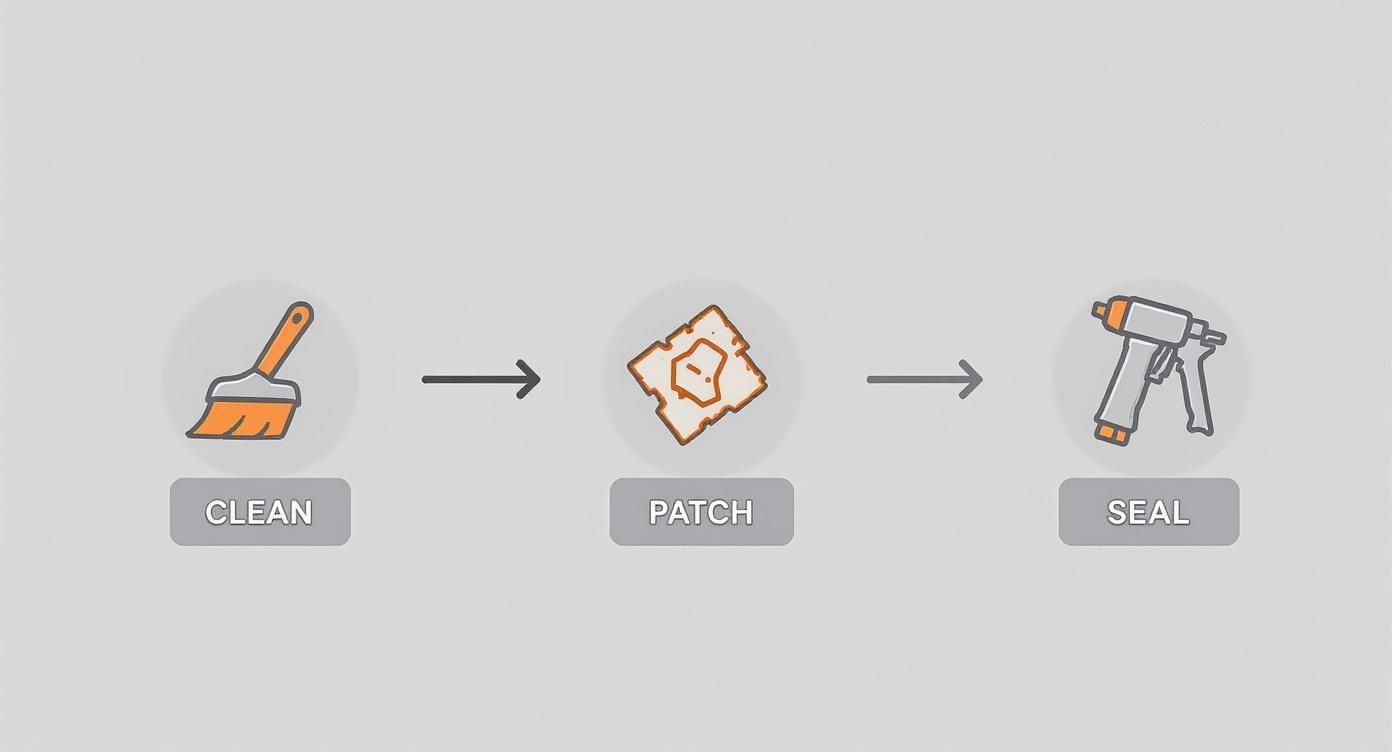
As you can see, it all starts with a clean surface. That’s the foundation for a durable fix, followed by the correct patching and sealing techniques for your specific situation.
Patching Punctures and Slicing Blisters
It happens all the time—a fallen branch puts a small hole in the roof, or moisture gets trapped and forms a blister. They might look small, but these are open invitations for water to sneak under the membrane, ruining your insulation and rotting the roof deck below.
First things first, you need to clean a wide area around the damage, at least six inches out from the hole in every direction. Get in there with a stiff brush and soapy water. Let it dry completely, then give it a final wipe-down with a solvent or primer that's made for your type of roof. This last step is crucial—it gets rid of any hidden grime or oils that will prevent your patch from sticking properly.
For a simple puncture:
- Cut a patch from your repair material, making sure it’s at least three inches bigger than the hole on all sides. A good tip is to round the corners of the patch; it helps stop the edges from catching and peeling up later on.
- Spread your adhesive or roofing cement on the roof surface with a trowel, getting a nice, even layer.
- Press the patch down firmly into the adhesive. Start from the middle and smooth it outwards to squeeze out any air bubbles. If you have a small weighted roller, now’s the time to use it.
Dealing with a blister is a bit different because you have to let the trapped air or moisture out first. Carefully take your utility knife and slice an 'X' across the blister. Peel back the four flaps you just created and let the area underneath dry out completely. A heat gun on a low setting can help speed this along. Once it's bone dry, smear roofing cement inside, press the flaps back down, and then cover the whole thing with a patch just like you would for a puncture.
Resealing Failed or Separating Seams
On many flat roofs, the seams are the most vulnerable spots. UV rays and constant temperature swings eventually break down the adhesive, causing seams to pull apart and let water in. A failing seam is a major red flag that needs to be addressed immediately.
You'll want to start by cleaning the entire length of the bad seam, making sure to clean a few inches onto the membrane on either side. Once it's clean and dry, gently pry the seam open just enough to work in. A small pry bar or even a stiff putty knife works, but be careful not to gouge or tear the membrane itself.
With the seam open, use a brush to clean out all the old, crumbly adhesive and dirt from inside. After it's clear, lay a generous bead of the proper roofing adhesive deep inside the seam. Press the top layer of the membrane down hard and use your weighted roller to apply steady, heavy pressure along the entire repair. That pressure is what creates a solid, waterproof bond.
Pro Tip: After rolling the seam tight, run a final bead of lap sealant along the exposed outer edge of the seam. This acts as a last line of defense, making it almost impossible for water to work its way under the edge.
Addressing Ponding Water Issues
If you see a "puddle" on your roof, it's more than just a minor annoyance. We call it ponding water, and it's a sign of a bigger drainage or structural problem. Any water that sits on your roof for more than 48 hours is bad news. Its weight adds a ton of stress to the structure, and the constant moisture makes roofing materials break down much faster.
The first, and easiest, thing to check is your drains or scuppers. More often than not, a simple clog from leaves and debris is the culprit. Clearing that out might solve the problem entirely.
If you have a persistent low spot, you can try to build it up with a trowel-grade leveling compound that’s compatible with your roof.
- First, clean the entire ponding area very well.
- Apply the leveling compound with a trowel. Start with a thin layer at the edges and gradually build it up toward the center of the low spot.
- Use a straightedge to "feather" the compound so it blends smoothly with the surrounding roof, creating a gentle slope that helps guide water toward a drain.
This can be an effective fix for small depressions, but if you're looking at large pools of standing water, it’s a pretty clear signal that you need a professional to come take a look.
Repairing Damaged Flashing
Flashing is the material—usually metal or a piece of membrane—that seals the joints where things stick out of your roof, like vents, pipes, and chimneys. It’s no exaggeration to say that damaged flashing is one of the most common causes of serious roof leaks.
Your inspection should tell you whether the flashing itself is busted or if the sealant around it has just failed. If it's just old, cracked sealant, the fix is straightforward. Scrape all of the old stuff off with a putty knife and wire brush, clean the area with a solvent, and then apply a fresh, continuous bead of high-quality roofing sealant. Make sure there are no gaps.
If the flashing itself is bent, rusted through, or has pulled away from the roof, the repair is more involved. You might need to gently pry it up, apply roofing cement underneath, and then fasten it back down securely. For small holes in metal flashing, a good fix is to clean the area and then embed a piece of reinforcing fabric into a thick layer of roofing cement right over the hole.
Roof repair has changed a lot over the years. Since the 2000s, the development of advanced synthetic membranes like TPO and EPDM has really changed the game. Today, an estimated 60-70% of flat roof repairs involve these modern materials or new liquid-applied coatings that go on fast. We've also seen a rise in reflective "cool roof" coatings, which studies show can reduce rooftop temperatures by up to 15%, helping the materials last longer. You can read more about these flat roof market trends to see just how much the technology has evolved.
Temporary Fixes vs. Permanent Repairs
When you spot a water stain spreading across your ceiling during a downpour, your mind isn't on long-term roofing strategies. It's on one thing: stopping the water now. This is the moment you're faced with the classic dilemma of a temporary fix versus a permanent repair, and knowing the difference can save you a world of hurt.
Think of a temporary fix as first aid for your roof. It's a quick, dirty patch designed to staunch the bleeding and prevent immediate water damage inside your home. It’s the duct tape of the roofing world—incredibly useful in a pinch, but you wouldn’t build a house with it.
Quick Fixes in an Emergency
When you've got water coming in and the weather isn't letting up, you need a stopgap solution. A few go-to products can be absolute lifesavers, giving you a quick seal until you can get a pro out or the weather clears.
- Roofing Cement/Mastic: This is that thick, black, tar-like goo you'll find in cans or caulk tubes at any hardware store. It's messy, but it works. The key is to slather it on generously with a putty knife, making sure you cover at least two inches beyond the edges of the hole or split seam.
- Peel-and-Stick Patch Tape: This stuff is fantastic for a fast patch. Modern roofing tapes are seriously sticky and built tough. For the best results, wipe the area clean and dry, cut a piece of tape that generously covers the damage, and round off the corners with scissors—this simple trick helps keep the edges from peeling up over time. Press it down hard to get a good bond.
A temporary patch is your roof’s bandage, not its cure. It buys you valuable time to plan a proper, permanent repair without the stress of an active leak. Never mistake a quick fix for a long-term solution.
These fixes are designed to get you through a rough patch, maybe a few weeks or a couple of months at best. But sunlight and weather will break them down surprisingly fast, and you'll be right back where you started.
Making the Leap to a Lasting Solution
A permanent repair is a whole different ballgame. The goal here isn't just to plug a hole; it's to fully restore the integrity of your roof so it can stand up to the elements for years to come. This is a much more thoughtful process that tackles the root cause of the leak.
This is where real craftsmanship comes in. You can't just slap a patch on dirty, wet material and expect it to last. A permanent fix demands meticulous prep work—the surface has to be perfectly clean, bone-dry, and often primed so the new material can literally bond with the old. We're talking about techniques like heat-welding a TPO patch into place or using a professional EPDM patching kit that involves specific primers and lap sealants for a seamless, waterproof seal.
Comparing Your Options
So, which route do you take? It almost always comes down to urgency, your budget, and how comfortable you are doing the work. Here’s a quick rundown of the trade-offs:
| Factor | Temporary Fix | Permanent Repair |
|---|---|---|
| Goal | Stop an active leak immediately. | Restore the roof's long-term integrity. |
| Lifespan | Weeks to a few months. | Several years, often lasting the roof's life. |
| Cost | Low (typically under $50). | Moderate to high ($100s to $1,000s). |
| Effort/Skill | Minimal skill needed. | Requires careful prep and specific techniques. |
| Best Use Case | Emergency repairs during bad weather. | Planned repairs on a clean, dry roof. |
Ultimately, anyone asking "how do I repair a flat roof" should have a permanent solution as their end goal. That emergency patch is a great tool to have in your back pocket, but following it up with a durable, professionally executed repair is what truly protects your home and your investment for the long haul.
When to Call a Professional Roofer

There's a certain satisfaction in patching a small leak on a clear afternoon, but the smartest tool in any DIYer's belt is knowing when to leave it to the pros. Flat roofs, in particular, come with challenges that can turn a "simple fix" into a massive structural headache.
Recognizing that a problem is beyond your skill set is the most important step you can take. Sometimes, putting the tools down and picking up the phone is the safest and, believe it or not, most cost-effective move.
The thing is, many issues that look simple on the surface are just symptoms of a much bigger problem. A seasoned roofer has the experience to spot what you might miss, like subtle dips in the roof structure or the early stages of membrane failure that haven't even started leaking yet. Their job isn't just about patching holes; it's about understanding how the entire roofing system works together.
Red Flags That Scream "Call a Pro"
If you see any of these signs during your inspection, it’s a clear signal to stop what you're doing. These aren't just minor blemishes; they often point to underlying structural or systemic problems that need a professional eye and specialized equipment.
- Large Areas of Ponding Water: If a big puddle is still sitting on your roof more than 48 hours after it rains, you’ve got a serious drainage or structural issue. This isn't just a low spot—it’s a warning that the roof deck itself might be sagging.
- Widespread "Alligatoring": On older asphalt-based roofs, a pattern of deep, interconnected cracks that looks like an alligator's skin means the membrane is toast. It's become brittle and lost its waterproofing oils. Patching one area is a waste of time when the whole surface is failing.
- Soft or Spongy Spots: This is a big one. As you walk carefully on the roof, do you feel any "give" under your feet? Spongy areas are a major red flag. It means the insulation below is soaked and the roof deck could be rotting away. That's a serious safety hazard.
- Leaks in Multiple Places: One leak might be a fluke. But if you have several leaks popping up in different rooms, you're likely dealing with a widespread, systemic failure of the roofing material.
The decision to hire a professional often comes down to complexity and risk. A single, clean puncture? You might be able to handle that. But widespread membrane failure or a sagging roof deck requires an expert. A pro doesn't just fix the leak you see; they find and fix the cause to keep it from happening again.
The Hidden Complexities Professionals Handle
Beyond the obvious signs of trouble, pros are trained to manage things most of us never even think about. They can diagnose and correct improper drainage slope, which is the root cause of most ponding water.
They also know how to properly tie in new patch materials with an older roof membrane—a process that requires a deep understanding of chemical compatibility and application techniques to create a permanent, watertight bond. Get it wrong, and your "fix" will fail in less than a year.
The True Value of a Professional Repair
Hiring a roofer might feel like a bigger expense upfront, but it almost always saves you money down the road. A professional repair stops a small problem from becoming a catastrophic one that could lead to thousands in water damage and structural repairs. It also saves you from the cycle of failed DIY attempts and buying more materials.
To get a better handle on what you might be looking at, you can check out a detailed breakdown of flat roof repair costs and see how different issues affect the price.
There's a reason the demand for skilled roofers is growing. The global roof repair market is expected to jump from USD 38.8 billion in 2025 to over USD 52.27 billion by 2031. More and more property owners are realizing that quality repairs are a smart investment that extends a roof's life. After deciding you need an expert, the best next step is to get a clear picture of the scope and cost. It's always a good idea to seek out multiple estimates from reputable, local professionals to ensure you get a fair assessment.
Common Questions About Flat Roof Repair
Even with the best guide in hand, you’re bound to have questions when you’re staring up at your roof, wondering where to start. That’s perfectly normal. Getting straight answers is the key to feeling confident enough to do the job right—or knowing when it’s time to call in a pro.
We’ve pulled together some of the most common questions we get from homeowners just like you. Think of this as your final check-in before you start, a chance to clear up any last-minute doubts and make sure your repair is a lasting solution, not just a temporary band-aid.
How Often Should I Inspect My Flat Roof?
When it comes to flat roofs, an ounce of prevention is truly worth a pound of cure. You should plan on giving your roof a good visual once-over at least twice a year. The best times are in the spring and fall, right after the worst of the winter and summer weather has passed.
On top of that, it’s a great habit to take a quick look after any major weather event—think heavy rain, high winds, or a hailstorm. You’re scanning for things like piled-up leaves and debris, puddles that aren't draining, or any new cracks, blisters, or seams that look like they're starting to pull apart. Catching these things early can save you from a massive headache down the road.
Can I Just Use Any Repair Material I Find at the Store?
This is a hard no, and it's probably the single biggest mistake people make. Your roof isn’t just a generic surface; it’s a specific material, and you need to use products that are chemically compatible with it.
For example, an EPDM rubber roof requires special EPDM primers and patches. If you try to slap some all-purpose asphalt cement on a TPO or PVC roof, you can actually cause the membrane to break down, making the original leak even worse.
My Pro Tip: The rule is simple: Always figure out what type of roof you have first. Once you know, only buy sealants, patches, and adhesives that specifically say they are for that material. Using the wrong stuff is a guaranteed way to make sure your patch fails.
How Long Will a DIY Flat Roof Patch Actually Last?
Honestly, it depends. The lifespan of your patch comes down to three things: how well you cleaned the surface, the quality of the repair materials, and how carefully you applied them.
A small puncture that you've meticulously cleaned and patched with the right materials could easily hold up for several years. But a quick patch slapped over a dirty, damp spot? That might not even make it through the next big rainstorm.
For anything more serious than a tiny, simple hole—like failing seams or issues around flashing—a professional repair is always going to be the most reliable and durable bet for long-term peace of mind.
What Does a Professional Flat Roof Repair Cost?
The price tag can swing quite a bit depending on how bad the damage is, what your roof is made of, and labor rates in our area.
Here’s a rough breakdown:
- Minor Repairs: For a simple patch on a small puncture or sealing a single cracked seam, you might be looking at a few hundred dollars.
- Moderate Repairs: Bigger jobs, like properly resealing the flashing around a vent pipe or fixing a larger section of seams that have failed, could be in the $1,000 to $3,000 range.
- Major Repairs: If the problem has gone on long enough to damage the insulation or the actual roof deck underneath, the costs will climb from there.
The only way to know for sure is to get a detailed quote from a qualified roofer. That way, you know exactly what work needs to be done and what it will cost before you commit.
If you've taken a look at your roof and decided the job is more than you want to handle—or if you just want the assurance that it's fixed right the first time—we're here to help. The team at Penn Ohio Roofing & Siding Group has the experience to diagnose and repair any flat roof issue, from a small leak to a major problem.
Contact us today for a free, no-obligation estimate and let's get your roof back in shape.