At its core, replacing a missing shingle is a straightforward job. You'll need to pry out the old, stubborn nails and clear away any torn bits of the original shingle. Then, you slide the new one into place, secure it with four to six roofing nails, and dab some roofing cement under the tabs to create a watertight seal. It’s a simple fix that stops water dead in its tracks and protects the bones of your home.
Why You Must Replace That Missing Shingle Immediately
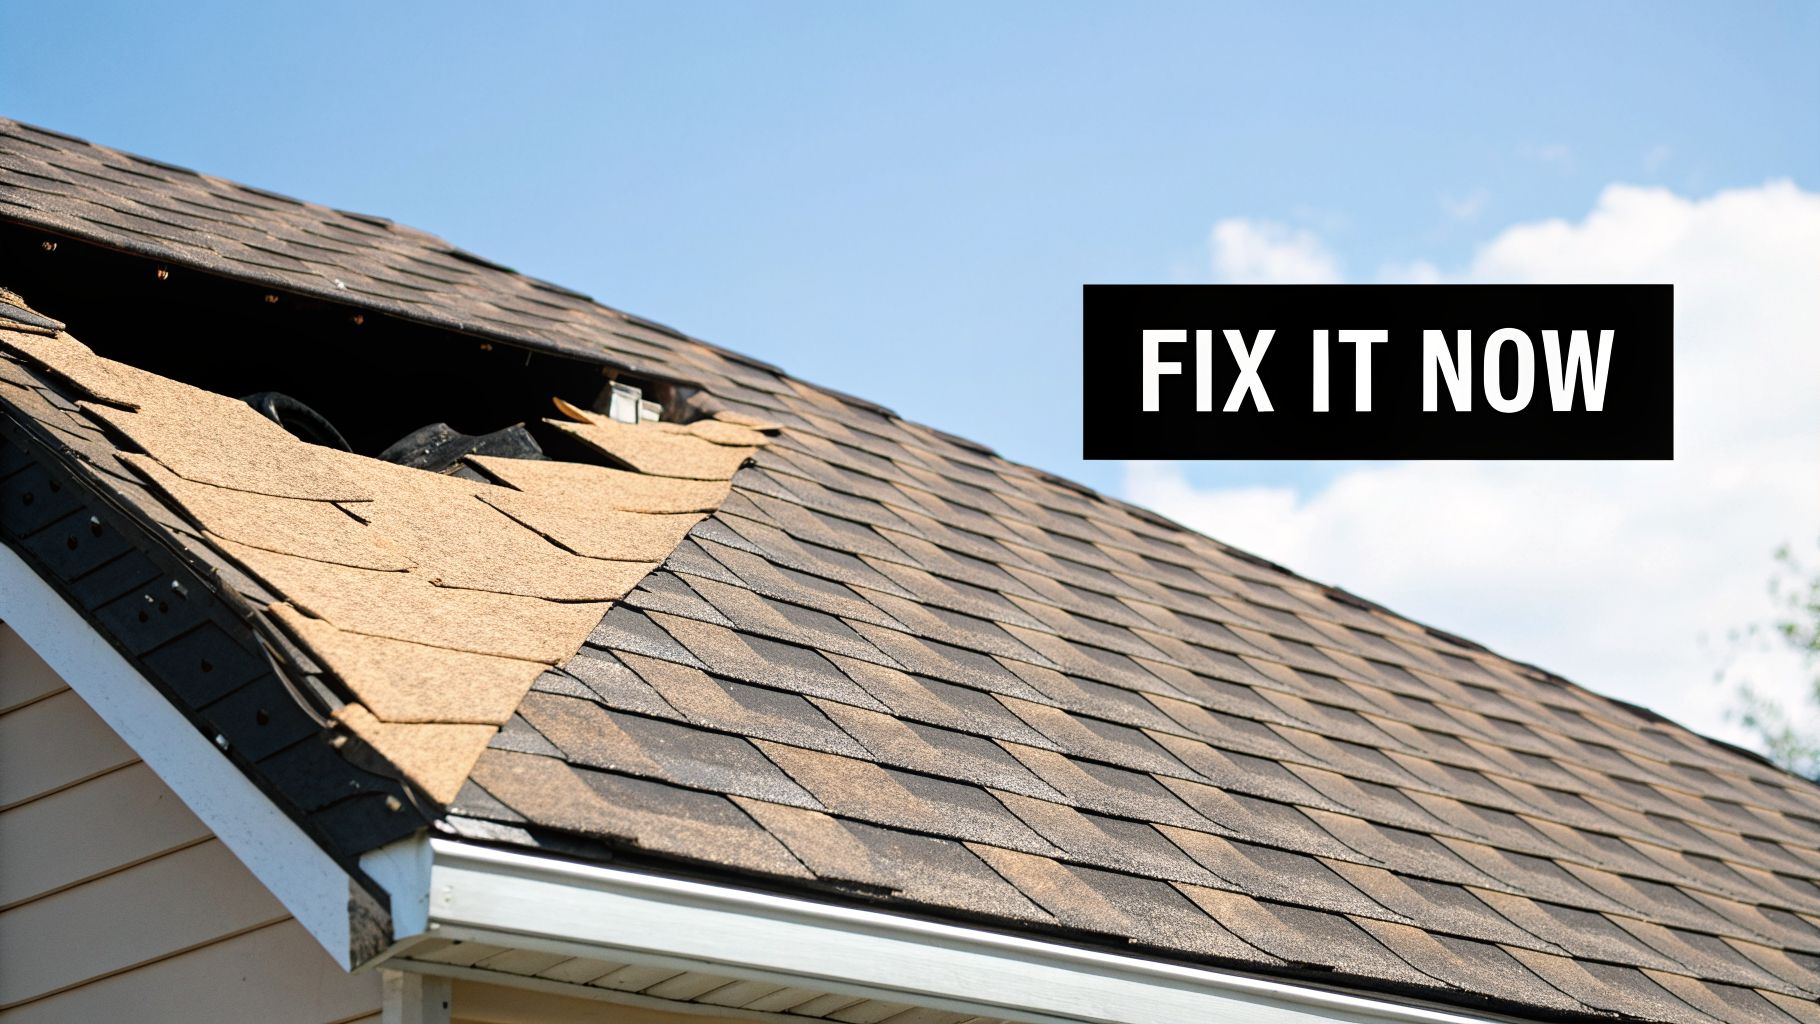
That one bare patch staring back at you from the roof is way more than a cosmetic issue—it’s a ticking clock. A single missing shingle is like leaving a window wide open during a rainstorm. It’s an invitation for water to sneak under your roof's defenses and start causing trouble you can't even see.
The True Cost of Delay
Don't be tempted to put this off. Ignoring that small gap lets moisture get to the roof decking, which is the wooden foundation of your entire roofing system. Once that happens, you’re looking at wood rot, mold, and a structure that’s slowly losing its strength. We've seen it time and again: leaving one shingle missing can cause 20-30% more damage to the surrounding area, turning a quick fix into a major project.
Putting off the repair can also lead to a full-blown leak inside your home, which opens up a whole new can of worms with insurance. It’s smart to understand if your house insurance will cover a leaking roof before you're in that situation, as it often depends on whether the damage resulted from neglect.
The longer that spot is exposed, the bigger the problem gets. Water doesn't just sit still; it travels. It will find its way into your attic insulation, stain your drywall, and can even create electrical hazards. What should have been a $100 repair can easily spiral into thousands of dollars in damages.
From Small Gap to Big Problem
The first signs of trouble might not be a drip from your ceiling. That damage builds up silently over time. A missing shingle is an obvious red flag, but it might not be the only problem up there. Knowing what to look for is your best defense against expensive, surprise repairs down the road.
If you want to get a better handle on your roof's condition, our guide on the 7 critical signs of roof damage is a great place to start your own inspection.
Ultimately, knowing how to replace a missing shingle is a valuable skill for any homeowner. It’s a manageable DIY task that, when done quickly, safeguards your most important investment—your home.
Gathering Your Tools and Materials for a Flawless Job
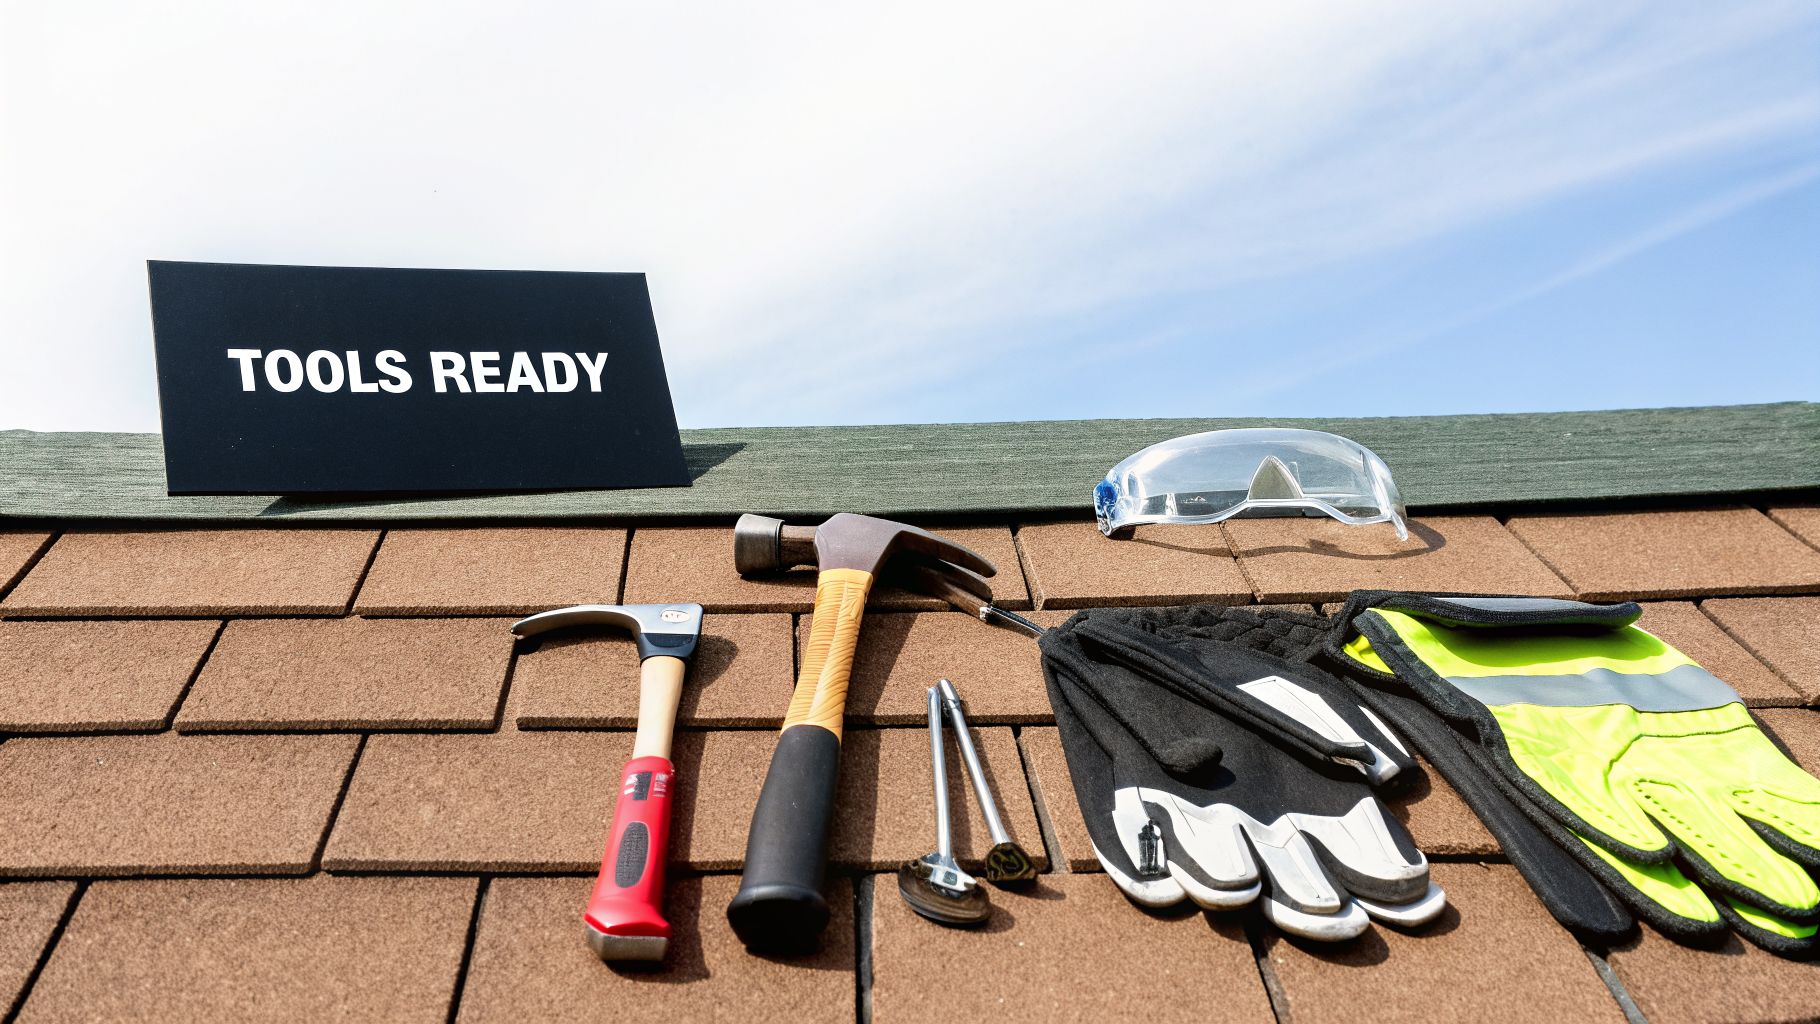
Before you set foot on that ladder, let's get one thing straight. A solid roof repair is about 80% preparation and 20% execution. Having every tool and material ready to go isn’t just about convenience; it’s what separates a permanent fix from a patch that will fail you in the next heavy rain.
Having every tool and material ready to go isn’t just about convenience; it’s what separates a permanent fix from a patch that will fail in the next heavy rain. Let’s get you set up for success from the start.
The Essential Toolkit for Shingle Replacement
To make this simple, I've put together a checklist of exactly what you'll need. Think of this as your go-to reference before you begin. Having the right tool isn't just helpful—it's critical for avoiding damage to the surrounding shingles.
| Item | Type/Specification | Pro Tip |
|---|---|---|
| Flat Pry Bar | Also known as a "cat's paw." | This is your most important tool. Its thin, flat edge is designed to slide under shingle seals and pop nails without cracking the shingle. A hammer claw is too aggressive and will cause more damage. |
| Hammer | Standard claw hammer. | You'll need this to drive in the new roofing nails securely. |
| Utility Knife | Use a hook blade. | A hook blade is much safer and more effective for cutting away old shingle remnants than a straight blade. |
| Caulking Gun | Standard-duty. | For applying the roofing cement. Make sure the release works smoothly to avoid messes. |
| Tape Measure | At least 12 feet. | Essential for checking shingle exposure and ensuring your new shingle is perfectly aligned. |
| Replacement Shingles | Match your existing roof. | Take a clear photo of your roof in good light, or better yet, bring a broken piece of an old shingle to the store. This ensures the best possible match for color and texture. |
| Roofing Nails | 1 ¼-inch galvanized. | Galvanized nails resist rust, and the wide heads are crucial for holding the shingle down without tearing it. Don't substitute with other nail types. |
| Asphalt Roofing Cement | Caulk tube. | This is the black, tar-like adhesive that creates the final waterproof seal on the shingle tabs. |
Getting these items lined up beforehand means you can focus entirely on doing the job right once you're on the roof.
Nailing the Details: Materials and Technique
Now, let's talk about the materials, because this is where many DIY repairs go wrong. The most common point of failure I see is improper nailing.
It's a surprising statistic, but DIY shingle replacements fail about 30% of the time simply due to incorrect nailing. You need a minimum of four nails per shingle, placed correctly. If you live in a high-wind area, you absolutely must use six nails to prevent blow-offs. This isn't just a suggestion; it's the key to a lasting repair. You can dive deeper into industry standards with this detailed report on the asphalt shingle market.
When you slide the new shingle into place, it has to go under the shingle above it but over the one below. It's also critical that it sits on top of the roof's protective underlayment. If you see that this black felt-like or synthetic barrier is torn or missing, you have a bigger problem. That layer must be repaired first.
If you're not sure what you're looking at, take a moment to read our guide on what roof underlayment is and why it matters. It’s your roof’s last line of defense.
Preparing the Roof for a Seamless Repair
Alright, you're on the roof and ready to tackle that missing shingle. Before you even think about the new shingle, we need to talk about prep work. I’ve seen countless DIY repairs fail within a year, and it almost always comes down to rushing this part. A great repair isn’t just about plugging a hole; it’s about creating a flat, watertight surface that blends right in.
Your first job is to play detective. Don't just stare at the empty spot. Take a good, hard look at the shingles all around it. Whatever took out that one shingle probably didn't stop there.
Kneel down and check the shingles directly above, below, and on both sides of the gap. You're hunting for:
- Failed sealant under the tabs. Is it cracked, brittle, or just gone?
- Hidden nail pops. Run your hand (carefully!) over the surface to feel for any nails that have backed their way out.
- Creases, cracks, or tears. Even a small tear is a future leak waiting to happen.
Finding these problems now means you can fix them all in one go. If you just slap a new shingle in place and ignore its damaged neighbors, you're just putting a band-aid on a bigger problem. You’ll be back up here sooner than you think.
Clearing the Way for the New Shingle
Once you’ve assessed the collateral damage, it's time to clear out the old mess. Any torn bits of the original shingle need to go, especially the part that's tucked under the shingle above it.
Now for the real targets: the old roofing nails. You'll likely find two to four nails that were holding everything together. They all have to come out to give you a clean slate for the new shingle.
A word of advice from the field: This is where your flat pry bar is your best friend. Do not, under any circumstances, try to use the claw of your hammer. It’s too thick and clumsy. You'll almost certainly crack the perfectly good shingle above it when you try to jam it underneath. This is a job for finesse, not brute force.
The Right Way to Loosen Old Seals
The shingle directly above the gap you're working on is glued down by a strip of asphalt sealant. To get to those nails we just talked about, you have to break that seal.
The key is to be gentle. On a hot day, this is pretty easy; the sealant will be soft and pliable. Just slide your pry bar under the edge of the shingle and work it from side to side. You’ll feel a little "pop" as the seal gives way. If it’s cold out, be extremely careful. Old, cold shingles get incredibly brittle and will snap before they bend.
With the seal broken, you can now lift the shingle just enough to see the heads of the old nails. Slide the forked end of your pry bar under a nail head, use the roof for leverage, and pry it out. Once you've removed all the old nails and cleared the debris, the site is finally prepped for the new shingle.
Installing the New Shingle Like a Seasoned Pro
Alright, you've cleaned out the old mess and have a nice, prepped spot waiting. This is the moment that separates a temporary patch from a long-lasting, professional-looking repair. Getting this right means your new shingle will be invisible, waterproof, and just as tough as the rest of your roof.
The first move is simple: slide the new shingle into the gap. It needs to go under the shingle in the row above it, but over the top edge of the shingles in the row below. Take a second to get the alignment perfect. You want the vertical slots on your new shingle to line up exactly with the ones next to it. This isn't just for looks; it's critical for making sure water flows down your roof correctly.
Nailing It Down the Right Way
This is where a lot of DIY repairs go wrong. Nailing seems easy, but one wrong move can create a brand new leak or damage the shingle you just bought. Precision is everything.
You’ll need four 1 ¼-inch galvanized roofing nails for a standard replacement. The placement is non-negotiable if you want it to hold.
- Drive one nail about 1 inch in from the left edge of the shingle.
- Drive a second nail about 1 inch in from the right edge.
- Place the other two nails at equal distances between those first two.
- Crucially, all nails should be positioned just below the black sealant strip.
Living in a high-wind area? Don't even think about it—use six nails per shingle. Just add two more, evenly spaced, for that extra gripping power. Make sure every nail head sits perfectly flush with the shingle.
I've seen it a hundred times: a nail driven too deep tears the shingle's core, completely weakening it. A nail left sitting too high props up the shingle above it, creating a perfect little pathway for water to sneak in. Flush is the only way.
Creating a Watertight Seal
Your shingle is nailed in, but the job isn’t done. Those nail heads are exposed, and the new shingle's tabs are loose. You have to manually create the waterproof seal that the factory puts on every other shingle.
Grab your asphalt roofing cement and caulking gun. You're going to gently lift the tabs of the shingle directly above your new one. Place a quarter-sized dab of sealant right on top of each nail head you just drove in.
Next, put a few dabs of that same sealant under the tabs of your new shingle to stick it down. Press everything down firmly to get a good, solid bond. You've just replicated the heat-activated seal that holds the rest of your roof together.
The flowchart below shows the prep work that comes before this stage.
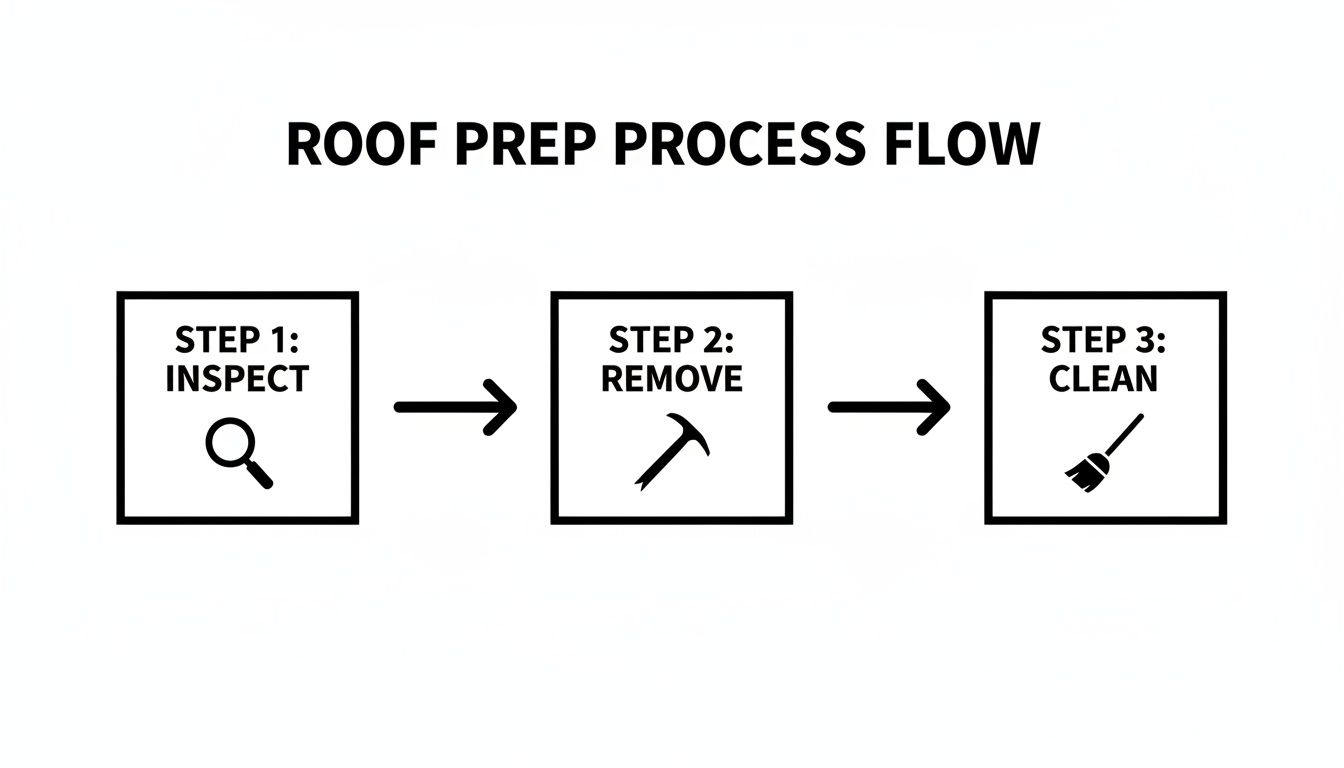
It seems so basic—inspect, remove, and clean—but skipping these steps is a costly mistake. Industry data shows that a single failed shingle can lead to over $2,000 in water damage inside your home. In fact, some reports project that 35% of certain insurance claims can be traced back to this kind of small-scale neglect. You can dig deeper into the market trends for roofing materials by checking out the latest findings from Grand View Research.
Knowing When to Call a Roofing Professional
There's a real sense of accomplishment in fixing a small roof issue yourself, no doubt about it. But a seasoned homeowner knows when to put the tools down and call in a pro. Recognizing the difference between a simple patch job and a symptom of a much larger problem is the most important skill you can have.
Sometimes, the job is just bigger than it looks from the ground. If you manage to pry up the damaged shingle and find the wood decking underneath feels soft, spongy, or even slightly damp—stop. That's not just a sign; it's a blaring alarm bell. It means water has been getting in for a while, and the rot you're feeling is the result. Slapping a new shingle over that will only trap the moisture and accelerate the decay.
When the Job Gets Bigger
Take a look around the rest of your roof. Is it really just one or two missing shingles? Or are you seeing widespread issues? If you spot entire patches of shingles that are curling, cracked, or have lost most of their granules (that gritty stuff), you’re looking at a roof that's at the end of its life. Spot-fixing a few shingles on a failing roof is like putting a band-aid on a broken bone. It's not a real solution.
Then there’s the most important factor of all: your personal safety. Let’s be honest here.
- Steep Roof Pitch: Any roof you can't comfortably walk on is a job for a professional with proper fall protection. It’s incredibly dangerous otherwise.
- Fear of Heights: There’s no shame in it. If you feel even a little bit shaky on a ladder or get dizzy on the roof, it’s not worth the risk. A fall can change your life in an instant.
- General Uncertainty: If you get up there and just feel out of your depth, listen to that gut feeling. Hesitation or confusion when you're trying to seal a shingle properly is a good sign to pause.
A professional roofer isn't just slapping on a shingle; they're diagnosing the health of your entire roofing system. They can spot hidden issues you might miss, and their repairs come with a warranty. That’s not just a fix—it’s peace of mind.
Making the Right Call
Ultimately, protecting your home is the goal. Choosing to hire a qualified expert is often the smartest way to do that. If you're ready to make that call, our guide on how to choose a roofing contractor is a great place to start.
And before you hire anyone to work on your home, make sure you know how to check if a contractor is licensed and insured. It's a simple step that protects you from a world of potential headaches. Sometimes, the most successful DIY project is knowing when to pick up the phone instead of the hammer.
A Few Final Questions We Hear All the Time
Even with the best instructions, you're bound to have questions once you're up on the ladder. That's perfectly fine—every roof has its own quirks. Let's tackle some of the most common questions and curveballs homeowners run into when replacing a shingle.
How Do I Get a Good Color Match?
This is easily one of the biggest challenges. Your roof has been baking in the sun for years, and that color has faded. Even a brand-new shingle from the exact same box would look noticeably different.
The best approach is old-fashioned. Take a good-sized chunk of the broken shingle with you to your local roofing supply house. Seeing it in person and holding it up against the new shingles is the only reliable way to find a close match. If you're lucky, you might find a brand name or product code printed on the underside of your shingle sample, which can really help narrow the search.
Here's a little trick I've learned over the years: If you can't find a perfect match, always go with a shingle that's a shade darker, not lighter. A darker patch tends to blend in much better as it ages. For a truly invisible fix, you can play a little shell game. Carefully remove an existing, good shingle from a part of your roof nobody sees—say, on a back slope—and use that one for your visible repair. Then you can put the new, slightly-off shingle in that hidden spot.
Can I Really Do This in Any Weather?
Absolutely not. The weather dictates everything when it comes to roofing, both for your safety and for the repair to actually work. You're looking for a Goldilocks day: dry, mild, and calm.
- Cold Days (below 40°F): Shingles get incredibly brittle in the cold. Try to lift a tab, and it’s liable to snap right off. The sealant on the new shingle also needs warmth to activate and create a waterproof bond. In the cold, it just won't stick properly.
- Hot Days (above 85°F): On the flip side, extreme heat turns shingles soft and gummy. They're easy to scuff up or damage with your boots and tools. The fresh sealant can also get runny and make a huge mess.
- Wet or Icy Conditions: This one is non-negotiable. Never get on a roof if it's wet, icy, or even just dewy from the morning. Add in some wind, and you have a recipe for disaster. The risk of a fall is just too high.
What If the Wood Underneath Looks Bad?
Okay, this is the one situation that turns a simple DIY project into an immediate "stop and call a pro" moment. If you pull off the damaged shingle and find the wood deck underneath is soft, spongy, or looks black and rotten, stop right there.
That's the telltale sign of a much bigger problem. A long-term leak has been at work, and the structural integrity of your roof is compromised. Slapping a new shingle over that spot is one of the worst things you can do. You’re just trapping the moisture, which guarantees the rot will spread and weaken the roof even more. This isn't a shingle job anymore; it's a structural repair that needs a professional to assess the full extent of the damage.
How Long Will This Patch Actually Last?
If you do the job right, your repair should last for the remaining life of your roof. The durability of your work all comes down to being meticulous and not taking any shortcuts.
A long-lasting fix really boils down to three things:
- Proper Nailing: Use four to six galvanized roofing nails per shingle, and make sure you drive them in perfectly flush—not too deep and not sticking up.
- Perfect Alignment: Get that new shingle lined up exactly with the courses above and below it.
- Good Sealing: Use a few dabs of quality asphalt roofing cement under the shingle tabs and on the nail heads. This creates the final watertight seal that keeps everything locked down.
A professional repair usually includes a workmanship warranty, which is great for peace of mind. But a patient and careful DIY job can be just as strong and effective.
If you've taken a look and decided the job is more than you want to handle, or if you discovered that dreaded soft spot in the decking, a professional roofer is ready to help. They can handle anything from a single stubborn shingle to a major structural fix. For a free, no-obligation estimate, just get in touch with us at https://pennohiorc.com.