To stop ice dams for good, you have to cut off the source of the problem: heat leaking from your house into the attic. That escaped heat warms up your roof, melting the snow from underneath. This water runs down to the colder edges of your roof and refreezes, building up a destructive wall of ice. The only real solution is a three-pronged attack: beefing up your attic insulation, air sealing all the little gaps, and ensuring proper ventilation.
What's Really Causing Ice Dams on Your Roof?
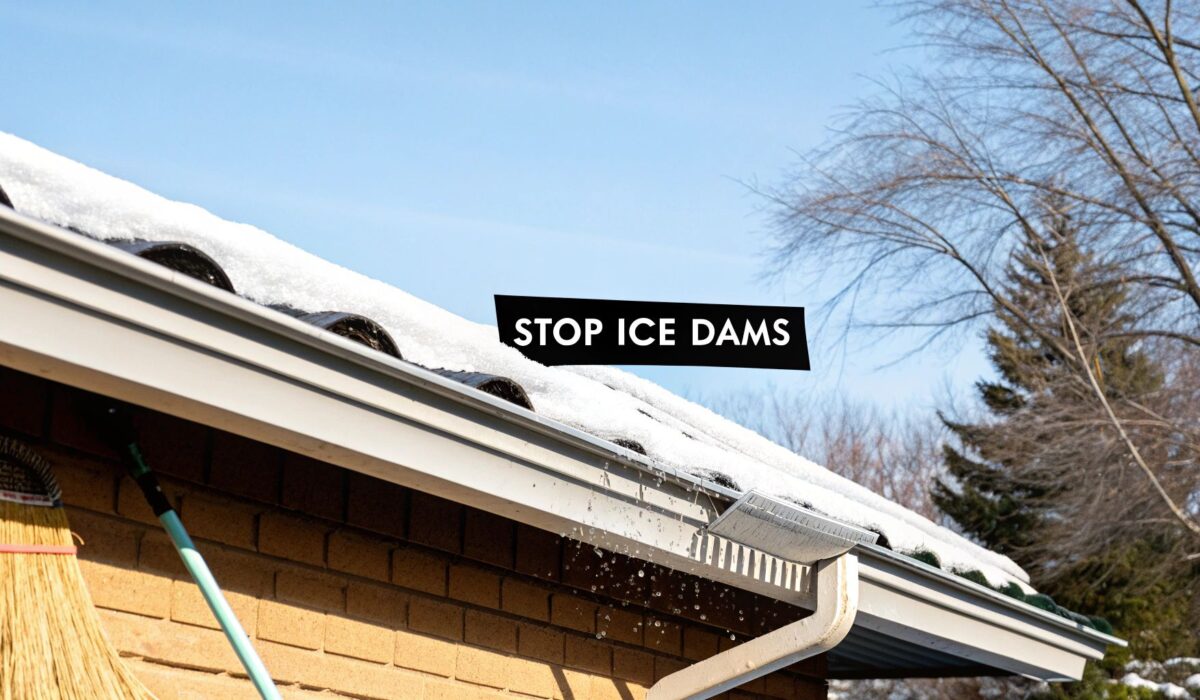
Those long, sparkling icicles you see hanging off your eaves might look pretty, but they're often a dead giveaway that something is wrong. An ice dam isn't just a freak of winter weather; it's a sign that your house is bleeding heat where it shouldn't be.
It all boils down to a destructive cycle. First, warm air from your living areas finds its way into the attic, heating the underside of your roof sheathing. Even when it's bitter cold outside, this warmth is enough to melt the layer of snow sitting on your shingles.
The meltwater then trickles down the roof until it hits the overhangs—the eaves and gutters. Because this part of the roof isn't getting warmed by the attic, the water immediately freezes. As more snow melts and more water flows down, it freezes on top of the last bit, and a thick ridge of ice—an ice dam—starts to form.
The Problem with Trapped Water
Once that dam is there, it's like a plug in a drain. Any new meltwater gets trapped behind it, creating a little pond right on your roof. Shingles are designed to shed water, not hold it back like a swimming pool. This standing water can easily sneak under the shingles, soak through the roof deck, and start dripping into your attic and home.
I've seen the aftermath countless times, and it's never pretty. The damage can be severe and expensive:
- Insulation gets soaked, becoming completely useless.
- The roof deck and framing begin to rot.
- Ugly water stains appear on interior ceilings and walls.
- Dangerous mold and mildew can start to grow.
People often think the ice itself is the enemy. But in reality, the ice is just a symptom. The real culprit is the temperature difference across your roof, fueled by heat escaping from your house.
Is Your Home at Higher Risk?
Some home designs are just more prone to ice dams. If you have a complex roof with a lot of valleys, dormers, or different pitches, you've got built-in spots where snow piles up and melts unevenly. Vaulted or cathedral ceilings are another classic trouble spot. With no real attic space to act as a buffer, any little insulation gap or air leak will heat the roof directly.
Here's the key thing to remember: Hacking away at the ice with a hammer or chisel is a temporary fix that often does more harm than good to your shingles. To truly solve the problem, you have to get to the root cause—the heat escaping into your attic.
Your gutters can make a bad situation even worse. If they’re full of fall leaves and debris, meltwater can’t drain away. It just sits there at the edge of the roof, providing the perfect conditions for a dam to form. Knowing how to clean your downspouts and gutters is a non-negotiable part of any prevention plan.
Ultimately, the goal is to create what we call a "cold roof," where the roof surface stays at the same temperature as the air outside. That way, the snowpack melts naturally from the sun, not from your furnace. This completely stops that destructive melt-and-refreeze cycle before it even gets started.
Your First Line of Defense: Attic Insulation
If you want to stop ice dams for good, you have to get to the root of the problem: heat escaping from your house. The single most effective, long-term solution is creating a solid thermal barrier between your warm living space and the cold attic. It’s a two-part job that starts with sealing air leaks before you add a single scrap of insulation.
Think of your home's heated air like water in a leaky bucket. You can have a thick layer of insulation, but if there are holes, that warm air will pour right through. These leaks are often tiny and tucked away, but together they channel a shocking amount of heat straight to the underside of your roof, kicking off the melt-and-freeze cycle.
Pinpointing and Sealing Hidden Air Leaks
Before you even think about insulation depth, your first job is to play detective. You need to hunt down and seal every last crack and gap connecting your living area to the attic. These are the real villains that create warm spots on your roof.
Common culprits are usually where something penetrates the ceiling:
- Around Plumbing Vents and Chimneys: Gaps where pipes or a chimney pass through the attic floor are basically heat highways.
- Recessed Lighting Fixtures: Older "can" lights are notoriously leaky, letting warm air billow out around the fixture.
- Attic Hatches or Pull-Down Stairs: These access points are often unsealed and uninsulated, acting like an open window for heat to escape.
- Wiring Holes and Ductwork: Every hole drilled for wires or HVAC ducts is another potential leak.
Sealing these spots is non-negotiable. Use expanding foam sealant for the bigger gaps around pipes and a good quality caulk for smaller cracks. For your attic hatch, add weatherstripping around the perimeter and glue a piece of rigid foam board to the back. You'd be amazed what a difference that makes.
The goal here is simple: make the ceiling plane as airtight as you possibly can. I've seen cases where sealing these leaks had a bigger impact than adding another foot of insulation because it stops the direct airflow that starts the whole melting process.
This visual really breaks down that destructive cycle. Warmth escapes, melts snow on the upper roof, and that water refreezes when it hits the cold eaves.
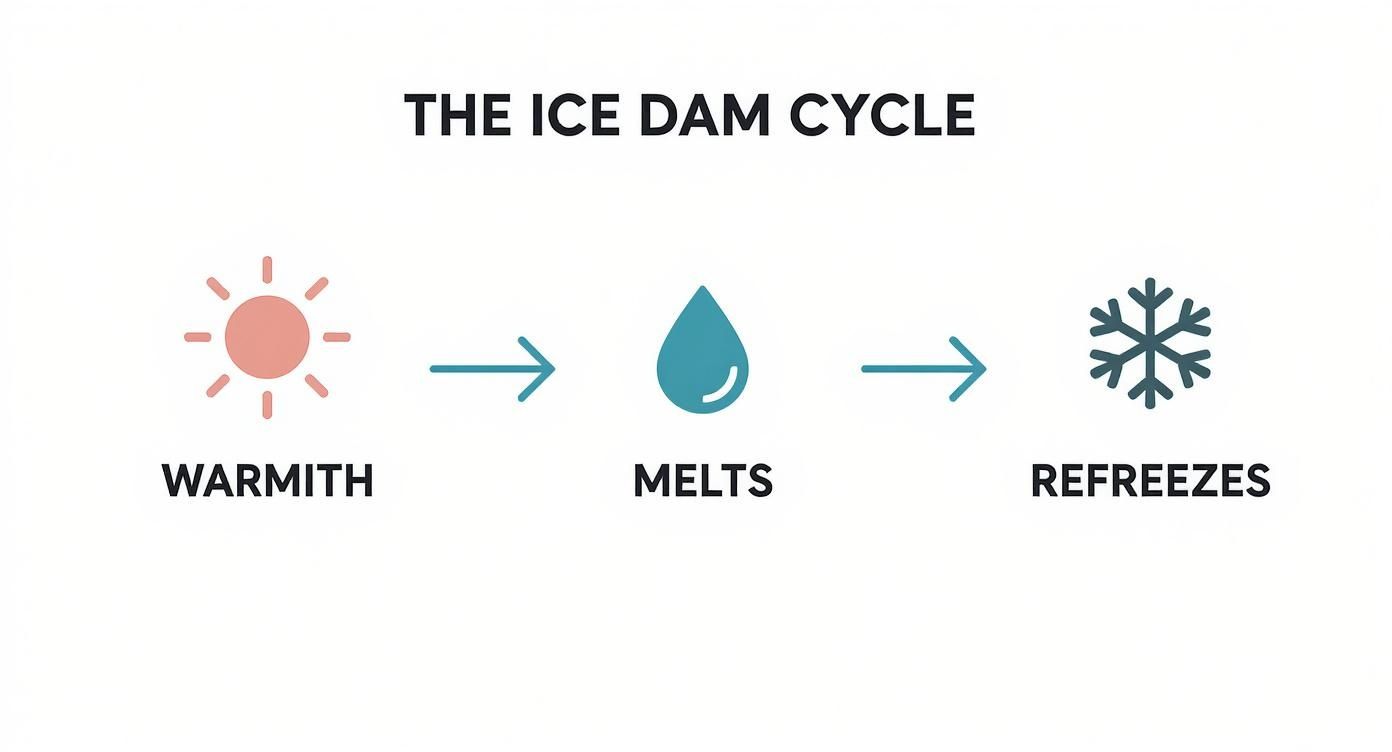
By stopping that initial heat from getting into the attic in the first place, you break the chain reaction before it can even start.
Choosing the Right Insulation for Your Attic
Once you’ve plugged all the leaks, it’s time to lay down a thick, even blanket of insulation. We measure insulation's effectiveness with its R-value, which is just a measure of its ability to resist heat flow. The higher the number, the better the insulation. For cold climates, you should be aiming for an R-value between R-49 and R-60 in the attic.
You’ve got a few options, and each has its place:
- Fiberglass Batts: These are the classic pink or yellow rolls. They're affordable but a pain to install perfectly. If you don't cut them to fit snugly around every joist and wire, you'll leave gaps that compromise performance.
- Blown-In Cellulose or Fiberglass: My personal favorite for most attics. A machine blows loose-fill insulation everywhere, creating a seamless blanket that covers the joists and gets into all the weird nooks and crannies. It's fantastic for topping off existing, settled insulation.
- Spray Foam Insulation: This is the premium option. It's applied as a liquid that expands and hardens, filling every single crack. It acts as both an air seal and a thermal barrier in one shot. It’s the most effective by far, but also the priciest.
In many homes, a hybrid approach is the smartest move. For instance, you might use a little spray foam to seal up those really tricky spots around pipes and vents, then have a pro blow in a deep layer of cellulose over the entire attic floor to hit that high R-value target.
A quick word of caution: if you're working in an older home, you need to be careful. It’s important to know how to identify asbestos insulation in your home before you disturb anything. Safety first.
Ultimately, investing in proper air sealing and insulation pays dividends far beyond just preventing ice dams. You're creating a home that's more energy-efficient, more comfortable, and better protected from the elements. This is the foundational step that stops the problem at its source, making it the most important action you can take.
Why a Cold Attic Is a Good Thing
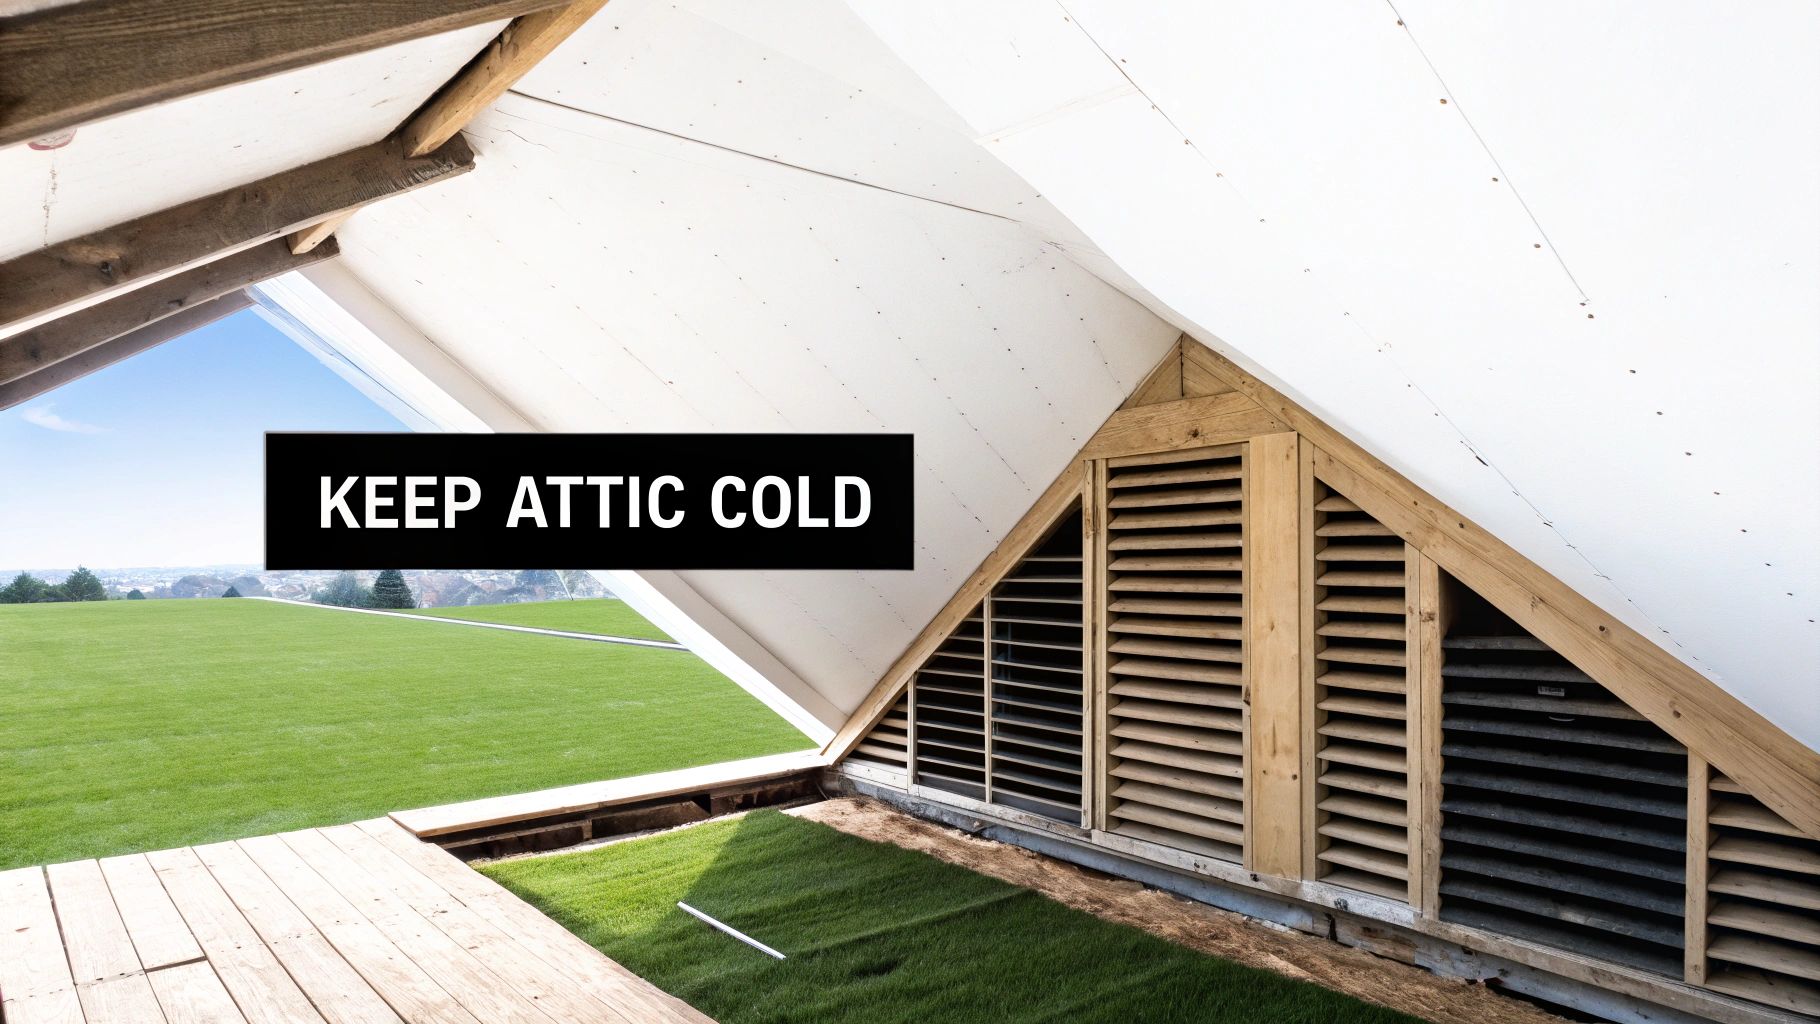
It sounds completely counterintuitive, doesn't it? We pour money into our heating systems to keep our homes warm, so the idea of intentionally keeping your attic cold feels wrong. But when it comes to stopping ice dams, a chilly attic is your best friend.
Think of it this way: your insulation and air sealing (which we just covered) create a barrier to stop the bulk of your home's heat from getting into the attic in the first place. Ventilation is the essential second part of that system—it’s designed to whisk away any small amount of heat that still sneaks through.
A properly ventilated attic works to equalize the temperature, making the air inside the attic nearly as cold as the air outside. This creates what we call a "cold roof," where the snow on top melts naturally from the sun, not from heat bleeding through your ceiling. That single change stops the ice dam cycle before it even starts.
How a Balanced Ventilation System Works
Good attic ventilation isn't just about sticking a few vents on your roof and calling it a day. It’s a passive, balanced system that relies on one simple law of physics: hot air rises.
It all begins with soffit vents. These are the intake vents tucked under the eaves of your roof. They pull cool, fresh air into the attic at its lowest point. As that small bit of warmer air in the attic rises toward the peak, it needs somewhere to go.
That's where ridge vents or other exhaust vents come into play. Placed at the very top of the roof, they let the warm air escape, which in turn pulls more cool air in through the soffits. This creates a constant, gentle cycle of airflow that bathes the underside of your roof sheathing in cold air, 24/7, without using a single watt of electricity.
The gold standard for attic ventilation is the 1:300 ratio. This means you need at least 1 square foot of net free vent area for every 300 square feet of attic floor space. For it to work right, that ventilation has to be balanced—half for intake (soffits) and half for exhaust (ridge).
A Practical Checklist for Inspecting Your Vents
Even the best-designed vent system is useless if it’s blocked. This is an incredibly common problem I see in homes, and it’s a direct invitation for ice dams. Here’s how you can do a quick check:
- Check Soffit Vents from the Outside: Take a walk around your house and look up at the soffits under the eaves. Are the vents caked with decades of dust and paint? Sometimes siding installers will just cover them right up without thinking twice.
- Look for Insulation Blockages Inside: If you can, pop your head into the attic and look towards the eaves. You should be able to see daylight peeking through the soffit vents. All too often, insulation gets shoved right up against the edge, completely choking off the airflow.
- Inspect Your Ridge Vent: From the ground, your ridge vent should look like a clean, straight line across the peak of your roof. If it looks wavy, crushed, or damaged, its ability to let air out has been compromised.
Don't forget that heat loss can also come from an inefficient HVAC system. If you've sealed your attic but are still seeing issues, getting expert heating and air conditioning services can help you find and fix any problems that are contributing to the heat loss.
Comparing Ice Dam Prevention Strategies
There are many ways to tackle ice dams, from long-term fixes to short-term solutions. Understanding the pros and cons of each approach can help you decide where to invest your time and money.
| Method | Primary Goal | Relative Cost | Long-Term vs. Short-Term |
|---|---|---|---|
| Improve Insulation | Stop heat from entering the attic from your living space. | Moderate | Long-Term Solution |
| Air Seal the Attic | Plug leaks and gaps where warm air escapes into the attic. | Low (DIY) to Moderate | Long-Term Solution |
| Improve Ventilation | Keep the attic and roof deck cold with continuous airflow. | Low to Moderate | Long-Term Solution |
| Roof Raking | Manually remove snow from the roof edge to prevent meltwater. | Low | Short-Term Fix |
| Heated Cables | Melt channels in the ice to allow water to drain off the roof. | Moderate (plus electricity) | Short-Term Band-Aid |
| Gutter Maintenance | Ensure gutters are clear so meltwater has a place to go. | Low | Ongoing Maintenance |
Ultimately, the most effective strategies—insulation, air sealing, and ventilation—focus on treating the root cause of the problem, not just the symptoms.
Simple Fixes for Big Ventilation Problems
Spotted a problem during your inspection? The good news is that many of the most common ventilation issues are surprisingly easy to fix.
Blocked soffits are probably the number one offender. To solve this, you can install baffles, which are also called rafter vents. These are simple channels made of cardboard or foam that you staple to the underside of the roof deck right above your soffit vents. They create a dedicated air channel that holds the insulation back, guaranteeing air can flow freely into the attic. It’s a cheap, brilliant fix that can make a massive difference.
If your soffits are just painted shut, a stiff wire brush or a drill can usually clear them out. Re-establishing that path for air to move from the soffit to the ridge is one of the most powerful moves you can make to protect your home from ice dams.
Proactive Maintenance to Keep Your Roof Clear
While sorting out your attic insulation and ventilation is the best long-term play, you also need some immediate, hands-on strategies for when winter hits. Think of proactive maintenance as your first line of defense, a way to manage snow and water before they team up to form those destructive ice dams.
These are the things you can do right now to make a difference, especially if a big attic project is still on the horizon. If escaping heat is the spark that creates an ice dam, then heavy snow and clogged gutters are the fuel. Control these, and you significantly lower your risk this season.
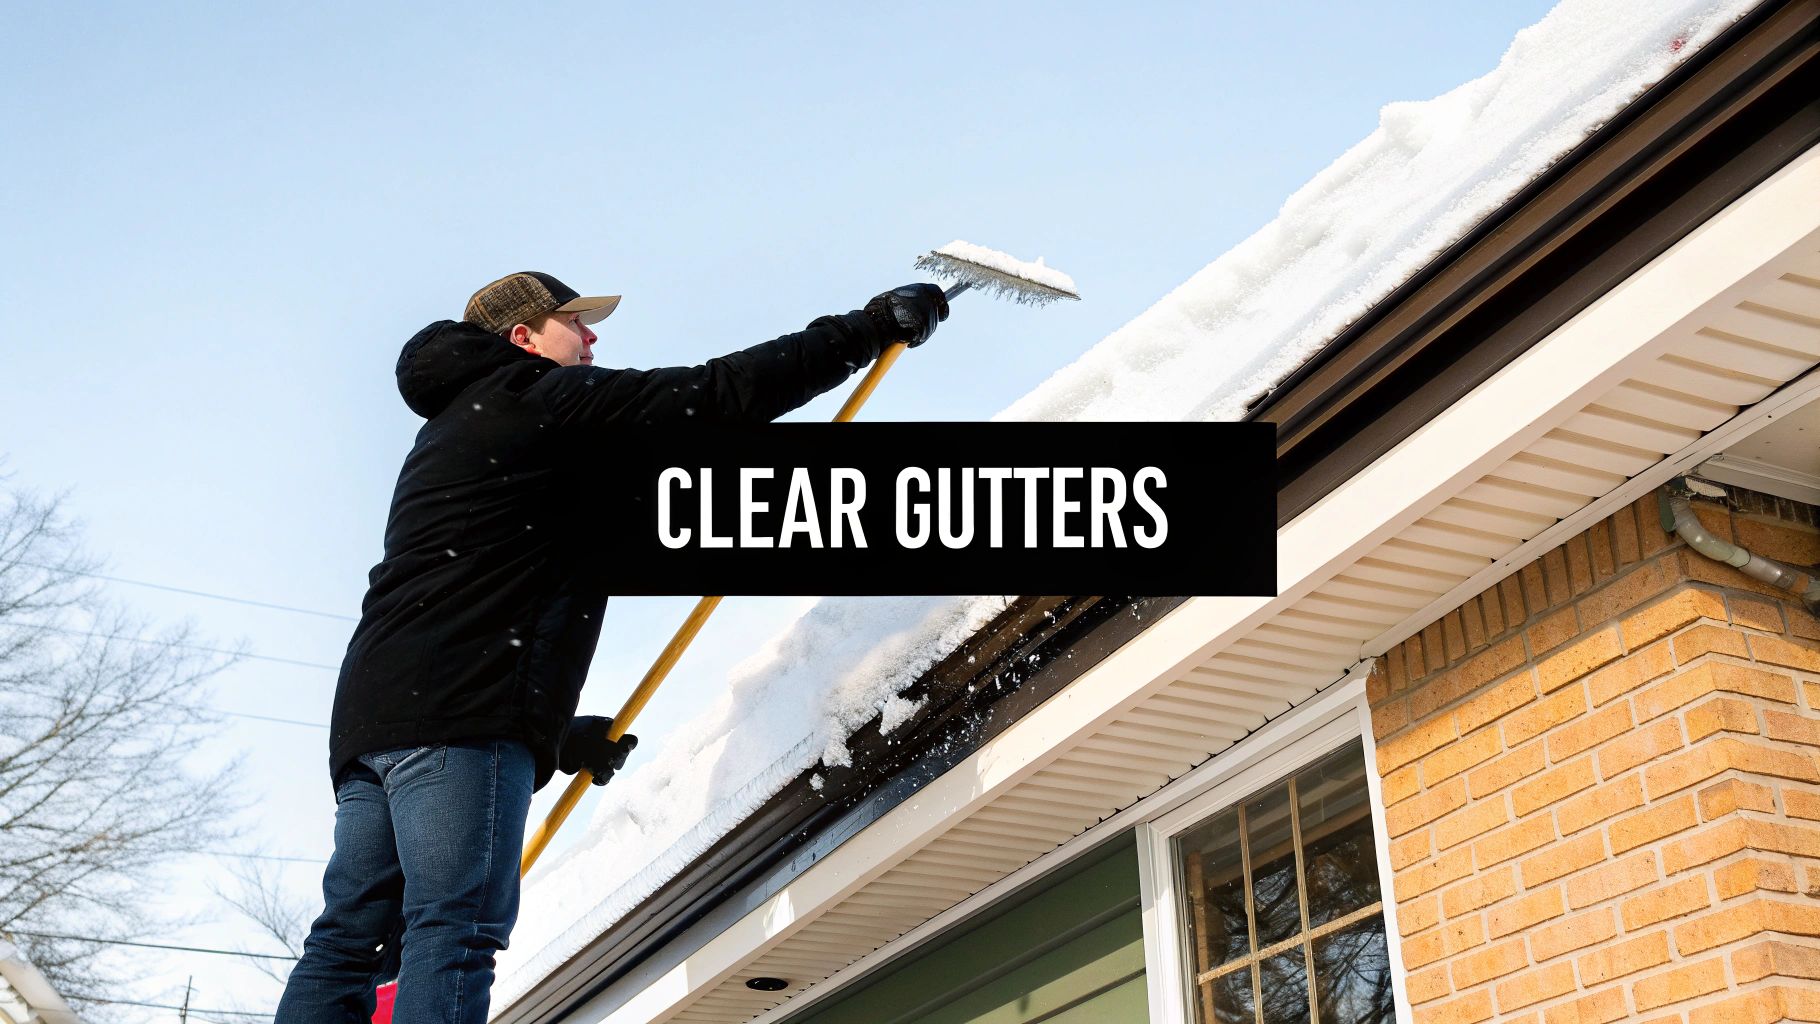
The Critical Role of Clean Gutters
Those autumn leaves look pretty on the ground, but once winter sets in, they become a massive liability in your gutters. When gutters are clogged with debris, melting snow has nowhere to go. It just sits there, pooling right at the edge of your roof—the perfect setup for an ice dam.
Honestly, even a home with fantastic insulation and airflow can fall victim to blocked gutters. That standing water will freeze solid, creating an initial ice barrier that forces any subsequent meltwater to back up under your shingles.
Making sure you do a thorough gutter cleaning in late fall, after the trees have dropped most of their leaves, is non-negotiable. It's a simple, low-cost job that has a huge payoff by giving meltwater a clear exit path.
Safely Raking Your Roof Eaves
When a heavy snowstorm rolls through, one of the best immediate actions you can take is to clear the snow from the edges of your roof. For this, you’ll need a roof rake, a specialized tool that lets you do the job safely from the ground.
You don't need to clear the whole roof. The goal is just to remove the first three to four feet of snow from the eaves. This is the cold zone where the melt-freeze cycle happens, so by clearing it, you're removing the raw material for ice dams. Any water melting higher up on the roof now has a clear path to run off, instead of hitting a bank of snow and freezing solid.
When you're using a roof rake, always pull the snow straight down—never scrape from side to side. A sideways motion can easily lift and damage the edges of your shingles. Take your time, work in small sections, and let the tool do most of the work.
Mastering the Roof Rake Technique
Using a roof rake the right way is crucial. If you’re too aggressive, you can cause more damage than the snow would have.
Here are a few things I've learned from experience:
- Get the Right Tool: Look for a rake with small wheels or plastic bumpers on the blade. These rollers are a lifesaver, keeping the metal edge just off the surface of the shingles so you don’t scrape off the protective granules.
- Stay on the Ground: Never, ever get on a ladder to use a roof rake. The weight of the snow can shift unexpectedly and pull you right off balance. It’s just not worth the risk.
- Check for Power Lines: Before you even extend the pole, look up. Get a clear sense of where any overhead power lines are. This is a critical safety check you can't afford to skip.
- Pull, Don't Push: Let the rake head rest on the snow and gently pull it toward you. Avoid any kind of chopping or forceful pushing, which is a surefire way to damage your shingles.
This kind of manual snow removal is a fantastic short-term fix. It directly tackles the "snow" part of the ice dam equation, buying you valuable time and protection between storms. It also helps your roof's underlayment do its job as a moisture barrier. To understand its role better, you can learn more about what roof underlayment is and why it’s so important. By keeping the eaves clear, you ensure that this crucial layer isn't sitting under a pool of standing water all winter.
The Hidden Costs of Ignoring Ice Dams
Those icicles hanging from your roof might look pretty, but for anyone who's dealt with winter home damage, they're a massive red flag. They signal that an ice dam is forming, and ignoring it is a gamble that almost never pays off. The real damage is happening where you can't see it.
When snow on your roof melts and then refreezes at the colder eaves, it creates a literal dam of ice. Any further meltwater gets trapped behind it. With nowhere to go, that water pushes its way backward and up, right underneath your shingles. Roofs are designed to shed water down, not hold it like a swimming pool.
From Water Stains to Structural Rot
The first clue you usually get inside is a mysterious, brownish stain on a ceiling or wall. The bad news? By the time you spot that stain, the damage is already happening. Water has likely saturated the attic insulation above, turning it into a soggy, useless mess. This wet insulation creates a cold spot, which ironically just makes the ice dam worse.
From that point, the moisture starts to eat away at your home's structure:
- Roof Decking: The plywood or OSB sheathing beneath your shingles gets soft and begins to rot. This is a direct threat to your roof's integrity.
- Rafters and Joists: If that moisture sits long enough, it can cause wood rot in the actual framing of your roof. We're talking expensive, serious structural repairs.
- Exterior Damage: Water will find a way out. It can damage siding, seep into soffits, and even drip down to affect your home's foundation over time.
This relentless water intrusion can also exploit other weak spots. A critical, often overlooked area is the roof flashing around chimneys, vents, and valleys. If that flashing is compromised, water from an ice dam has an easy entry point.
The Unseen Health Hazards
It’s not just about structural damage. All that trapped moisture creates a perfect, dark environment for mold and mildew to thrive in your attic, ceiling cavities, and behind your walls. This isn't just an ugly problem; it’s a serious health risk.
Hidden mold can trigger allergies, worsen asthma, and cause other respiratory issues for your family. Getting rid of a widespread mold problem is a major headache, often requiring professionals to tear out drywall and replace huge sections of insulation.
The financial hit from an ignored ice dam can be shocking. Even if your insurance covers some of it, you might be surprised by what's left out. The average settlement for an ice dam claim in the U.S. is around $8,000, a figure that often only covers the interior cosmetic damage. As noted in a report on the true cost of ice dam claims by Claims Journal, it rarely accounts for exterior work, rotted wood, or structural repairs.
When you add it all up—structural fixes, new insulation, mold remediation—the cost of prevention looks like a bargain. Investing in proper insulation and ventilation isn't just about stopping a winter annoyance. It's about protecting the value of your home and the health of your family.
Common Questions We Hear About Ice Dams
Even after you understand the basics, you'll probably still have a few questions. I get it. Over the years, I've heard just about everything from homeowners trying to get a handle on their ice dam problems. Here are some of the most common questions that come up, along with some straight-to-the-point answers.
Do My Gutters Cause Ice Dams?
This is a classic. While your gutters don't cause the ice dam, they can absolutely make a bad situation a whole lot worse. Think of it this way: the real culprit is always heat leaking from your house and melting the snow on your roof.
But, if your gutters are choked with last fall's leaves and gunk, that meltwater has nowhere to go. It pools up, freezes solid at the edge of your roof, and basically lays the foundation for a massive ice dam. Keeping your gutters clean is non-negotiable; it gives that water a clear path to escape before it can freeze.
Are Heated Cables a Good Long-Term Fix?
Heated cables, sometimes called heat tape, are really more of a bandage than a cure. They do what they're supposed to do—melt channels through the ice so water can drain away—but they don't solve the core problem, which is your home losing heat through the attic.
Relying on heated cables is like taking cough syrup for a lung infection. You're treating the symptom, not the cause. Plus, they run up your electric bill all winter and can be a pain to maintain. The real, long-term solution always comes back to proper insulation, air sealing, and attic ventilation.
If I Get a New Roof, Will That Stop Ice Dams?
Not on its own, no. I've seen plenty of homeowners invest in a beautiful new roof only to see the same jagged ice dams appear the very next winter. It's a frustrating and expensive lesson to learn.
Remember, ice dams start inside your attic with escaping heat. Just putting new shingles on top won't change that. Now, if your old roof was failing and letting in moisture, replacing it is a good idea. But if you don't fix the insulation and ventilation issues before that new roof goes on, you're just putting a new hat on the same old problem.
Can't I Just Go Up There and Chip the Ice Off?
Please, don't do this. It’s one of the most common and damaging mistakes you can make. Attacking the ice on your roof with a hammer, axe, or shovel is a fast track to destroying your shingles, cracking your gutters, and creating leaks that will cost a fortune to fix.
If you have a serious ice dam, the only safe way to get it removed is to call a professional who uses low-pressure steam. For prevention, the only DIY tool you should ever use is a roof rake, and you should always use it carefully from the ground.
Getting to the 'why' of ice dams is the first real step toward getting rid of them for good. If you’re done fighting this battle every winter, it’s time to tackle the root causes. The expert team here can get to the bottom of your ice dam issues by assessing your roof, attic, and ventilation to build a plan that truly protects your home. Contact us today for a free estimate.