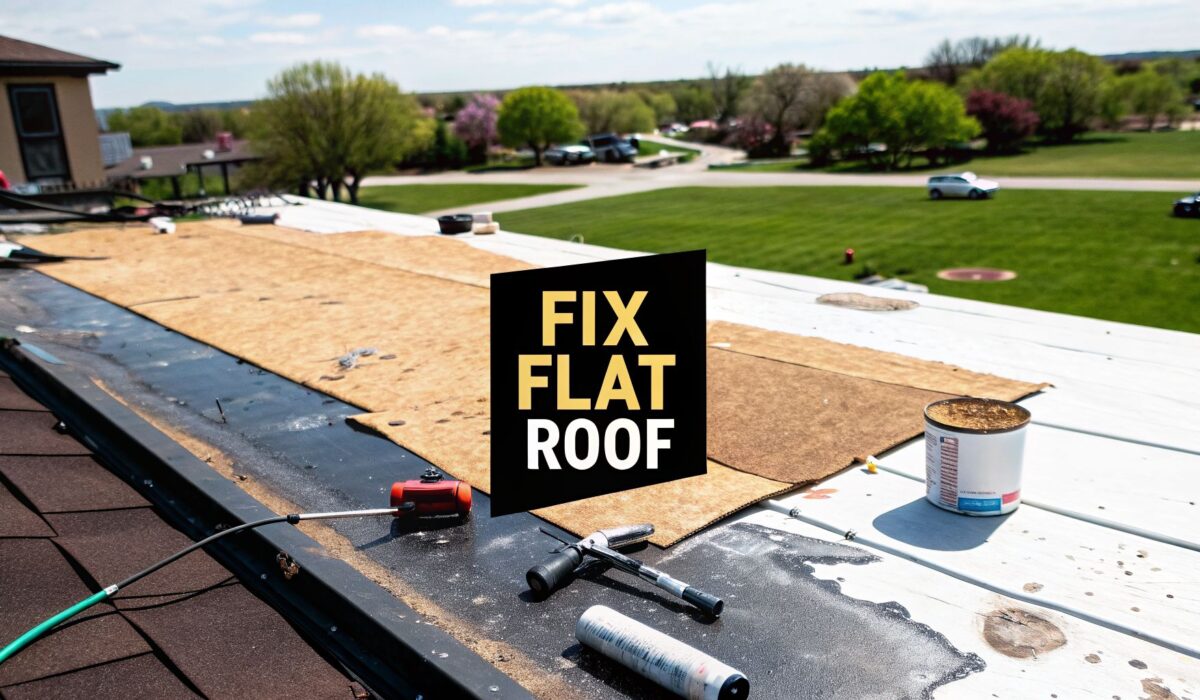
That tell-tale water stain on the ceiling is a homeowner’s nightmare. It’s an immediate signal that your flat roof has a problem, and the clock is ticking. Learning how to repair a leaky flat roof starts with controlling the damage inside your home before you even think about climbing a ladder.
Your First Moves When You Spot a Flat Roof Leak
Seeing a dark spot on your ceiling—or worse, an active drip—can definitely trigger a moment of panic. But a calm, methodical approach right now can save you a fortune in repairs down the road. Your first mission is all about damage control.
The priority is to contain the water. Grab some buckets, old towels, or even plastic sheeting and get them under the drip immediately to protect your floors and furniture. If you see the ceiling drywall starting to bulge or sag under the weight of the water, don't wait for it to burst. Carefully poke a small hole in the center of the bulge with a screwdriver to let the water drain in a controlled stream. It’s a small mess now to prevent a catastrophic ceiling collapse later.
While you're managing the immediate problem, having a solid plan helps. This emergency guide for leaks offers a great checklist for handling water-related issues in the moment.
Safety First Before Any Roof Work
Before you even touch a ladder, let's talk about safety. Never, ever get on a roof during a storm, in high winds, or when the surface is still wet and slick.
Even on a perfect day, make sure your ladder is on stable, level ground. And always let someone know you’re going up on the roof. Keep your phone with you—a simple slip can turn into a serious emergency fast.
A Pro’s Two Cents: We see it all the time—the biggest risk in any DIY roof job isn't a bad patch; it's a fall. If your roof is high, steep, or you just feel uneasy about heights, make the smart call. Calling a professional is always the safer bet. Your well-being is worth more than any repair bill.
Start Tracing the Leak
Here’s where the real detective work begins. Water is incredibly sneaky. The spot where it's dripping into your living room is almost never directly below the actual hole in your roof. It can travel several feet along roof decking and joists before it finds a place to come through.
Start by measuring the leak's location inside, taking measurements from two different walls. Then, once you're safely on the roof, use those same measurements to pinpoint the general area. From there, always look uphill. Even on a "flat" roof, there's a slight pitch, and water will always follow gravity.
Your eyes should be peeled for the usual suspects:
- Cracked or separated seams where roofing material is joined.
- Failed flashing around vents, skylights, and chimneys.
- Low spots where water has clearly been pooling.
- Obvious punctures, blisters, or tears in the roof membrane.
This isn't a minor issue. Flat roof leaks are a huge problem, especially for commercial properties, contributing to over $12 billion in repair costs across the U.S. each year. Because they are pitched at 10 degrees or less, they drain slowly, allowing water to sit—and that standing water is the number one enemy of any roofing membrane. In fact, these incidents can average $89,000 in damages, a figure you can learn more about by reading the true cost of roof leaks on angi.com.
Knowing what kind of roof you have is a massive head start, as it helps you zero in on the most likely failure points.
Common Flat Roof Systems and Their Weak Spots
To give you a better idea of what to look for, here's a quick breakdown of the most common flat roof types and where they typically spring a leak.
| Roof Type | Common Leak Sources | Typical Lifespan |
|---|---|---|
| EPDM (Rubber) | Seam failure, punctures from debris, adhesive failure around flashing. | 25-30 years |
| TPO (Plastic) | Punctures, cracked or failed seam welds, flashing details. | 20-30 years |
| Modified Bitumen | Blisters, open seams, cracks from UV exposure and age. | 15-20 years |
| Built-Up Roof (BUR) | Cracks in the asphalt, blisters, flashing separating from walls. | 20-30+ years |
This table should help you focus your search. If you have an EPDM roof, for instance, pay extra close attention to every inch of the seams. If it's an older Modified Bitumen roof, you're more likely to be hunting for cracks and blisters.
Finding Where Your Flat Roof Leak is Actually Coming From
When you spot a drip inside, your first instinct is to look directly above it on the roof. On a flat roof, that’s almost never where the leak is. Water is a sneaky traveler; it can seep through a tiny puncture, run sideways across the roofing membrane, and finally find a spot to drip down feet away from the entry point. Finding the real source isn't about guesswork—it's about knowing how to trace it back.
The most definitive way to nail down a stubborn leak is with a good old-fashioned water test. You’ll need a garden hose and a helper inside to act as a spotter.
The trick is to be patient and methodical. Start at the lowest point of the roof area where you suspect the leak might be—think drains and scuppers first. Drench a small, 10×10 foot section for a few minutes while your partner watches for any water making its way inside. If nothing shows, move uphill to the next section and do it again. It’s slow, but it’s the only way to be certain you’ve found the true entry point.
What to Look For During a Visual Check
Before you even grab the hose, a thorough walk-around can often tell you everything you need to know. Your eyes are the best tool you have at this stage. Get up on the roof (safely!) and slowly scan the entire surface for anything that looks off.
You're hunting for the weak spots. Here’s what I look for first on any flat roof inspection:
- Open or Cracked Seams: The edges where roofing material overlaps are the number one place for failures. Look for any seams that are peeling, cracked, or lifting up.
- Blisters and Bubbles: If you see raised pockets on the roof surface, that's a red flag. It means air or moisture is trapped underneath the membrane, which is a clear sign it's beginning to fail.
- Worn-Out Flashing: Flashing is the metal or membrane that seals off anything poking through your roof—vents, pipes, skylights, AC units. Check for rust, cracks, or any gaps where it meets the main roof surface.
- Punctures or Holes: These can be incredibly tough to spot. A dropped tool, a stray screw from an HVAC tech, or even heavy foot traffic can create a tiny hole that leads to a big problem.
This is just the start. For a deeper dive into leak detection methods, our guide on how to find roof leaks has even more pro tips.
The chart below shows your first moves when you discover a leak—contain the damage inside and check for safety before you even think about tracing the source.
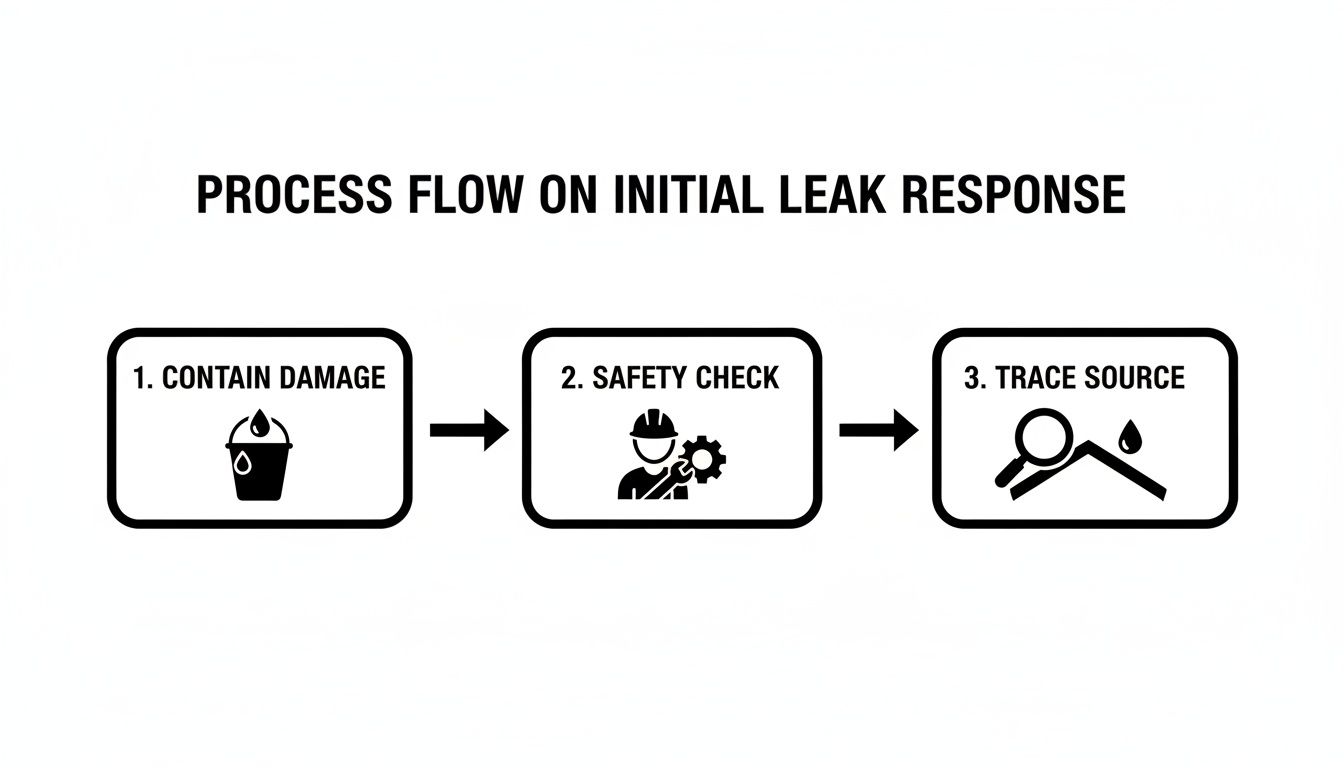
As you can see, finding the leak is the third step, right after you've managed the immediate mess and made sure the area is safe.
The Cost of Waiting
Let's be clear: catching a leak early isn't just about saving your ceiling tiles. It's a critical financial move. Flat roof leaks get expensive, fast. Since poor drainage means 70% of leaks start at seams or around penetrations, the potential for costly damage is huge.
Nationally, the average roof leak repair costs about $1,150, and simple flat roof patches can run anywhere from $300 to $1,000. You can find more details about flat roof repair costs on pitchroofing.com.
Here’s a piece of advice I give every building owner: never assume the leak is right above the stain. On flat roofs, water follows the path of least resistance. It can run along the roof deck for a good distance before it finds a nail hole or seam in the underlying structure to drip through. Always widen your search area a few feet uphill from the interior water damage.
Don't forget to consider foot traffic, either. If you have HVAC crews or other technicians on your roof regularly, take a close look at the paths they walk. I’ve seen countless leaks caused by a single dropped screw or a misplaced step. By being thorough and systematic, you’ll find that leak and set yourself up for a repair that actually lasts.
Making a Permanent Flat Roof Repair That Lasts

So, you’ve tracked down the source of the leak. The temporary patch you slapped on got you through the last rainstorm, but now it’s time for a real fix. A permanent repair isn’t just about plugging a hole; it’s about restoring the roof’s seamless membrane so you can trust it for years to come.
I’ve seen it countless times: a homeowner slathers a generic roof sealant over a crack, only to get a call from them a few months later when it fails. Those quick fixes just can't stand up to the brutal UV rays and temperature swings a flat roof endures. To do this right, you have to match the repair to your specific roofing material.
No matter what kind of roof you have, preparation is everything. You simply can't get a lasting bond on a dirty, damp surface. The area you're patching needs to be spotlessly clean and bone-dry, extending at least 12 inches out from the damage in all directions.
Repairing an EPDM Rubber Roof
EPDM rubber roofs are tough, but leaks can still pop up, usually at the seams or from a puncture. Fixing this material is all about a specific chemical process, and you can't cut corners.
For this job, you'll need a proper EPDM patch kit. These usually come with the patch material, a special cleaner, primer, and a seam roller. You’ll also want a stiff-bristle brush, plenty of clean rags, and a sharp utility knife.
Here's how to get it done right:
- Scrub the area clean. Use the EPDM cleaner that came in your kit. This isn't a quick wipe-down. You need to scrub hard to get rid of all the dirt, grime, and oxidation. Keep wiping with fresh rags until they come away clean.
- Apply the primer. Once it’s dry, brush a thin, even layer of EPDM primer onto the roof area and the back of the patch. This is a critical step—the primer is what activates the rubber and allows for a true chemical weld.
- Let the primer flash off. You have to wait until the primer is dry to the touch. This usually takes 5-15 minutes, but it depends on the weather. If you touch it and it creates a sticky "string," it's not ready. It should feel tacky but not transfer to your finger.
- Set the patch. Carefully lay the patch down, working from the middle outwards. This helps push out any trapped air bubbles.
- Roll it out. Now, grab your seam roller and apply firm pressure across the entire patch. Start from the center and roll outwards in every direction to lock in that watertight seal.
So many DIY repairs fail because people skip the primer. I guarantee you, if you skip that step, the patch will peel off sooner rather than later.
Fixing a TPO Roof with Heat Welding
TPO is a thermoplastic single-ply material, and its biggest advantage is that you can heat-weld the seams. We use that same professional technique for repairs, which creates an incredibly strong, permanent bond.
To fix a TPO roof properly, you need a hot-air welder. It's a specialized tool and a bit of an investment, but it's the only way to get a true, fused repair. You'll also need a TPO patch, TPO-specific cleaner, and a silicone roller.
The idea is to melt the surface of the existing roof membrane and the underside of the patch simultaneously, fusing them into a single piece as they cool. Getting the temperature right is key. Too hot, and you'll scorch the membrane. Too cool, and the weld won't take. Always practice on a scrap piece first to dial in your settings.
For TPO repairs, precision is everything. You're essentially creating a factory-quality seam right on your roof. When done correctly, the patched area becomes the strongest part of the roof.
Sealing a Modified Bitumen or BUR Roof
Modified Bitumen and Built-Up Roofs (BUR) are asphalt-based systems. Over time, these tough roofs can develop blisters, alligator cracks, and open seams from weathering and the building settling.
For a basic crack, the fix is a classic three-course patch using roofing cement and reinforcing fabric. First, clean the area thoroughly, getting rid of all loose gravel and dust.
The Three-Course Patching Method is an old-school technique that just plain works:
- With a trowel, put down a thick layer of roofing cement, spreading it about 3-4 inches beyond the crack on all sides.
- Next, press a piece of reinforcing fabric right into the wet cement. Make sure it's completely embedded with no air pockets.
- Finally, apply another layer of cement over the fabric, feathering the edges out so you have a smooth, seamless transition back to the roof.
If you’re dealing with a blister, you first have to pop it. Carefully slice an 'X' across the blister with your utility knife to let the trapped moisture or air escape. Peel back the flaps, let the area dry out completely, and then apply cement underneath the flaps before pressing them down. After that, you can cover the entire area with a standard three-course patch.
Don't forget that flashing—the metal or membrane seals around pipes, vents, and walls—is one of the most common culprits for leaks. You can learn more about its critical role in our guide that explains what roof flashing is and why it often fails. Checking on your flashing is just as important as patching the open field of the roof.
Proactive Maintenance to Prevent Future Leaks
Honestly, the best way to get good at fixing a leaky flat roof is to never have to do it. Moving from a "fix-it-when-it-breaks" approach to a regular maintenance routine is the single biggest thing you can do to protect your property and get the most life out of your roof. A little time spent on a seasonal check-up can save you from a major headache later on.
Think of your roof like a car—it needs routine tune-ups to keep running smoothly. A simple inspection checklist you run through a few times a year is your best weapon against the common culprits of flat roof leaks. It takes the guesswork and anxiety out of the equation.
Your Seasonal Maintenance Checklist
Consistency is everything. By getting up on your roof (safely!) at the start of each new season, you can spot small issues before they blow up into expensive emergencies. It’s a simple habit that pays for itself many times over.
Here’s a no-nonsense checklist that we use and recommend to property owners:
- Clear Drains and Scuppers: This is job number one. After a heavy storm or once the leaves start falling, your drains are magnets for debris. Clogged drainage is the top cause of ponding water, which puts incredible stress on seams and can force a leak in as little as 48 hours.
- Inspect Seams and Flashings: Take a slow walk around the roof and look closely at every seam. You're searching for any signs of peeling, cracking, or separation. Give extra attention to the flashing—the material that seals around vents, pipes, and HVAC units. These spots are notorious for failing first.
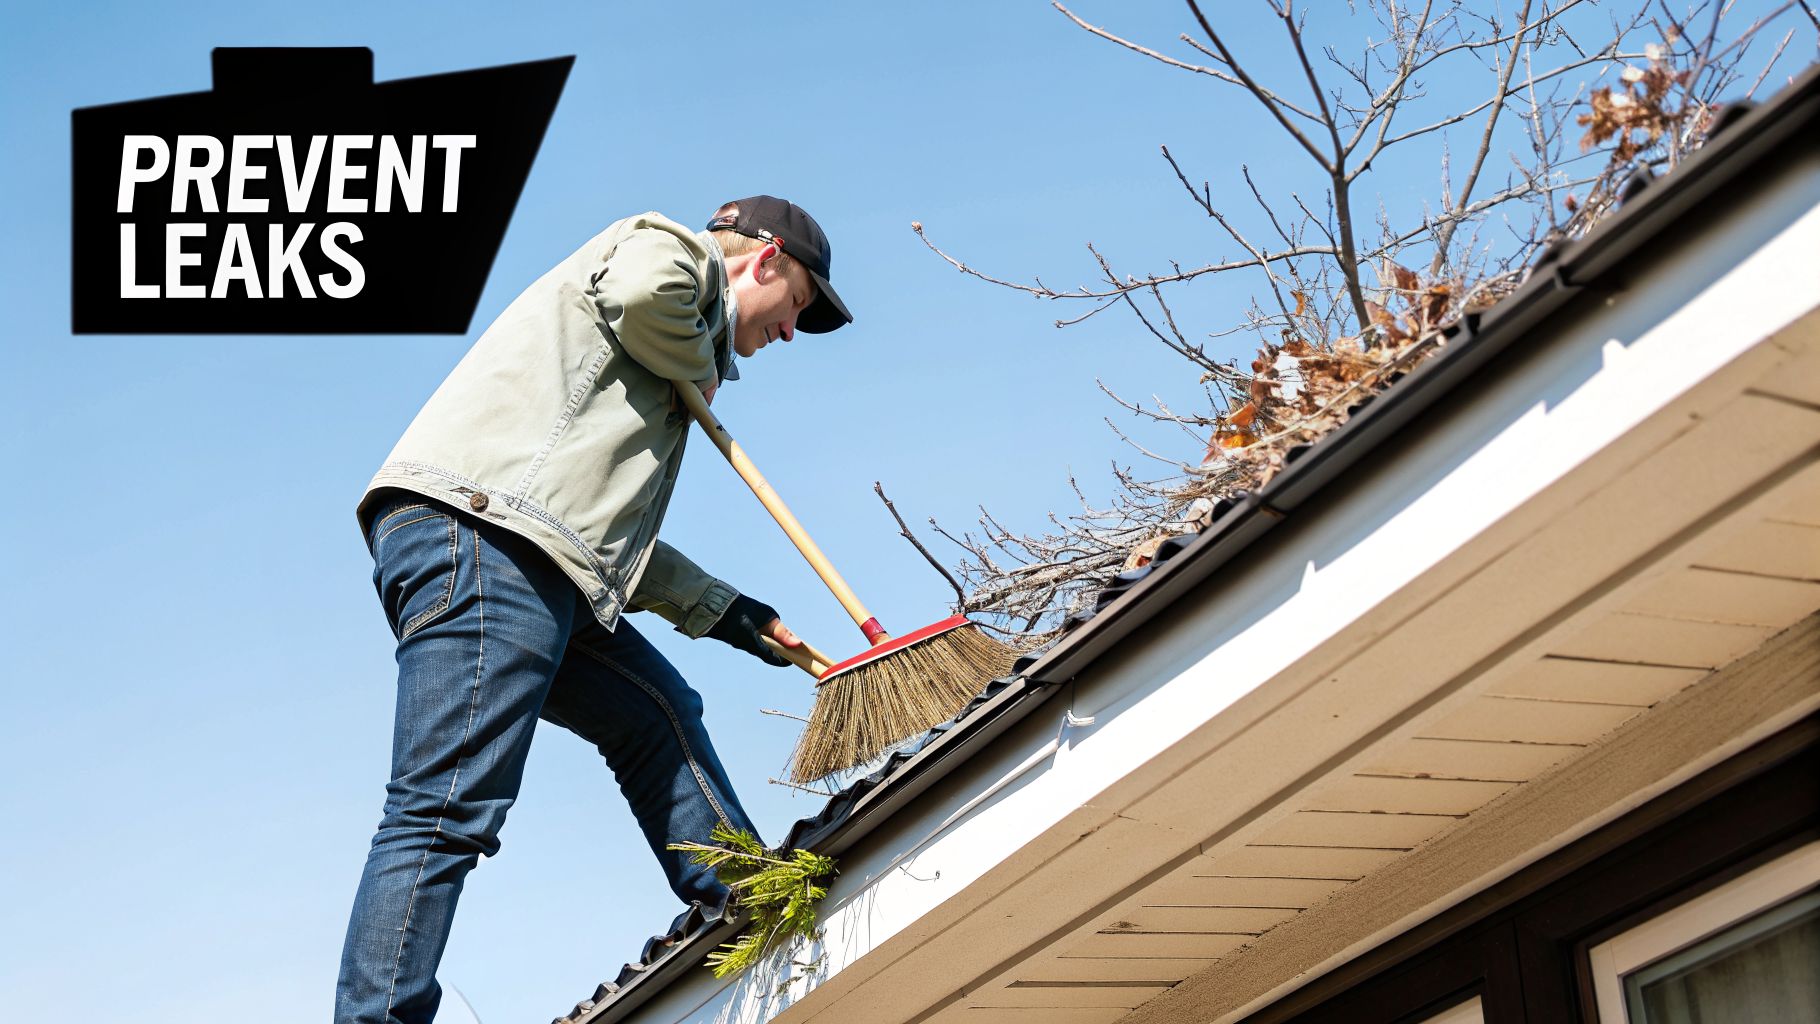
- Trim Overhanging Branches: Trees might look harmless, but they're a real threat. Limbs scraping the membrane during high winds can easily cause a puncture. They also drop leaves that clog drains and sap that can eat away at the roofing material itself.
Just doing these three things regularly can eliminate more than half of all potential leaks. It’s that simple.
Here's a rule of thumb we live by: If water can’t get off your roof, it will find a way in. If you see a puddle of water that's still there more than 48 hours after a rain, consider that a red alert. Your drainage isn't working, and a leak is just a matter of time.
Looking for Early Warning Signs
Beyond the basic checklist, it pays to know what trouble looks like in its early stages. Finding a small problem today means a quick, cheap fix. Ignoring it guarantees you’ll be dealing with water-stained ceilings and a much bigger bill down the road.
As you walk the roof, train your eyes to spot these tell-tale signs:
- Punctures or Scrapes: Keep an eye out for any nicks or gouges, which can be caused by anything from dropped tools to storm debris. A tiny hole can let in a surprising amount of water over time.
- Blisters or Bubbles: See any raised bubbles on the surface? That’s a sign that air or moisture is trapped under the membrane. These are weak spots that will eventually pop or split, creating a direct path for water.
- Cracking or "Alligatoring": On asphalt-based roofs like modified bitumen, if you see a web of cracks that looks like alligator skin, you're looking at a clear sign of old age. The material has lost its flexibility and is becoming brittle, which is the first step toward widespread failure.
Catching these issues early gives you control. You can make a targeted repair instead of reacting to a full-blown emergency. It’s the difference between managing your roof and letting your roof—and the weather—manage you.
Deciding Between DIY Repair and Calling a Pro
So, you’ve pinpointed the leak and have a good idea of what the repair involves. Now for the million-dollar question: can you handle this yourself, or is it time to call in a professional?
For many handy property owners, a small, straightforward patch is a totally manageable weekend project. But let's be honest—the most important skill in any repair is knowing your own limits. Getting this decision right from the start can be the difference between a quick fix and a costly disaster.
The first thing most people look at is the cost. Professional repairs for common flat roof issues, like a cracked flashing or a few feet of peeling seam, can run anywhere from $200 to $900. The national average for a leaky roof repair hovers around $900, but flat roofs are their own unique beast. A minor patch might land between $300 and $1,250, but if the damage is more serious, that number can easily jump to $4,000 or more, especially on more complex roof systems.
This is exactly where that DIY calculation comes into play. Fixing a small puncture yourself might save you a few hundred dollars. But botching a larger repair could end up costing you thousands more down the road to fix both the original problem and your attempted solution.
Red Flags That Signal It's Time for a Pro
Some problems are just too big, too complex, or too risky for a DIY approach. If you spot any of the following signs, it's a clear signal to put down the sealant and pick up the phone. These aren't just signs of a leak; they're symptoms of a much bigger problem.
- Large Areas of Ponding Water: If you still have standing water on your roof more than 48 hours after it rains, you don't just have a leak. You have a fundamental drainage problem. All that weight is putting incredible stress on your building's structure, and the leaks will keep coming back until the underlying slope is corrected.
- Widespread Membrane Blistering: A single, small blister isn't a catastrophe. But if you see them scattered across the roof surface, it's a tell-tale sign of systemic failure. It means moisture is trapped between the membrane layers, and simply patching the top won't fix the underlying issue.
- Soft Spots Underfoot: As you walk very carefully across your roof, do you feel any spongy, soft, or bouncy areas? Stop immediately. This is an extremely dangerous sign that the roof deck underneath has rotted from long-term water damage and could be structurally compromised.
- Major Damage at Structural Penetrations: Leaks around big things like HVAC units, skylights, or plumbing vents almost always involve intricate flashing. If the damage here is significant, you need a professional to create a durable, watertight seal without accidentally damaging the unit or the roof around it.
Any one of these red flags instantly elevates the job from a simple "repair" to a "restoration" or even a "replacement." Trying to DIY these issues yourself can cause even more structural damage or, worse, lead to a serious accident. Your safety is never worth the potential savings.
DIY vs Professional Flat Roof Repair Cost Comparison (2026 Estimates)
To help you make a smart financial decision, it's helpful to see the numbers side-by-side. Just remember that "cost" isn't only about the money you spend. It's also about your time, the risk involved, and the peace of mind that comes with a guaranteed, long-lasting repair. For a more in-depth look at these figures, check out our complete guide to flat roof repair costs.
| Repair Type | DIY Material Cost Estimate | Professional Repair Cost Estimate | When to Choose This Option |
|---|---|---|---|
| Minor Puncture (Under 6 inches) | $50 – $150 | $300 – $600 | A great DIY project for a small, easily accessible puncture on a newer roof. |
| Moderate Seam Failure (A few feet) | $100 – $300 | $500 – $1,200 | Manageable for an experienced DIYer, but a pro ensures the seam is properly bonded for the long haul. |
| Extensive Damage (Large area or rot) | $500+ (for materials alone) | $2,000 – $4,000+ | Always call a professional. The risk of structural issues and improper repair is far too high for DIY. |
Ultimately, whether you're patching a small hole or hiring out for a major fix, you want the job done right. If you do decide to call a professional, make sure they are fully insured. Understanding the details of commercial insurance for roofers helps you see why this is so critical—it protects you, your property, and the workers on site. It’s the final step in protecting your investment and ensuring the job is done safely and correctly.
Answering Your Flat Roof Repair Questions
Even with a guide in hand, it's natural to have questions pop up. Every roof has its own story and its own set of problems. Here are some of the most common things we get asked by property owners dealing with a leaky flat roof, with straightforward answers from our years of experience.
Can I Just Slather Roofing Cement Over the Whole Leaky Area?
It’s a tempting thought, especially when you just want the leak to stop. But grabbing a bucket of roofing cement and covering a wide area is almost always a bad move. It's like trying to fix a leaky pipe with duct tape—it's a temporary plug, not a real repair.
This "cover-all" approach often ends up trapping moisture underneath the cement. That trapped water just sits there, accelerating rot in the roof deck and making the original problem ten times worse. For modern roofing systems like EPDM or TPO, you need a patch that chemically bonds or is heat-welded to the membrane. That's the only way to create a seamless, durable seal. While cement can sometimes seal tiny cracks on old asphalt roofs, your best bet is always to pinpoint the exact source of the leak and fix it properly.
How Long Will a Flat Roof Repair Actually Last?
The durability of a repair really boils down to three things: the materials used, the quality of the work, and the roof's current condition. A professional patch, done with the right system-specific materials, can easily hold for 5 to 10 years, sometimes even longer.
On the flip side, a quick-fix patch using a generic sealant you bought at a big-box store might only get you through a season or two. A flat roof expands and contracts constantly with the sun's heat, and cheap materials just can't stand up to that stress. They'll crack and fail in no time.
A proper repair becomes part of the roof itself. When done right, the patch shouldn't be the next spot that fails. The whole point is to restore the membrane's integrity, not just stick a bandage on it.
Is It Safe for Me to Repair My Own Flat Roof?
Working on any roof comes with serious risks, and safety has to be your number one concern. A small, easy-to-reach patch on a single-story building might be doable for someone with solid DIY experience, but the risk of falling is always there.
Before you start, ask yourself: How high up am I? Is there any slope at all? Is the surface wet, icy, or is it windy out? Do I own the right safety gear, like a harness and a properly secured ladder? If you hesitate on any of these, it's much smarter to call a licensed and insured professional. They have the training, equipment, and experience to handle the job safely.
My Roof Is Holding Water. Is That What’s Causing the Leak?
Yes, that's almost certainly the culprit. Ponding water is one of the biggest enemies of a flat roof. Your roof is designed to shed water, not hold it.
If you have standing water that's still there more than 48 hours after it rains, you have a serious drainage problem. The constant weight puts incredible stress on the roof's seams and underlying structure. Worse, the water itself will break down most roofing materials over time, turning a tiny flaw into a major leak. The leak you're seeing is just the symptom—the root cause is the poor drainage, which needs to be professionally addressed to prevent more leaks and potential structural failure.
If your flat roof problem feels like more than you can handle, or if you simply want the peace of mind that a guaranteed, professional repair provides, we’re here to help. Our team has seen it all and can permanently solve your flat roof issues, protecting your property for years to come. Contact us today for a free, no-obligation estimate!