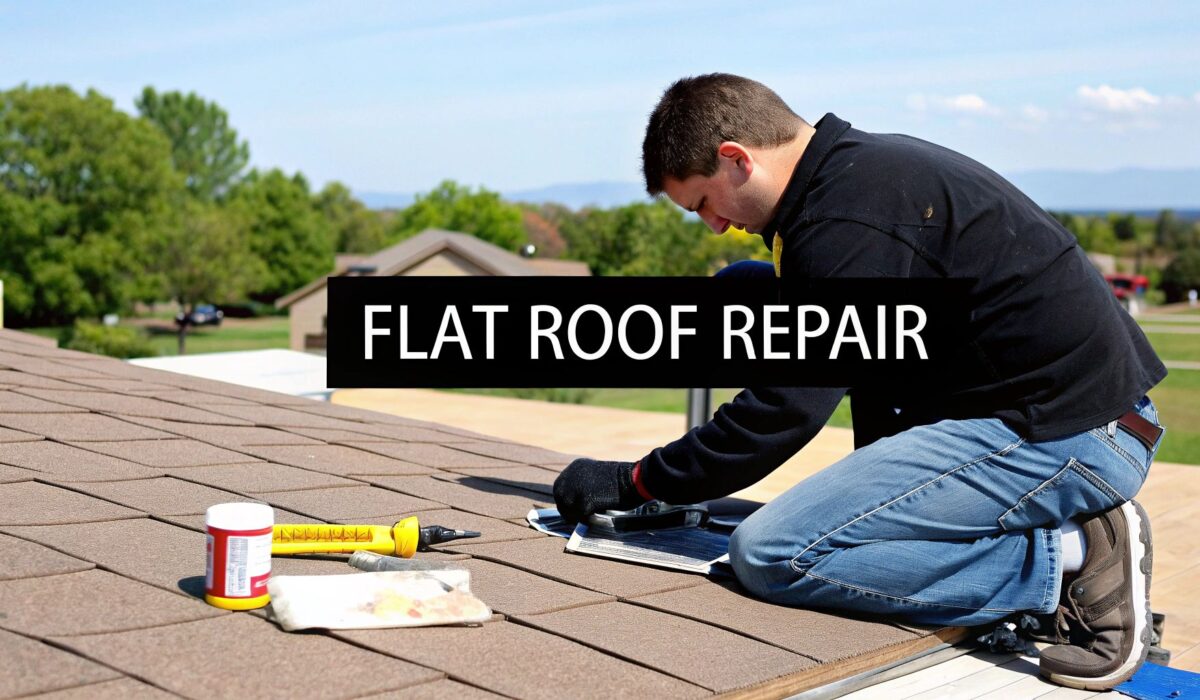
The fastest way to patch a flat roof involves finding the leak, cleaning the heck out of the area, and applying a purpose-built patch or sealant. But let's be honest, the "fastest" way isn't always the right way. The diagnosis—figuring out exactly what’s wrong—is everything. Get that part wrong, and you’re just wasting time and money on a fix that won’t last.
Diagnosing Your Flat Roof Problems
Before you can even think about how to repair a flat roof, you have to play detective. That water stain blooming on your ceiling almost never lines up perfectly with the leak on the roof. Water is sneaky; it can travel along joists, decking, and insulation before it decides to drip, making a thorough inspection the only real way to find the true culprit.
A real repair starts with a careful, methodical look at the roof, not with a bucket of goo.
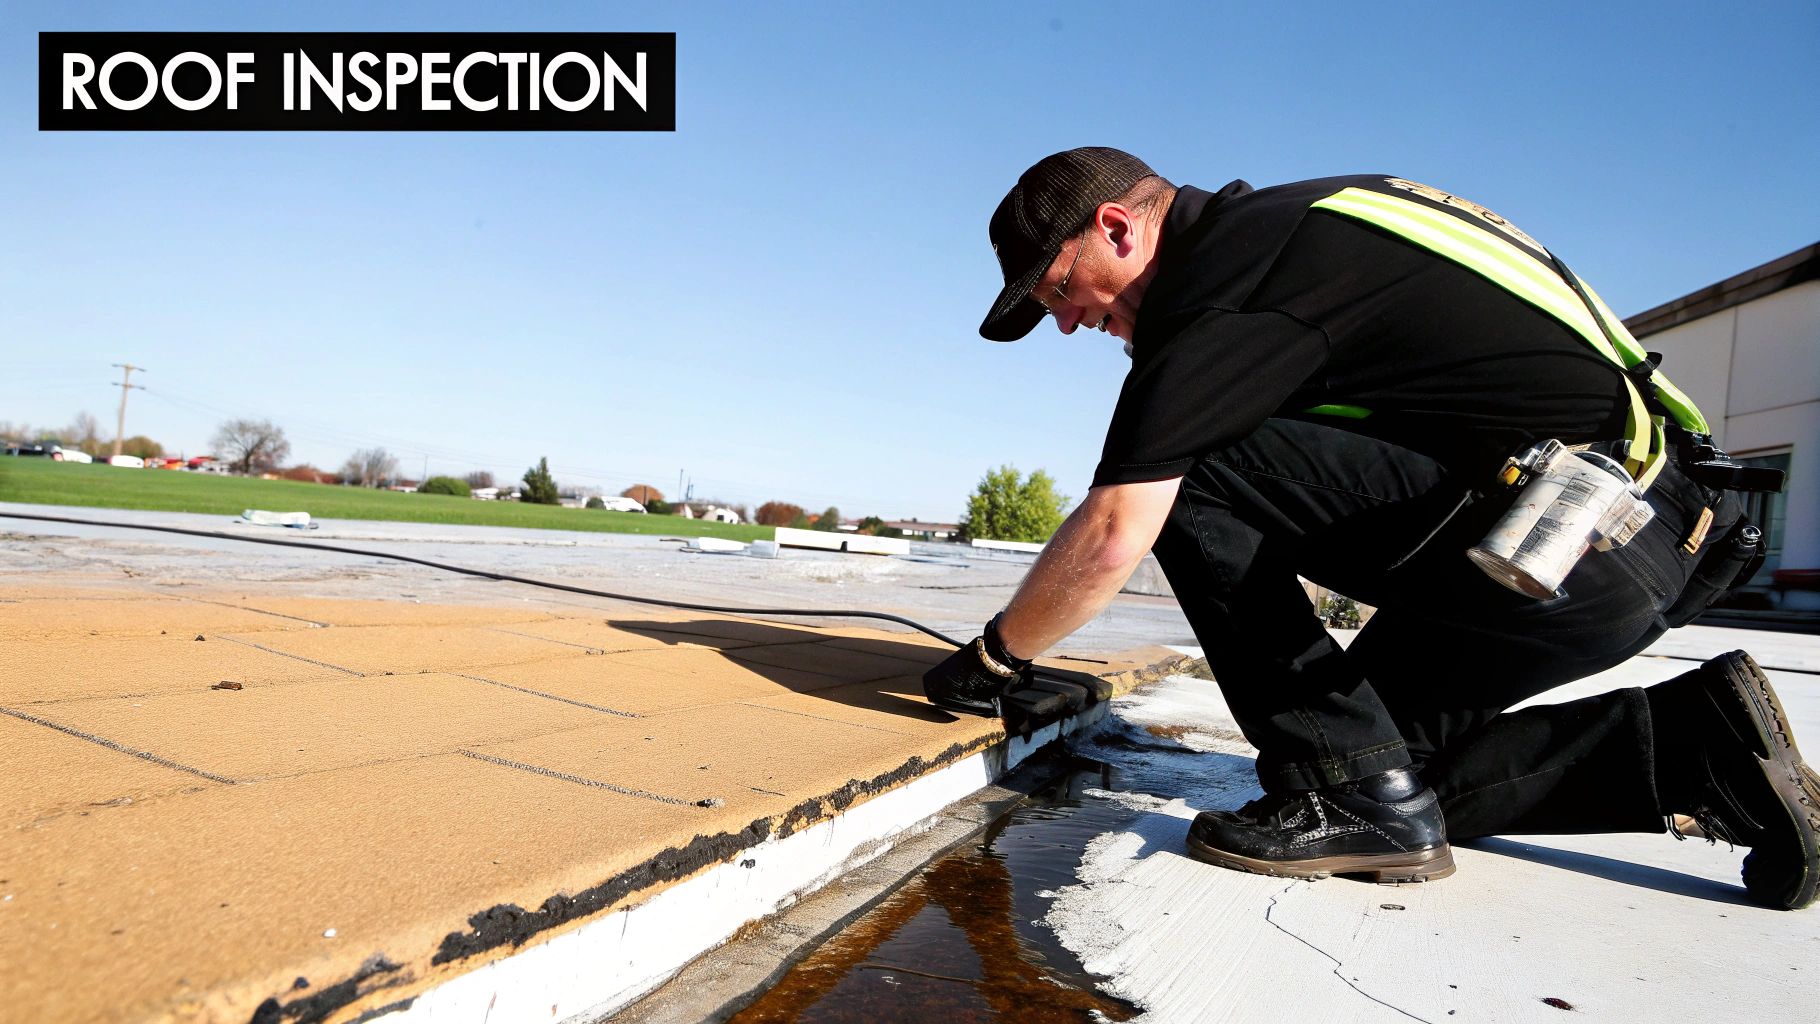
This initial inspection is about more than just finding a hole. It's about taking stock of your entire roof's health. The first signs of trouble are often subtle, but ignoring them can lead to serious structural damage down the road.
Identifying Common Flat Roof Issues
When you get up on that roof (safely!), you need to know what you’re looking for. These telltale signs are the clues that will lead you straight to the source of the problem.
- Ponding Water: If you see puddles still standing 48 hours after a rainstorm, that's a huge red flag. The constant weight and moisture are your roof's worst enemies, breaking down materials at an alarming rate.
- Blistering or Bubbling: These look like air pockets trapped just under the roof’s skin. They’re a classic sign that moisture has found its way underneath the top layer.
- Cracks and Alligatoring: Over years of sun exposure, some materials—especially older asphalt-based ones—get brittle. This creates a distinct cracking pattern that looks just like alligator skin.
- Failing Seams: The seams where roofing material overlaps are always the weakest link. Look closely for any spots where the adhesive has given up and the seam is starting to peel or lift.
- Punctures or Tears: This is the obvious stuff. Damage from fallen tree limbs, clumsy foot traffic, or a dropped tool can create a direct highway for water into your home.
Spotting these underlying symptoms moves you from simply reacting to a leak to proactively fixing the root cause. That's the difference between a temporary patch and a long-term repair.
Understanding Your Roof Type
All flat roofs are not created equal. The material on your roof dictates the repair strategy, and using the wrong product can make things much, much worse.
Most homes have one of three types:
An EPDM roof is essentially a big rubber sheet, usually black. Its biggest problems are shrinkage that pulls the material away from edges and seam failure where the glue breaks down over time.
A TPO roof is a single-ply membrane, often white or gray for energy efficiency. The seams are heat-welded, but they're still vulnerable to punctures. A bad welding job during installation is a common source of future leaks.
A Modified Bitumen roof is an asphalt-based system, often with a granular surface like a shingle. It’s prone to blistering from trapped moisture and "alligatoring" from UV damage and age.
Knowing which one you're dealing with is the critical first step in buying the right materials for the job.
To help you get started, here's a quick cheat sheet for connecting what you see to what you need to do next.
Quick Diagnosis and Action Plan
| Symptom | Potential Cause | Immediate Action |
|---|---|---|
| Visible Water Stain Inside | Puncture, seam failure, or cracked membrane | Trace the leak from inside to the roof deck, then inspect the exterior area directly above and "uphill." |
| Ponding Water | Blocked drains or structural sagging | Clear all drainage paths of debris immediately. If water remains after clearing, the issue may be structural. |
| Bubbles on Roof Surface | Moisture trapped under the membrane | Do not pop it! Puncturing a blister creates a new leak. Mark the area for a proper patch repair. |
| Lifted or Open Seams | Adhesive failure or material shrinkage | This is a primary entry point for water. Clean the area thoroughly and prepare for immediate resealing. |
This table should give you a solid starting point. Once you've identified the likely culprit, you can begin to formulate a plan for the actual repair.
Gathering Your Essential Tools and Materials
Jumping into a roof repair without the right gear is just asking for a headache. For a flat roof, this is non-negotiable. Having the correct materials isn't just a matter of convenience—it determines whether your patch will survive the next storm. Consider this your pre-flight checklist before you even think about setting up the ladder.
A successful, long-lasting repair is all about proper preparation. Without the right tools and materials for your specific roof type, even the most meticulously applied patch will likely fail, putting you right back where you started.
The Non-Negotiable Safety Gear
Before we even get into fixing the roof, let’s talk about keeping you safe. Working at heights, even on a supposedly "flat" surface, comes with real risks. This is one area where you absolutely cannot cut corners.
As you get your tools together, make sure you understand the essential personal protective equipment requirements to stay out of harm's way.
- Sturdy Ladder: Make sure your ladder is planted on solid, level ground and extends at least three feet above the roof's edge. This gives you something secure to hold onto when getting on and off the roof.
- Non-Slip Footwear: Soft-soled boots with good traction are your best friend up there. They protect the roof membrane from damage and, more importantly, keep you from slipping.
- Safety Goggles and Gloves: A must-have. Goggles will shield your eyes from debris, while gloves protect your hands from sharp edges and the harsh chemicals found in most roofing sealants and cleaners.
Core Tools for Every Flat Roof Repair
While the specific patching materials will change depending on your roof, a handful of tools are universal. Having these ready will make the job go much smoother, no matter what kind of roof you're dealing with.
You'll definitely need a stiff-bristled brush to clean the area and a utility knife with a fresh supply of blades. A good caulking gun is essential for applying sealants, and a trowel is perfect for spreading thicker patching compounds. Don't forget a bucket and a heavy-duty trash bag to keep your workspace clean.
A well-organized toolkit is the first step toward a professional-quality repair. Fumbling for the right tool mid-job can lead to mistakes and compromises that affect the longevity of your work.
Material-Specific Repair Supplies
This is where knowing your roof type is critical. Just grabbing a generic "roof patch" from the hardware store is a classic mistake that almost always leads to a failed repair. Every roofing system requires a different approach and materials that are chemically compatible.
The demand for these specialized materials is huge. The global roofing market was valued at USD 213.8 billion in 2023 and is projected to hit USD 280.3 billion by 2029, with repairs and maintenance driving a massive part of that growth.
Here’s a quick rundown of what you’ll need based on the most common flat roof types:
- For EPDM (Rubber) Roofs: You absolutely need an EPDM-specific primer. This cleans the membrane and preps it so the patch can actually bond. Look for peel-and-stick EPDM patch kits, or get a roll of uncured flashing tape and a small seam roller to press it down firmly.
- For TPO Roofs: TPO is best repaired with a heat-welding gun, which is usually pro-level equipment. For a DIY fix, you can find specialized TPO peel-and-stick patches, but double-check that they are explicitly labeled as TPO-compatible.
- For Modified Bitumen Roofs: Your go-to here is an asphalt-based roofing cement or mastic, which you'll spread with a trowel. For bigger cracks, you'll also want a piece of fiberglass reinforcing mesh to embed into the cement for extra strength.
Choosing the right sealant and patch is just as important as the hidden layers of your roofing system. These surface repairs act much like the protective underlayment that sits beneath your primary roofing material. If you're curious about all the layers involved, you might be interested in our guide on what roof underlayment is and why it matters. Getting the material right ensures your repair becomes a seamless, permanent part of your roof.
A Practical Guide to Patching and Sealing Leaks
Alright, you've figured out where the leak is and have your gear ready. Now for the hands-on part. Knowing how to repair a flat roof really comes down to understanding the material you're working with. Patching a rubber EPDM roof is a completely different ballgame than smearing roofing cement on an old modified bitumen surface.
Let's get practical. Say you've found a small puncture from a fallen branch or a seam that's pulled away from a plumbing vent. These are the classic problems we see all the time, and each one needs to be handled just right to make sure the fix lasts.
This simple workflow visualizes the core stages of any repair project: Protection, Preparation, and Application.
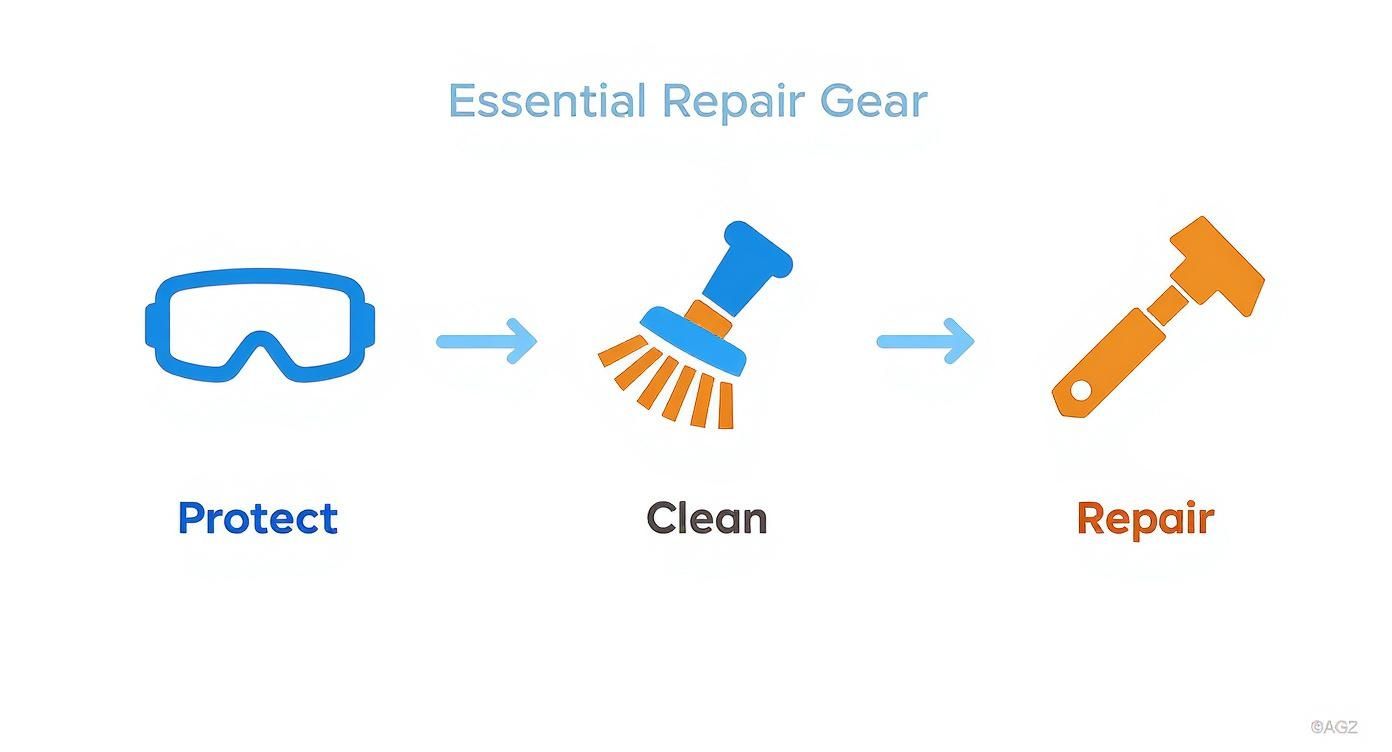
What this really shows is that the actual "repair" is the final step. It all hinges on being safe and getting the surface spotlessly clean first.
Repairing an EPDM Rubber Roof
With EPDM, it’s all about creating a perfect, permanent bond. You can't just glob on any old roofing cement and call it a day—in fact, that’s the worst thing you can do. Using a petroleum-based sealant on EPDM will actually dissolve the rubber, turning a small leak into a massive headache.
Success here boils down to two things: cleaning and priming.
- Scrub It Clean: Get a stiff brush and an EPDM-specific cleaner (denatured alcohol works in a pinch) and scrub the damaged area. You need to get off every speck of dirt and oxidized material until the surface looks fresh and black, not chalky or faded.
- Don't Skip the Primer: Once it’s bone dry, apply a thin, even coat of EPDM primer. This is non-negotiable. The primer chemically preps the rubber, allowing the patch adhesive to create a true molecular bond.
- Apply the Patch: For a small hole, cut a piece of peel-and-stick EPDM patch material to overlap the damage by at least three inches on all sides. A pro tip: round the corners of the patch. It makes them far less likely to catch and peel up over time.
- Roll It On: Peel off the backing and carefully lay the patch down over the primed area. Now, grab a small, hard seam roller and apply firm pressure, working from the center out to push out any air bubbles. This pressure is what fuses the patch to the roof for good.
Fixing a TPO Membrane Leak
Professionally, we fix TPO roofs with a heat welder, but that’s not something you’ll have in your garage. For a DIY fix, you'll be using specialized TPO patches and sealants. Just like with EPDM, a lasting repair depends on a clean surface and the right materials.
Start by cleaning the damaged spot with a TPO cleaner recommended by the manufacturer. Be careful not to use anything too abrasive that could scratch up the membrane.
For a small puncture or tear, a TPO-specific peel-and-stick patch is your best bet. Make sure it overlaps the damage generously. One extra step for TPO is crucial: apply a bead of compatible lap sealant around the entire edge of the patch. This gives it a final layer of waterproofing and locks down the edges.
Always triple-check that your patch and sealant are specifically made for TPO. Grabbing a generic product off the shelf can void your roof’s warranty and the patch will likely fail within a year.
Sealing a Modified Bitumen Roof
Modified bitumen is an asphalt-based material, which makes it a bit more forgiving. This is where that "tar-in-a-bucket" fix comes into play, usually involving roofing cement or mastic.
It’s a straightforward process, but it can get messy.
- Prep the Area: Clean away all the loose granules, dirt, and any other debris. If you're dealing with a blister, you'll need to carefully slice it open with a utility knife (in an 'X' shape) to let the trapped moisture or air out. Let it dry completely before you do anything else.
- Lay Down the Cement: Use a trowel to apply a thick, even layer of asphalt roofing cement into the crack or over the blister you just cut open. Spread it out about two to three inches beyond the edges of the damage.
- Add Reinforcement: For bigger cracks or repaired blisters, cut a piece of fiberglass reinforcing mesh and press it right into the wet cement. Think of it like rebar in concrete—it gives the patch incredible strength and keeps it from splitting open again.
- Apply the Final Coat: Slather a second layer of roofing cement over the mesh, completely covering it. Use your trowel to feather the edges smoothly into the rest of the roof surface.
Often, the real culprit isn't a hole in the main field of the roof but a failure at a penetration point—think vents, skylights, or chimneys. These spots are protected by flashing. If you've got a leak there, the flashing is likely the issue. It’s worth taking a moment to understand what roof flashing is and the critical job it does. Knowing how to properly seal or repair flashing is a must-have skill for any flat roof owner.
Understanding Repair Costs and Longevity
Every flat roof repair comes down to one thing: a cost-benefit decision. It's tempting to grab the cheapest, quickest fix just to stop a drip, but it’s crucial to think about the long-term value. Making a smart financial choice right now can save you a world of headaches and much bigger bills later on.
The real question isn't just about the price tag today. It's about weighing the cost of the materials against how long that fix is actually going to last. A smart approach to flat roof repair means looking at the total cost over time, not just what you spend at the hardware store.
The True Cost of a DIY Repair
Doing the repair yourself can feel like a huge bargain. A tube of roof sealant might only cost $20, and a small patch kit could be under $100. For a tiny, simple puncture, that might be all you need. But the real cost isn't just what's on the receipt.
You have to think about the variables:
- Material Quality: That basic, off-the-shelf sealant might only survive one season of harsh sun and pounding rain. A professional-grade, elastomeric patch costs more, sure, but it’s built to flex with temperature swings and fight off UV damage for years.
- Application Skill: An improperly applied patch will fail, no matter how good the material is. If you don't prep the surface correctly or get a perfect seal, you’re just putting a temporary bandage on a problem that's guaranteed to come back.
- Time and Effort: Your time is valuable. Don't forget to factor in the trips to the store, the hours you spend up on the roof, and the physical effort it takes to do the job right.
The most expensive repair is the one you have to do over and over again. Investing a bit more upfront in a high-quality patch kit almost always provides a better return than buying cheap sealant three times a year.
Professional Repair Costs vs. Long-Term Savings
Hiring a pro will always cost more upfront than doing it yourself. You're not just buying materials; you're paying for their experience, specialized equipment, insurance, and access to top-tier products. But that initial investment often pays for itself by preventing recurring leaks. A small leak left unchecked can lead to catastrophic damage like rotted decking, ruined insulation, and mold inside your home.
There's a reason the global roof repair market is growing. It was valued at around USD 38.8 billion in 2025 and is expected to hit USD 52.3 billion by 2031. This isn't just a random trend—it shows that as buildings age and weather gets more extreme, people are realizing the value of durable, professional repairs.
For a clearer idea of what to expect financially, take a look at our detailed guide on flat roof repair costs. It breaks down all the factors that influence pricing so you can make a truly informed decision.
When a Higher Upfront Cost Makes Sense
Deciding between a cheap fix and a bigger investment is really a risk assessment. A temporary sealant might be perfectly fine for a tiny pinhole you found during a dry spell. But for a failing seam or a significant tear? Skimping on materials is a gamble you're probably going to lose.
While homeowners see the price of a tube of sealant, professionals are looking at the bigger picture. Their understanding of things like strategies for managing construction inventory efficiently shows how they plan for quality and longevity from the start. They invest in better materials because a reliable repair protects their reputation and, more importantly, your property.
Ultimately, the goal is to fix the problem correctly the first time. By choosing the right materials and the right approach, you’re not just patching a leak—you're investing in the health of your entire roof and protecting your home from much more expensive damage down the road.
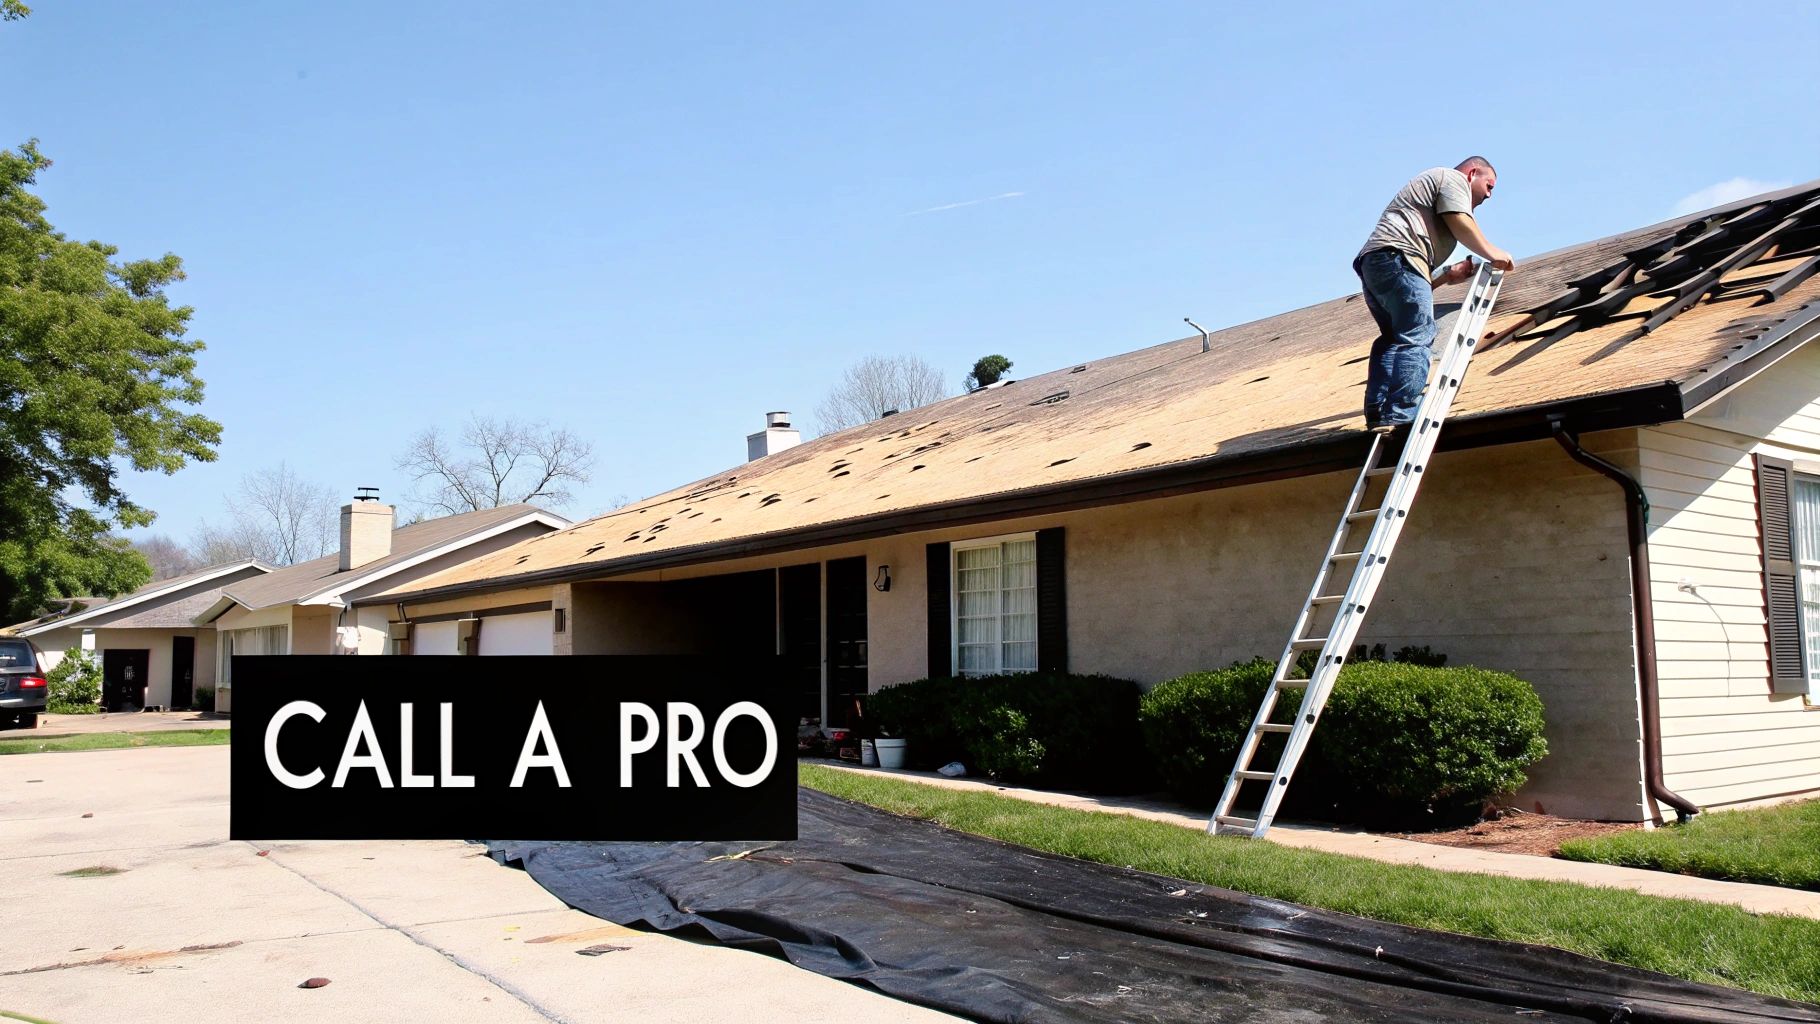
Knowing When to Call a Roofing Professional
It’s one thing to patch a small puncture on your own, and honestly, it can feel pretty empowering. But the smartest skill any homeowner can develop is knowing when to step back and call for backup. A DIY fix might work for a tiny, obvious leak, but some problems are clear signs that you're in over your head.
Ignoring these red flags and trying to patch a major issue yourself can turn a manageable problem into a financial nightmare. What looks like a simple surface flaw could be just the tip of the iceberg, hinting at a much deeper failure in the roofing system.
Signs the Problem Is Beyond a Simple Fix
From my experience, certain issues are almost always a dead giveaway that you need professional equipment and expertise. If you spot any of the following, it’s time to put down the sealant and pick up the phone.
- Serious Interior Water Damage: A small, discolored ring on the ceiling is one thing. But if you’re looking at huge stains, paint peeling across an entire room, or drywall that’s physically sagging, the leak has been going on for a while. That usually means your insulation is soaked and the roof deck itself could be rotting.
- Ponding Water That Won't Go Away: Have you cleared the drains, but there are still massive puddles on your roof 48 hours after a storm? That’s a huge red flag for a structural problem. It often means the roof is sagging, and no amount of patching is going to fix that.
- Widespread Blistering or "Alligatoring": A single blister isn't a catastrophe. But if you see bubbles or a web of deep, interconnected cracks (we call it alligatoring) covering more than 10% of the roof surface, the membrane itself is failing. This is a classic sign of old age and widespread moisture getting underneath.
These aren't just cosmetic flaws; they are the symptoms of a system that's on its last legs.
Why Professional Expertise Matters in These Scenarios
When you're dealing with damage this significant, calling a pro isn’t about convenience—it's about getting the job done right and safely. A seasoned roofer brings a level of diagnostic skill and equipment that a homeowner just doesn't have.
For example, a professional can perform an infrared moisture scan to map out exactly how much water is trapped inside your roof. This is absolutely critical. Slapping a patch over wet insulation is a recipe for disaster; the trapped moisture will just cause the new patch to peel off and will continue to rot the structure from the inside out.
A professional roofer doesn't just patch the leak you can see; they diagnose and fix the underlying cause. This holistic approach is the only way to ensure a durable, long-term solution and prevent the problem from returning next season.
Plus, a pro has access to commercial-grade materials and specialized tools, like heat welders for single-ply membranes, that create a bond far stronger than anything you can buy at the hardware store. They also know the local building codes inside and out, ensuring any major repair is done to standard.
Look, the desire to tackle home repairs yourself is completely understandable. But some jobs are just too big and too important to risk. Knowing when to call in an expert is often the smartest—and in the long run, most cost-effective—decision you can make. For these complex jobs, bringing in an experienced team is your best bet.
Of course. Here is the rewritten section with a more human, expert tone.
How to Get Ahead of Future Repairs with Proactive Maintenance
Honestly, the best way to handle flat roof repairs is to not have them in the first place. It sounds simple, but shifting from a reactive "fix-it-when-it-leaks" approach to a proactive maintenance mindset is the single biggest thing you can do to get more years out of your roof and protect your wallet.
A little bit of consistent care can spot a tiny issue before it turns into a four-figure emergency. Think of it as a seasonal check-up for your roof—a simple habit that prevents massive headaches down the road.
Your Seasonal Maintenance Checklist
Just a couple of hours each spring and fall can genuinely save you thousands. These are the low-effort, high-impact tasks that act as your first line of defense.
- Get Rid of Debris: Leaves, twigs, and dirt are enemy number one. They clog drains and scuppers, and when water has nowhere to go, it starts ponding. That standing water puts a ton of stress on your roof's membrane and seams, looking for any tiny weakness to exploit.
- Check Your Seams and Flashing: After a big storm, it's always a good idea to take a quick look at the seams. Pay close attention to the flashing around vents, chimneys, or skylights, as these are the usual suspects for leaks. You're looking for anything that looks like it's peeling, cracking, or lifting away.
- Look for Early Signs of Wear: Keep an eye out for small blisters on the surface, any developing cracks, or spots where the protective granules on a modified bitumen roof look thin. Catching these problems when they're small means you can do a quick touch-up instead of a major patching job later.
A good maintenance plan is what separates you from your roof. It's the difference between you controlling its condition and the roof controlling your budget. You get to fix things on your own terms.
One of the smartest preventative moves you can make is applying a roof coating. A good reflective coating, applied every few years, can add a significant amount of time to your roof's life. It shields the surface from brutal UV rays and helps minimize the stress from constant temperature swings. As a bonus, it often makes your home a bit more energy-efficient.
The technology behind these roofing systems is always getting better, too. The global market for flat roofing was valued at around USD 59.2 billion in 2024 and is on track to nearly double by 2035, thanks to big strides in durability and sustainable materials. If you're interested in the details, you can discover more insights about the flat roofing systems market on marketresearchfuture.com. All this innovation means homeowners have better, longer-lasting options to protect their property than ever before.
Your Flat Roof Repair Questions Answered
When it comes to flat roofs, a little bit of knowledge can save you a lot of headaches and money down the road. It's natural to have questions, and getting the right answers is the first step toward protecting your property.
We hear a lot of the same questions from homeowners, so we've put together some straightforward answers to help you navigate common flat roof issues.
How Often Should I Be Inspecting My Flat Roof?
Honestly, the best habit you can get into is checking it twice a year—once in the spring after the winter thaw and again in the fall before the weather turns nasty. On top of that, it’s always a smart move to take a quick peek after any severe weather, like a heavy storm with high winds or hail.
Catching a small puncture or a peeling seam early is the difference between a quick, cheap fix and a major interior water damage problem. A few minutes of your time can save you thousands.
Regular inspections are the single most effective way to prevent major leaks. Think of it as preventative care for your home's most important shield.
Can I Just Slap Some Roof Cement on Any Kind of Flat Roof?
This is a huge one, and the answer is a hard no. It's a classic DIY mistake that can cause way more harm than good. While roofing cement seems like a go-to, all-purpose solution, it's often completely incompatible with many modern flat roofing materials.
For instance, if you apply a standard asphalt-based cement to a rubber (EPDM) or TPO roof, the chemicals can literally eat away at the membrane, causing it to become brittle and fail. You have to use a sealant or patch kit that is specifically designed for your type of roof. Always check the label—it’ll save you from a much bigger repair later on.
What’s “Ponding Water,” and Is It Really a Big Deal?
Ponding water is the term for any standing water that’s still sitting on your roof more than 48 hours after a rainstorm. And yes, it’s a very serious problem.
Think about it: all that extra weight is constantly stressing your roof's structure, which can eventually lead to sagging. Even worse, the persistent moisture speeds up the deterioration of the roofing material itself, dramatically shortening its life and creating a perfect environment for leaks. If you see ponding, it’s a clear sign of a drainage problem that needs to be fixed right away.
When a repair feels like it's over your head, or if you're dealing with a persistent issue like ponding water, it's time to bring in a professional. The team at Penn Ohio Roofing & Siding Group has seen it all and knows how to diagnose and fix flat roof problems correctly the first time. For a professional assessment and some peace of mind, visit us online.