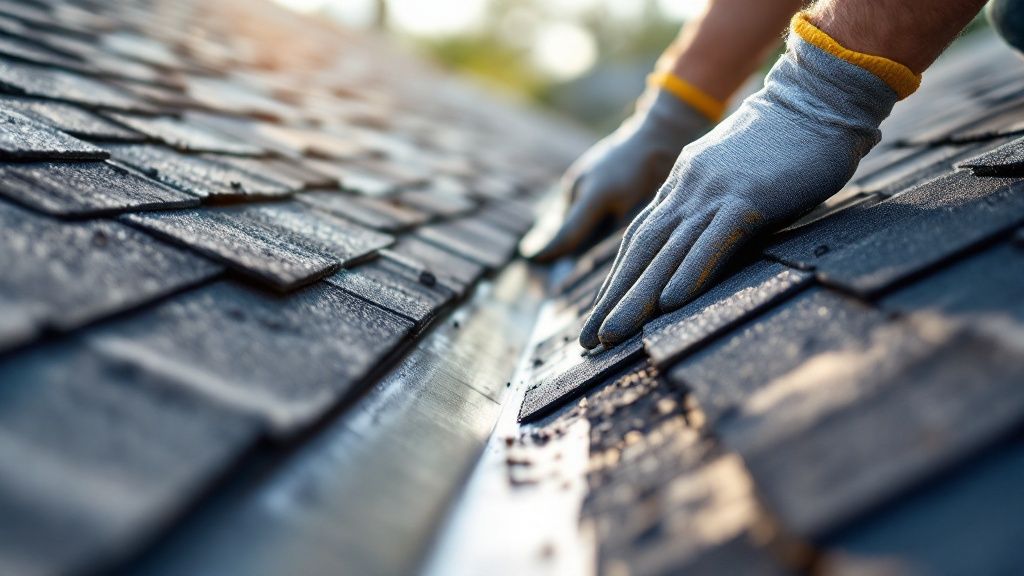
Choosing Your Valley Shingling Method
Every roof valley needs a failsafe water channel where two planes converge. You’ll generally opt for either a closed-cut or woven approach, both layering shingles over a protective underlayment to steer water away. Your roof’s slope, shingle flexibility, and visual goals will ultimately guide that decision.
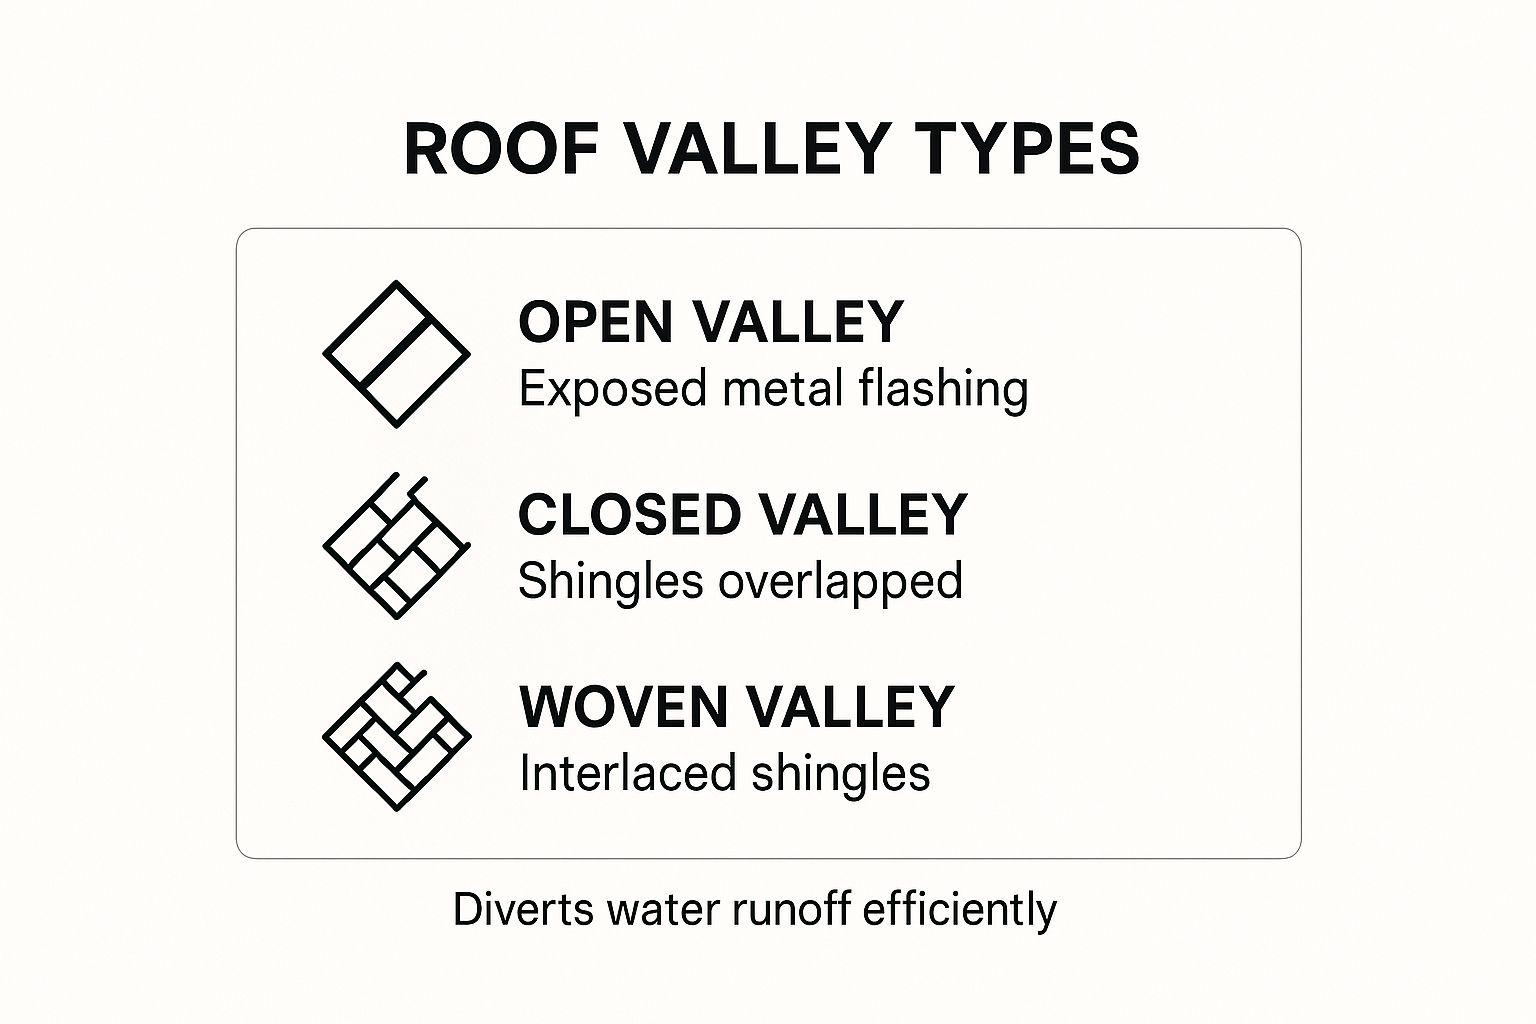
This visual lays out how closed-cut, woven, and open valleys direct runoff differently, helping you picture each method in action.
Valley Shingling Methods At A Glance
A quick comparison to help you choose the right technique:
| Method | Best For | Installation Speed | Leak Resistance |
|---|---|---|---|
| Closed-Cut | Architectural shingles, clean lines | Fast | High |
| Woven | Flexible three-tab shingles | Medium | Medium |
| Open Valley | Heavy rainfall regions, ice-dam prevention | Slow | Very High |
Use this snapshot when you need a clear, at-a-glance overview of each technique’s strengths and trade-offs.
Key Factors In Your Decision
Roof valleys face the most concentrated water flow on your home, so details matter. Focus on:
- Roof Pitch: Steeper slopes handle woven valleys easily, while gentler angles often benefit from the superior shedding of closed-cut or open valleys.
- Shingle Type: Flexible three-tab shingles weave neatly, but thicker dimensionals can crack under tension. For a detailed comparison, you can learn more about the differences between three-tab vs dimensional shingles to see which fits your project best.
- Climate Conditions: In areas with heavy rain or snow, open valleys backed by metal flashing deliver the most robust defense against leaks and ice dams.
A common misstep is forcing stiff architectural shingles into a woven valley. That creates stress points that crack and let water in. Always match the valley style to your shingle’s flexibility.
Many contractors favor the closed-cut method for its blend of sleek appearance and reliable performance, making it a go-to for modern roof designs.
Getting Your Tools and Materials Dialed In
Nothing kills momentum on a roofing job like having to climb down the ladder for a tool you forgot. Before you even think about setting foot on that roof, let's get everything you'll need laid out and ready to go. A little prep work on the ground saves a ton of frustration and time up top.
Think of it this way: a pro’s rooftop workspace is organized and efficient. You want everything you need within arm's reach, and you definitely don't want tools or materials sliding away from you. A messy setup on a pitched roof is just asking for trouble.
First Things First: Safety Gear
I can't stress this enough: working on a roof is serious business. Your safety is priority number one, and skimping on the right gear is a mistake you only make once.
- Harness and Rope: This is non-negotiable. A good, properly fitted safety harness connected to a solid anchor point is what separates a minor slip from a trip to the hospital. Don't be a hero; get a harness.
- Roof Jacks: On any roof with a noticeable pitch, you'll need roof jacks. They create a stable platform for you to stand on and a place to stack your shingles so they don't go for a ride.
- The Right Footwear: You need boots with soft, grippy rubber soles. Anything less is a slipping hazard. Make sure the roof surface is clear of dirt and gravel before you start walking around.
- Gloves and Safety Glasses: Shingle granules are basically like coarse sandpaper, and they'll tear your hands up. A good pair of gloves is a must. And when you're cutting or nailing, a pair of safety glasses will keep debris out of your eyes.
A seasoned roofer knows that safety isn't an option—it's just part of the job. Taking the time to set up your harness and roof jacks properly is what separates the pros from the amateurs. It protects you and ensures the job gets done right.
The Tools of the Trade
You can't do a clean job with subpar tools. A dull knife or a cheap hammer will just frustrate you and lead to sloppy, unprofessional-looking work.
Your best friend for this job is going to be a sharp utility knife—and I mean sharp. Have a big pack of fresh blades on hand. Cutting through shingles will dull a blade faster than you'd think, and a clean cut is absolutely essential for a tight, waterproof valley.
You'll also need a few other key items:
- A solid roofing hammer or, if you have one, a pneumatic nailer.
- A chalk line for snapping those perfectly straight guide lines.
- A good tape measure.
- A flat pry bar, just in case you need to pull up a misplaced shingle or an old nail.
Choosing the Right Materials
The materials you lay down in that valley are just as critical as how you install them. A truly watertight valley is built in layers, creating a bulletproof system.
Your first line of defense is a quality ice-and-water shield. This stuff is a sticky-backed rubberized membrane that seals directly to the roof deck. While it’s absolutely essential in snowy climates to fight ice dams, I recommend it for any valley, anywhere. It’s just cheap insurance against leaks.
Next up is your flashing. Go with either galvanized steel or aluminum—both are tough, won't rust out, and will easily last the life of your shingles. Finally, make sure you have plenty of 1 ¼ inch roofing nails. That’s the industry standard for getting a solid hold without blowing all the way through your sheathing.
Preparing The Valley For A Perfect Seal
Before any new shingles go down, strip everything back to the bare deck. This is more than demolition—it’s about giving your underlayment and flashing the best shot at forming an unbreakable seal.
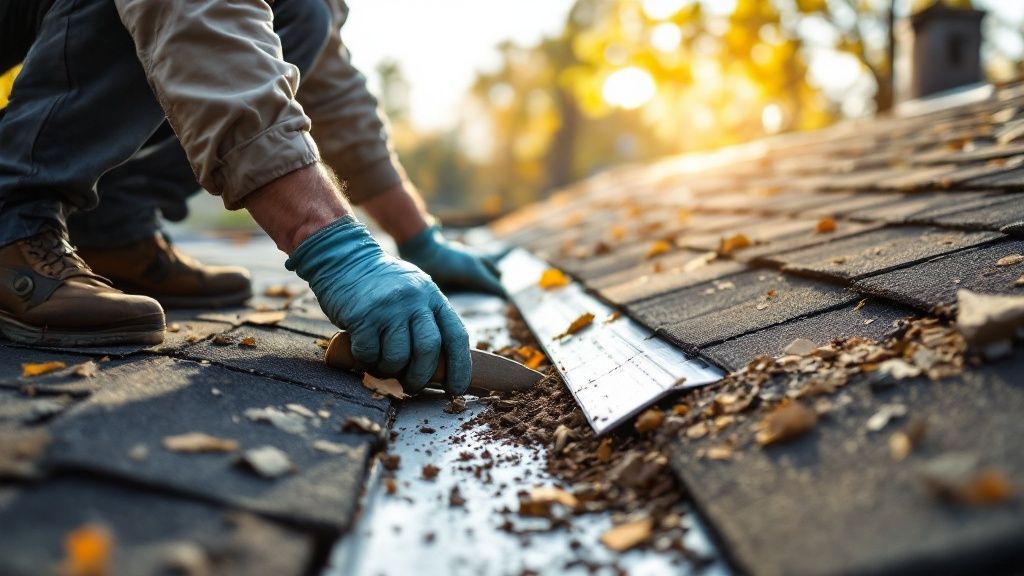
Once the old layers are off, you become a detective. Every nail, granule, or hidden gap could hint at trouble. Catching issues now saves you from headaches down the road.
Stripping And Inspecting The Roof Deck
Pull up shingles and underlayment with a flat pry bar, working deliberately to remove every nail.
With the deck exposed, press on the sheathing using the handle of your hammer or the palm of your hand. Look for any softness or bounce.
• No give? You’re in good shape.
• Any sponginess? Cut out that board and install a new section before moving forward.
Shingling over soft or rotted deck is like building on sand. It won’t last.
Finish by sweeping the valley with a stiff-bristled broom. This clean surface ensures each layer adheres without fail.
Trimming Back Existing Shingles
Snap a chalk line 6 to 8 inches from the centerline on each side. This clean boundary sets up a smooth, professional fit.
Using a sharp utility knife, slice along those lines with care. A precise cut prevents ridges that trap water and helps the new valley materials lie perfectly flat.
Valleys are notorious for leaks, responsible for 20-30% of roof failures in homes. Choosing sturdy flashing makes a huge difference.
For more depth on this topic, dive into insights from the pros at Fine Homebuilding. You can also explore our guide on the crucial role of what is roof flashing to see why flashing is non-negotiable.
Installing Underlayment and Flashing Correctly
With a clean, prepped valley, you're ready to build the core of your waterproofing system. This is where meticulous work really counts. You're creating a multi-layered defense that will keep water out long before you even think about laying the first shingle.
The absolute most important layer here is a self-adhering ice-and-water shield. Think of this as your last line of defense. It’s a sticky, rubberized membrane that bonds directly to the roof deck, sealing itself around every nail you drive through it later. Its whole job is to stop any water that might sneak past the shingles and flashing.
Laying the Ice and Water Shield
You'll want to start at the very bottom of the valley and work your way up. Unroll your first section of the shield, taking care to get it perfectly centered. For a standard 36-inch wide roll, this means you'll have 18 inches running up each side of the roof.
Peel back the film and press the membrane down firmly. As you move up the valley, make sure each new piece overlaps the one below it by at least 6 inches. This shingle-style overlap is crucial; it forces water to flow down and over the seams, never underneath them.
Pro Tip: A common mistake I see is people stretching the ice-and-water shield too tight. Just let it lay naturally. If you stretch it, you can create thin spots or cause it to pull away from the deck over time, which completely defeats the purpose.
If you're curious about how this crucial layer fits into the bigger picture, this guide on what roof underlayment is provides a great overview of its role in protecting your entire home.
Fitting and Securing Metal Flashing
Now it’s time for the metal. This is the durable, slick channel that will guide the bulk of the water down the roof. Most pros, myself included, prefer to use a pre-bent "W" style flashing. It has a raised rib or crimp right down the middle, which acts as a barrier to stop a heavy downpour from shooting from one side of the roof straight across to the other and underneath the shingles.
Just like with the underlayment, you’ll install the metal flashing starting from the bottom and working up. Each new piece of flashing needs to overlap the one below it by about 4 to 6 inches.
Here’s the critical part: securing the flashing.
- Drive your roofing nails only near the outer edges of the metal.
- Keep the nails at least one inch in from the very edge.
Never, ever nail through the center of the valley flashing. Every nail hole is a potential leak, and putting one right in the middle of the highest water-flow area is just asking for trouble. The shingles and sealant will hold everything in place. Once the metal is nailed down, lift the outer edges and run a solid bead of high-quality roofing sealant underneath and at all the overlap seams. This final touch creates a completely sealed channel, ready for shingles.
Executing the Closed Cut Valley Method
When you want a sharp, clean finish, the closed cut method is a fantastic choice. I've used this on countless jobs, and it strikes a great balance between getting the work done efficiently and creating a really durable, professional-looking valley.
The whole idea is to layer the shingles from one side of the roof completely over the other, then trim them back to a perfect line. It's my go-to for architectural shingles because they're just too thick and stiff to weave together properly.
You start by completely shingling one entire side of the valley first. A good rule of thumb is to choose the roof plane with the lower slope or the smaller surface area. This way, water running down the steeper, larger plane will just sheet right over the top of the seam, which is exactly what you want.
Establishing the Underlay Plane
Okay, so pick a side to start on. Lay your shingle courses just like you would anywhere else on the roof, but let them run completely through the valley. Make sure each shingle extends at least 12 inches past the valley's center and onto the adjoining roof deck.
As you lay each one, press it down firmly into the crease of the valley. You're trying to eliminate any air gaps that could cause problems down the road. This next part is critical: keep all your nails at least 6 inches away from the valley centerline. This "no-nail zone" is non-negotiable for preventing leaks.
I can't stress this enough: the most common mistake I see on a closed cut valley is a misplaced nail. Just one nail too close to the centerline acts like a tiny funnel, directing water right under your shingles and compromising the whole roof.
Creating the Cut Line
Once you've shingled the first plane all the way through the valley, you can start on the second, overlapping plane. Go ahead and lay these shingles right over the top of the first set, running them through the valley just like before.
Now it's time to set up your guide for that clean cut. Snap a chalk line straight down the valley, positioning it about 2 inches out from the centerline. This line is your roadmap for trimming the top layer of shingles.
Making the Cut with Precision
With your chalk line snapped, you're ready to make the cut. Grab a sharp utility knife—a hook blade works best here—and carefully trim the top layer of shingles along that line. A veteran roofer's trick is to slide a piece of metal flashing under the shingle you’re cutting. It acts as a shield, so you don't accidentally slice into the shingle underneath.
Here's the one detail that separates an amateur job from a pro job: "dub" the top corner of every shingle you just cut. All this means is trimming off about a one-inch triangle from the upper corner at a 45-degree angle. It’s a small step, but it's crucial for directing water down into the valley, preventing it from tracking sideways and getting under the shingle.
To finish it off, lift the corner of each trimmed shingle and apply a small dab of roofing sealant underneath. Press it down firmly, and you've got a watertight seal that's built to last.
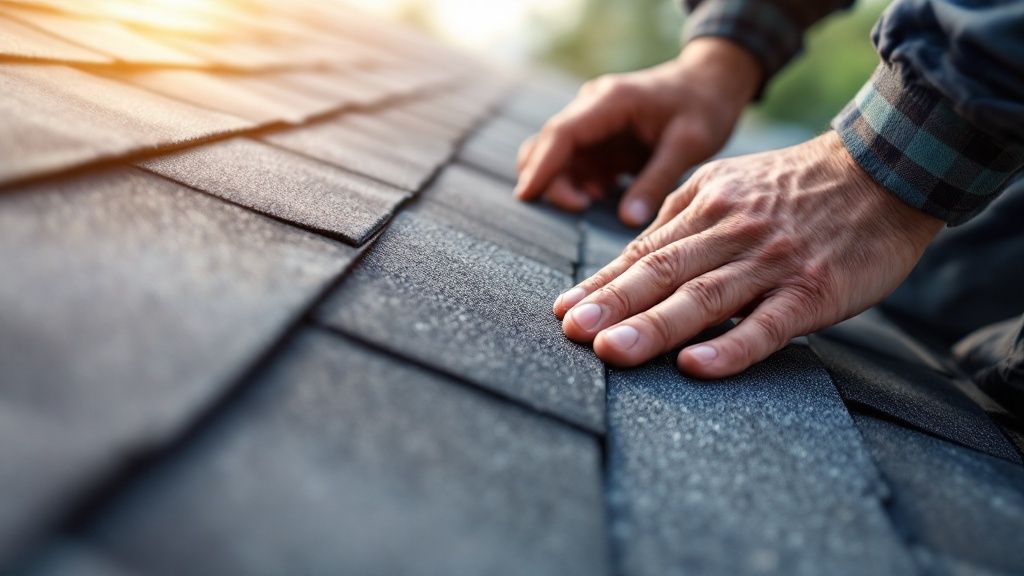
Mastering the Woven Valley Technique
If you're after a more traditional, seamless look for your roof, the woven valley is a fantastic option. This method involves interlacing shingles from both roof planes, creating a continuous pattern that looks especially sharp with certain types of shingles.
Unlike a closed-cut valley where shingles get trimmed back, weaving creates an uninterrupted flow from one side to the other. It's a classic look, and one that's often chosen for homes where a uniform or historic aesthetic is the goal.
Interlacing Shingles Course by Course
The real work starts at the bottom of the valley. You'll begin by laying the first course of shingles from one side, running it right through the valley and extending it at least 12 inches past the centerline onto the adjoining roof plane. Make sure to press this shingle down firmly into the valley's crease.
Now, grab a shingle for the opposite roof plane and lay it directly over the first one, again making sure it extends at least 12 inches past the center. This sets up the alternating pattern you'll follow all the way up. Just keep weaving one shingle over the next as you work your way to the peak.
One of the foundational methods for shingling a roof valley involves the woven valley technique, which dates back to traditional roofing practices. It provides double coverage and directs runoff centrally, though it can increase installation time by up to 30% compared to other methods. You can find more insights on architectural shingle installation from IKO.
Best Practices for a Tight Weave
Getting a woven valley to look professional comes down to the details. If your technique is sloppy, you’ll end up with ugly gaps or stress points that can eventually compromise the whole roof.
Here are a few essential tips I've learned over the years:
- Avoid hollow spots. As you press each shingle into the valley, you need to get it lying as flat as possible against the shingle underneath it. Any air gap creates a "hollow" spot that won't stand up to foot traffic or hail.
- Keep nails out of the center. This is a golden rule for any valley type. Establish a "no-nail zone" and keep every fastener at least 6 inches away from the valley's centerline. Nailing in the center is just asking for a leak.
- Choose the right shingle. I can't stress this enough: this technique works best with more flexible shingles, like standard three-tabs. If you try to weave thick, stiff architectural shingles, you're going to end up with cracked or buckled shingles that look terrible and won't last.
Common Questions About Shingling a Valley
Even with the best instructions, a few questions always come up when you’re staring down a roof valley. It makes sense—this is one of the most critical spots on your entire roof, and getting it right is the difference between a dry home and a disaster.
Woven vs. Closed-Cut Valleys in Different Climates
One of the most common debates is whether to go with a woven or a closed-cut valley. A woven valley looks great and provides a double layer of shingles, which sounds great on paper. But in practice, those overlapping tabs can become perfect little traps for leaves and pine needles.
If you live somewhere with a lot of trees, a closed-cut or open valley is almost always the better bet. They create a much cleaner channel for water and debris to wash right off the roof.
What Are the Risks for a DIYer?
Let's be blunt: shingling a valley is not a job for a first-timer. The biggest risk is, without a doubt, a leak caused by a small mistake. One nail in the wrong spot or a shingle that isn’t cut just right can create a direct path for water to get under your shingles and into your attic. Before you know it, you’re dealing with wood rot and expensive drywall repairs.
Safety is the other major concern. You’re working on a sloped surface, often in an awkward position where your footing isn't great. Without the right safety equipment and experience, a fall is a very real possibility.
The golden rule for any valley installation is this: keep all your fasteners at least six inches away from the centerline. This "no-nail zone" is the single most important thing you can do to prevent leaks. No exceptions.
It's also smart to think about the bigger picture. Many homeowners wonder how a new roof fits in with other major projects. For example, if you're thinking about adding solar down the line, understanding the solar panel installation process ahead of time helps you make sure your new roof is ready for it.
If you're looking at a tricky valley and want the peace of mind that comes with professional work, it's often best to consult with a qualified local roofing contractor. A pro can assess your specific situation and ensure your roof is sealed tight for years to come. For more roofing guides and resources, visit us at https://pennohiorc.com.