
Opting for cedar shake siding is more than just a choice—it's a statement. You're investing in a timeless look that brings natural character and texture to your home's exterior. It's a project that pays off in curb appeal, durability, and lasting value, creating a stunning, one-of-a-kind finish that manufactured materials just can't duplicate.
Why Cedar Shakes Are Worth the Effort
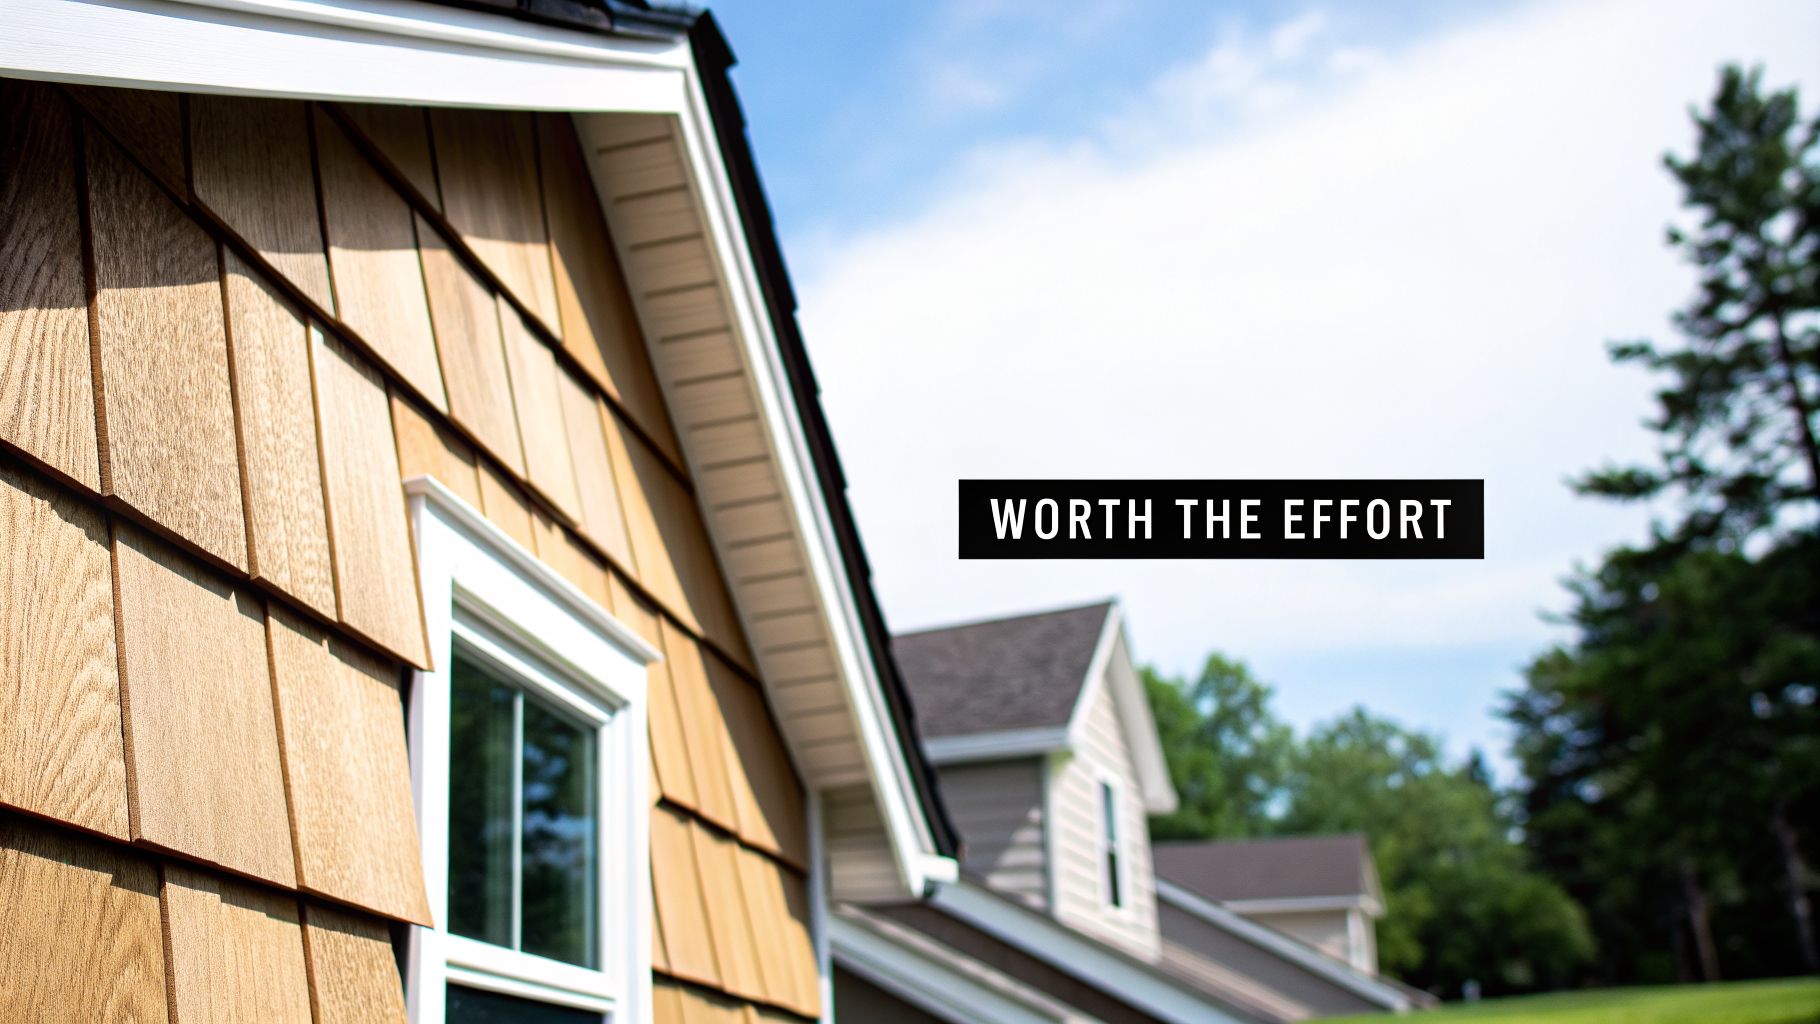
Let's be clear: installing cedar shake siding is a serious undertaking. But the payoff is immense. This is an architectural choice that adds a layer of authenticity and warmth that other materials often try—and fail—to imitate. The rustic, varied texture of real wood shakes gives a home visual depth and a sense of history right from day one.
This unique appeal has cemented cedar as a top-tier choice for homeowners who want both style and substance. In fact, demand is booming, with North America alone making up over 70% of the global market for exterior cedar siding. Homeowners are increasingly looking for sustainable, beautiful materials, and cedar fits the bill perfectly. You can dig into the numbers yourself in this report on exterior cedar siding demand.
The Inherent Strengths of Cedar Wood
So what makes cedar so special? It all comes down to the natural properties baked right into the wood itself. Cedar is loaded with oils and tannins that provide powerful, built-in advantages for any exterior project.
Natural Durability: Those oils act as a natural preservative, giving the wood an incredible resistance to rot, decay, and moisture. There's a reason it’s been a top choice for everything from boat building to saunas for centuries.
Pest Resistance: The same compounds that fight off decay also make cedar a poor choice for a meal. Termites, carpenter ants, and other wood-boring insects tend to steer clear, giving you a natural defense that other wood sidings lack.
Impressive Insulation: Wood is a great natural insulator, but cedar’s unique cellular structure is especially good at trapping air. This helps keep your house warmer in the winter and cooler in the summer, which can lead to real energy savings down the road.
Cedar shake siding is an investment in authenticity. It’s one of the few exterior materials that gets more beautiful with age, developing a distinguished silver-gray patina that only adds to its character.
A Look That Improves with Time
Unlike synthetic siding that can fade, chalk, or just look dated after a decade, cedar ages gracefully. When it's first installed, you’ll get that beautiful warm, honey-toned glow. But over the years, the sun and rain will slowly weather it to a soft, silvery gray—a classic look that many people pay a premium to achieve.
If you let it age naturally, maintenance is refreshingly simple. An occasional rinse to wash off dirt and pollen is often all you need. But if you prefer to maintain the original color or go for a different look, cedar also takes stains and finishes beautifully, giving you complete control. This versatility is what makes all the meticulous installation work so rewarding; you know you're building something with lasting value and undeniable style.
Gathering Your Tools and Materials
Any seasoned pro will tell you that a successful siding job is won or lost before you ever pick up a hammer. Getting your materials and tools lined up properly is the difference between a smooth, professional-looking installation and a project plagued by frustrating trips back to the hardware store. Let's walk through what you'll need.
First things first: you need an accurate material count. Start by measuring the height and width of each wall you'll be siding and multiply to get the square footage of each section. Add all those sections up for your total. Now, go back and measure your windows and doors, calculate their square footage, and subtract that from your total.
This gives you your net square footage, but don't just order that amount. This is a classic rookie mistake. You absolutely must add a waste factor of 10-15% to your final number. This buffer covers cuts, angles, fitting around obstacles, and the occasional split or unusable shake you'll find in every bundle. Trust me, running out of shakes mid-wall is a project-killer.
Sourcing High-Quality Shakes and Fasteners
When you're ready to buy, you'll find that not all cedar shakes are the same. They're typically sold in "squares," which is enough to cover 100 square feet at a given exposure. The most important factor to consider is the grade.
- Premium Grade: This is the best you can get. It's 100% heartwood, perfectly vertical grain, and has zero defects. If you want a flawless, natural finish that lasts for decades, this is your choice.
- Number 1 Grade: Still an excellent, high-quality product that's perfect for most homes. You might see a few minor, acceptable imperfections, but it’s a solid choice for durability and appearance.
- Paint Grade: As the name implies, these are meant to be covered with paint. They'll have more knots and textural variations, making them more affordable but not ideal if you're planning on a semi-transparent stain.
Your choice of fastener is just as crucial. Cedar is rich in tannins, natural acids that will quickly corrode cheap steel nails. This corrosion causes ugly black streaks to run down your beautiful new siding and, worse, leads to the fasteners failing. Don't cut corners here; choosing the right fixings is non-negotiable for a long-lasting job.
Pro Tip: Always, always use stainless steel or hot-dipped galvanized siding nails. A 5d or 6d siding nail is the standard. This small detail will save you from major headaches and premature siding failure down the road.
Essential Tools and Materials Checklist
Before you start, gather everything you'll need in one place. A well-organized worksite is an efficient one. While you can get by with basic carpentry tools, a few specialized items will make the job much faster and more accurate.
The table below outlines everything from safety gear to the specific fasteners required for a professional-grade installation.
| Category | Item | Key Specification/Purpose |
|---|---|---|
| Safety Gear | Safety Glasses, Work Gloves, Dust Mask | Protects eyes from debris, hands from splinters, and lungs from cedar dust. |
| Measuring & Layout | Tape Measure, Chalk Line, 4-Foot Level, Story Pole | For establishing perfectly straight, level course lines across the entire building. |
| Cutting Tools | Utility Knife, Circular Saw, Jigsaw | For scoring, straight cuts on shakes, and cutting curves around pipes or fixtures. |
| Specialty Tools | Shingle Hatchet (Siding Hatchet) | A multi-tool for hammering, trimming shakes, and gauging exposure. |
| Fastening | Siding Nailer (optional), Hammer | A pneumatic nailer dramatically speeds up the job; a hammer is needed for adjustments. |
| Project Materials | Cedar Shakes, Stainless Steel or Hot-Dipped Galvanized Nails | The core siding material and the proper corrosion-resistant fasteners. |
| Underlayment | House Wrap, Flashing Tape, Rain Screen Matting | Creates the critical water-resistant barrier and drainage plane behind the shakes. |
Having these items on hand ensures you can maintain momentum and focus on quality work, rather than hunting for a tool you forgot. A shingle hatchet, for example, is a true game-changer with its built-in blade and exposure gauge. Likewise, taking a few minutes to make a story pole at the start will save you hours of measuring later on.
Get Your Walls Ready: The Foundation of a Great Siding Job
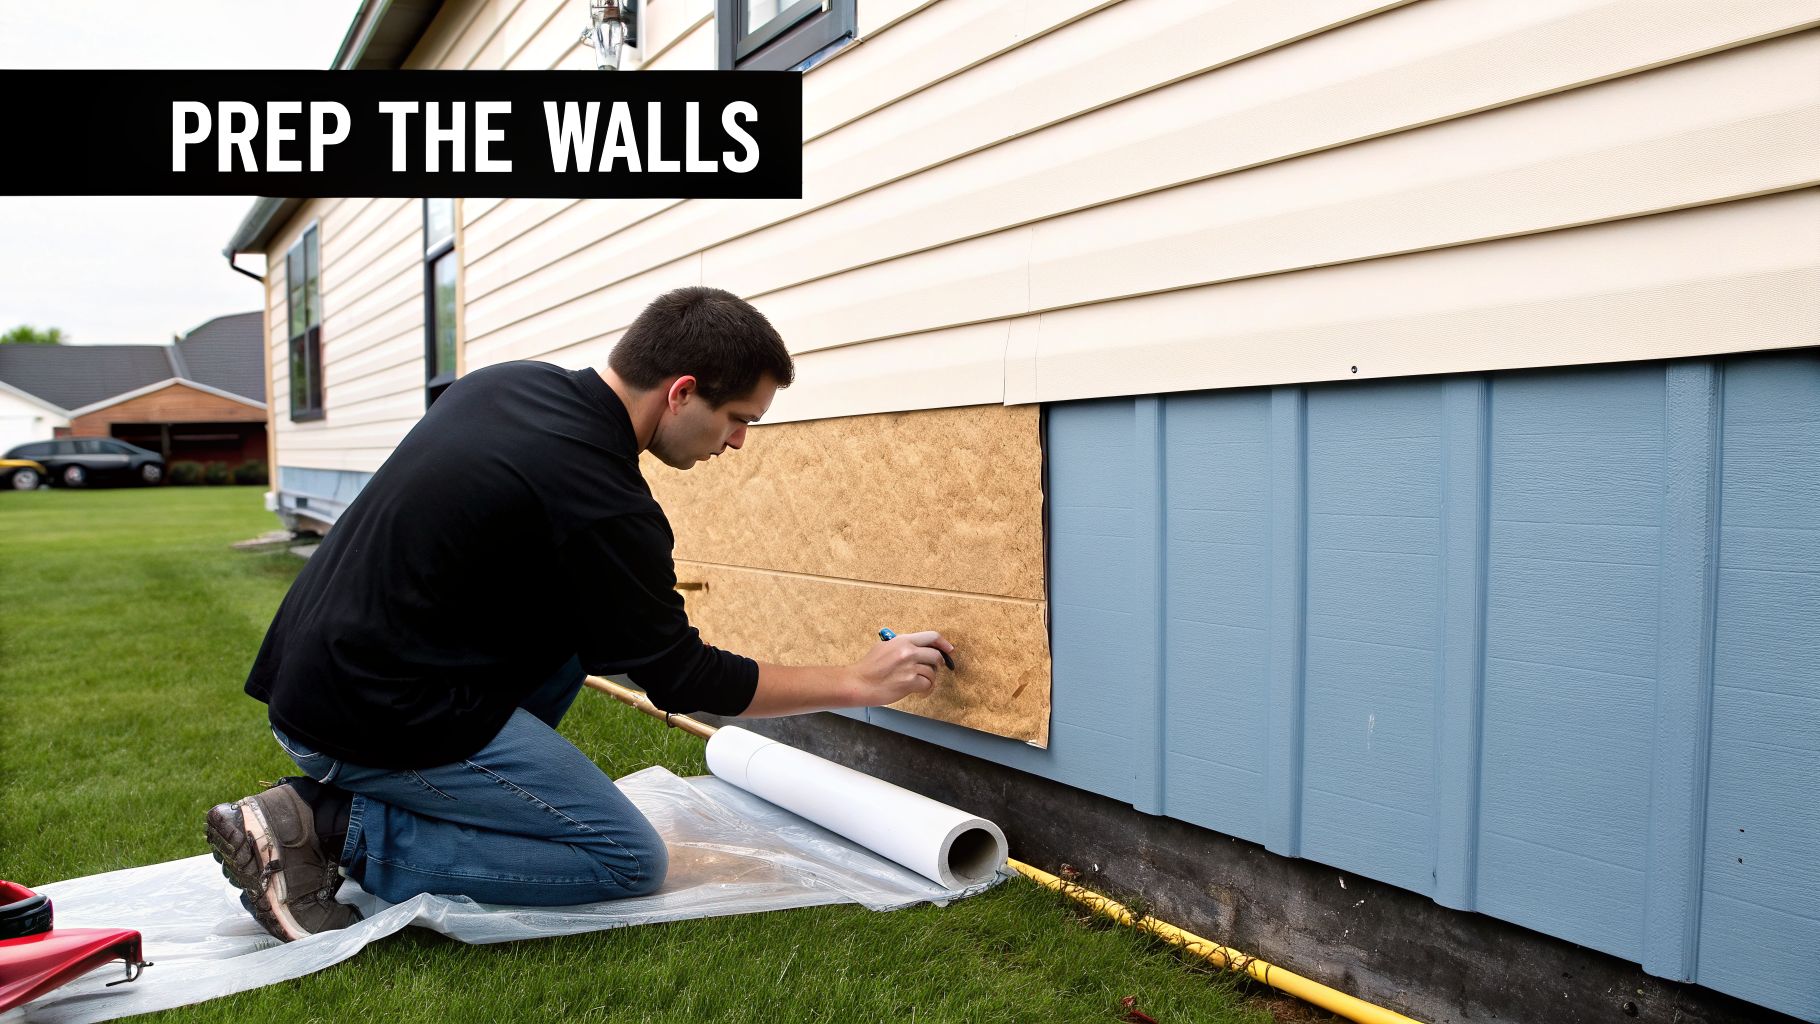
Before a single cedar shake goes up, the real work begins. I can't stress this enough: the most beautiful siding in the world will look terrible and fail prematurely if the wall behind it isn't solid and dry. This prep work is the most important part of the entire job to install cedar shake siding that lasts.
First things first, the old siding has to go. Tearing everything off down to the sheathing is the only way to do it right. I get asked all the time about putting new siding over old, but with wood, that's just asking for trouble.
Covering up old issues doesn't make them disappear—it just gives them a place to fester. Trapped moisture is siding's worst enemy, and skipping a full inspection of the sheathing is a gamble you’ll eventually lose. Think of the demo phase as a crucial diagnostic test for your home's exterior.
Inspecting and Repairing Wall Sheathing
With the sheathing exposed, it's time to put on your detective hat. You're hunting for any sign of water damage—look for dark stains, feel for soft spots, and keep an eye out for obvious rot. I always carry a screwdriver to poke any area that looks even slightly questionable. If the wood feels spongy or crumbles, it has to be replaced. No exceptions.
I always pay extra attention to the usual suspects where water loves to sneak in:
- Directly under and around windows and doors
- Along the bottom of walls, close to the foundation
- Around any wall penetrations like dryer vents, outdoor faucets, or electrical boxes
Cutting out and replacing damaged sheathing is non-negotiable. You need a solid, secure surface to nail your new siding into, and you absolutely must stop any existing rot from spreading. It's also worth noting that some walls, like brick, come with their own set of rules. For anyone dealing with that scenario, you can get the full story on whether you can put siding over brick in our separate guide.
Installing the Weather-Resistive Barrier and Rain Screen
Once your sheathing is good to go, it’s time to build your defense against mother nature. This starts with a weather-resistive barrier (WRB), which most people know as house wrap. This stuff is brilliant—it stops rain from getting to the sheathing but lets water vapor from inside the wall escape.
Start at the bottom of the wall, roll the wrap out horizontally, and fasten it with cap staples (not regular staples!). Every row you add needs to overlap the one below it by at least 6 inches. This shingle-lap method ensures water always flows down and out. On your vertical seams, make sure you have a generous 12-inch overlap.
A rain screen is your secret weapon for a long-lasting wood siding job. By installing a mesh-like mat over the WRB, you create a 1/4-inch to 3/8-inch air gap. This gap is a game-changer. It gives any moisture that gets behind the shakes a clear path to drain away and allows air to circulate, drying the back of the wood and preventing rot.
This small air gap is probably the best insurance policy you can give your new siding. In my experience, it’s the single biggest factor in how long a cedar siding installation will last, especially in damp climates.
Flashing Windows, Doors, and Penetrations
With the wall wrapped and the rain screen on, the final prep step is the flashing. This is where I see a lot of DIY jobs fall apart. Proper flashing creates a bomb-proof seal around the most vulnerable spots on your wall: the openings.
Window flashing has to be done in a specific order, or it's useless. Think like a drop of water and always work from the bottom up.
First, apply a flexible flashing tape across the window sill. Run it up the sides of the opening (the jambs) by about 6 inches on each side. Next, run flashing tape all the way up both side jambs, making sure to overlap the sill flashing you just installed.
Finally, install a rigid, Z-shaped metal flashing along the top of the window (the head). The house wrap from above must be pulled down over the top leg of this metal flashing. This directs any water running down the wall out and over the window, not behind it.
The same logic—bottom-up, shingle-lapped—applies to doors, vents, and everything else. Once your walls are repaired, wrapped, and flashed like a fortress, you've got the perfect canvas for your new cedar shakes.
Establishing Your Layout and Starter Course
The single biggest difference between a pro-level siding job and an amateur one? The lines. Perfectly straight, unwavering lines are the hallmark of quality work. Wavy, uneven courses are a dead giveaway that someone rushed the layout, and it's the first thing your eye will catch.
Let's get this foundation right so every shake, from the bottom to the very top, aligns beautifully.
It all begins with finding the absolute lowest point of the sheathing on the entire building. Don't ever assume your foundation is perfectly level—I’ve rarely seen one that is. Use a water level or, even better, a laser level to shoot that low point around to every corner of the house. This becomes your one true baseline.
Creating and Using a Story Pole
With your baseline marked, your new best friend for this project is a story pole. This is just a simple, straight board (a spare 1×4 works perfectly) that you'll use as a master template for all your course markings. It’s a huge time-saver and the only way to guarantee your exposure—the visible part of the shake—is consistent across the whole job.
Making one is easy. Let's say you're aiming for a common 7-inch exposure for your shakes. Just mark your story pole in precise 7-inch increments from the bottom up. Now, instead of fumbling with a tape measure for every single course on the wall, you just hold up your story pole and transfer the marks.
Here’s a pro tip: Before you commit, check how your layout ends at the top of the wall. If your current plan leaves you with a tiny, awkward-looking sliver under the soffit, adjust your exposure slightly. Shaving or adding 1/8 inch per course is barely noticeable, but it makes a world of difference visually.
This simple tool is what separates an intentional, uniform look from a haphazard one. It’s also the perfect way to see how your courses will interact with windows and doors before you drive a single nail.
Snapping Chalk Lines for Your Courses
Alright, time to get those lines on the wall. Take your story pole to one corner and line up its bottom mark with the baseline you established earlier. Transfer every mark from the pole onto the house wrap. Do the exact same thing on the opposite corner of that wall.
Now you can connect the dots. Have a helper hold one end of a chalk line on a mark, pull the line tight to the matching mark on the other side, and give it a good, sharp snap. The result is a perfectly straight and level line for each course of siding.
- Use a bright chalk color—blue or red—that really pops against your house wrap.
- Snap five or six courses at a time. It’s a great way to get into a rhythm and speed up your workflow.
- Always pull the line taut. A sagging chalk line will lead to a sagging course of shakes.
Installing the All-Important Starter Course
The very first row of shakes you put up is called the starter course, and it’s handled a bit differently. This course must be a double layer. Why? The gaps between individual shakes are a direct path for wind-driven rain. Without a solid backer layer, water will find its way behind that first exposed row in no time.
Here's the right way to tackle it:
First, install the undercourse. Use your lower-grade or narrower shakes here, since they’ll be completely hidden from view. Nail them right along your bottom-most chalk line, leaving a 1/8 to 1/4-inch gap between each shake to let them breathe and expand.
Next comes the visible layer. These shakes are installed directly over the first layer, but their bottom edges should hang down about 1/2 inch below the undercourse. This creates a drip edge that kicks water away from the wall.
Most importantly, you have to offset the joints. A joint in your top layer should never, ever line up with a joint in the undercourse. The industry standard is to keep them at least 1.5 inches apart.
This double-layered foundation is non-negotiable for a weathertight job. It sets the stage for a smooth installation and acts as your first critical line of defense. If you need a hand figuring out your material needs before you start, our guide on how to measure for siding can help make sure you’ve got enough shakes for the entire project.
Installing the Field Shakes Like a Pro
Alright, with your layout lines snapped and the starter course in place, you're ready to get into the real rhythm of the job: installing the field shakes. This is where the wall starts to come alive. You'll be repeating the same process—placing, spacing, and fastening—but getting the small details right here is what separates an amateur job from a professional one.
This is the hands-on work that gives cedar its signature look. Each shake goes up one by one, creating that rich, textured surface you just can't get from manufactured siding. The trick is to embrace the natural variations in the wood, not fight them.
The image below shows a great visual summary of the prep work we've already covered. Getting that level line, story pole, and starter course right is everything.
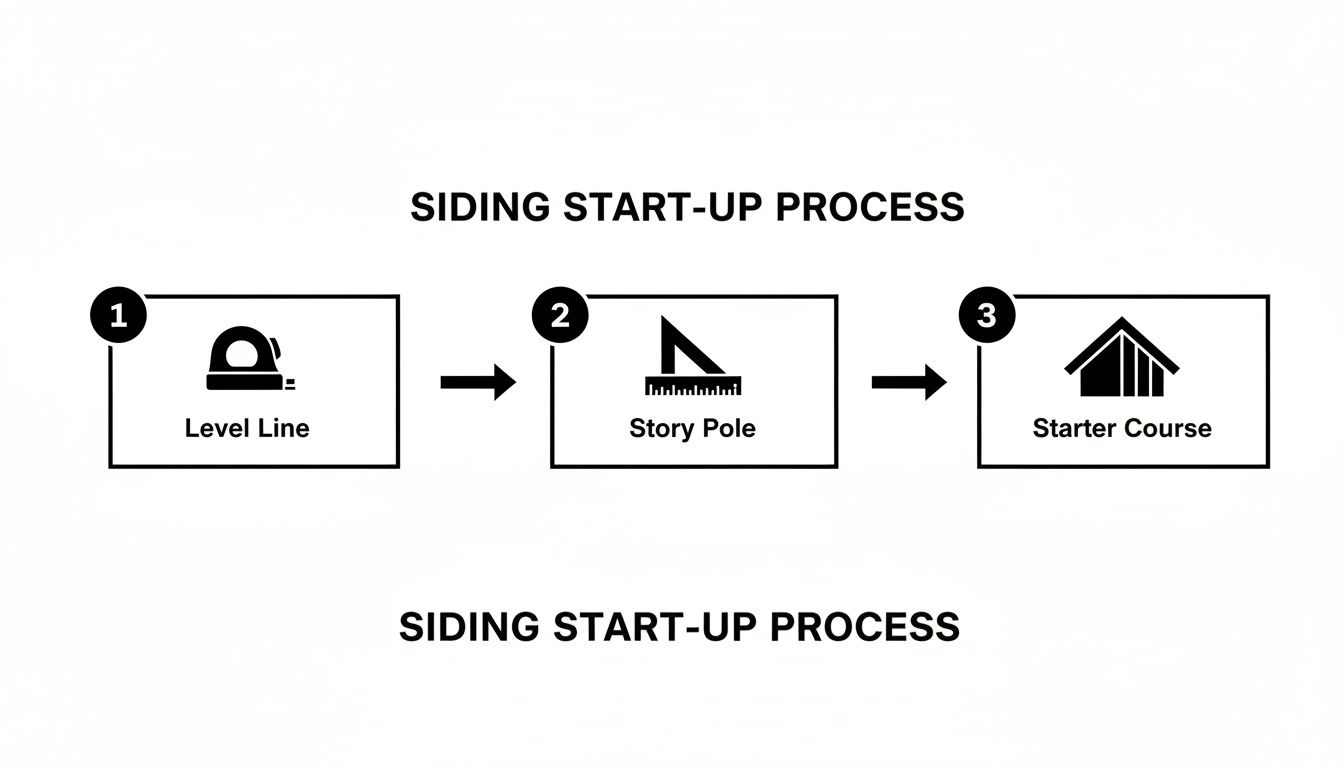
Think of it this way: all that careful setup ensures your courses will run perfectly straight. Now, let's build on that solid foundation.
Mastering the Spacing Between Shakes
As you start placing shakes along your chalk line, pay close attention to the gap you leave between them. This is critical. Cedar is a natural material that will expand and contract with humidity, and if you butt them up tight, they’ll buckle and warp when they get wet.
The industry standard is to leave a 1/8-inch to 1/4-inch gap between each shake. This gives the wood room to move. A simple tip I've used for years is to use a carpenter's pencil as a spacer—it’s usually the perfect width and you always have one on you.
The Art of Offsetting Joints
Just like with your starter course, the joints between shakes in one row have to be offset from the joints in the row below it. This isn't just about looks; it's a crucial part of making the wall waterproof. If joints line up, you’re creating a tiny highway for water to get in.
Your goal is to keep every joint at least 1.5 inches away from the joints in the courses directly above and below it. This staggered pattern is what creates a watertight wall and gives the siding its classic, random appearance.
To make this happen, you'll naturally use shakes of different widths. Every few courses, take a step back and look at the wall from a distance. Make sure you aren't accidentally creating vertical "zipper" patterns where joints are lining up. If you see one forming, just use a wider or narrower shake to break the pattern.
Nailing Patterns for a Secure Hold
How you nail the shakes is just as important as where you place them. Bad nailing will cause shakes to split, cup, or even fall off down the road. The idea is to hold the shake firmly without choking it, so it can still move naturally.
While you can certainly do this with a hammer, a good pneumatic siding nailer makes the job much faster and more consistent. Here’s the nailing pattern you need to follow:
- Two fasteners per shake. That’s the magic number. One nail lets the shake cup, and three will likely cause it to split.
- Position your nails correctly. Place each nail about 3/4 to 1 inch in from the side of the shake.
- Get the height right. Drive the nails about 1 inch above the exposure line for the next course you're about to install. This way, the nails get covered by the overlapping shake, keeping them out of the weather.
Most importantly, do not overdrive the nails. The nail head should sit flush with the surface of the wood, not buried in it. An overdriven nail crushes the wood fibers and creates a perfect little cup for water to sit in, which leads to rot. Take the time to set the depth on your nail gun or learn the right feel with a hammer.
Weaving Seamless Outside Corners
If you want a truly high-end look, weaving the outside corners is the way to go. Instead of slapping on corner boards, this technique involves alternating the overlap of shakes at the corner for a continuous, traditional finish. It’s a sign of real craftsmanship.
Here's how you do it:
- On your first course, let a shake on Wall A run long, past the corner.
- Install the shakes on Wall B, butting them right up against the face of that extended shake.
- With a sharp utility knife or a block plane, carefully trim the extended shake from Wall A perfectly flush with the face of the Wall B shakes.
- When you move up to the next course, you'll reverse the pattern. Let a shake from Wall B extend past the corner, butt the Wall A shakes to it, and then trim that one flush.
By alternating this overlap on every course, you create a beautiful interlaced corner. Yes, it takes more time and patience than using trim boards, but the result is absolutely worth it. This is one of those details that really makes a cedar siding job stand out.
Applying Finishes and Planning for Longevity
With all the field shakes nailed up, your house probably looks completely different. You're in the home stretch now, but these final steps are what will protect your investment and give it that polished, professional look. It's time to tackle the trim, decide on a finish, and map out a simple maintenance plan for the future.
Finishing up the trim and corner boards always feels great after the hard work of installing the main siding. These pieces are essential for a clean, finished appearance, as they cover the seams at corners and neatly frame your windows and doors. Just like with the shakes, make sure you're using corrosion-resistant nails and taking the time to make precise cuts.
To Stain or Not to Stain?
This is the big question once the shakes are up. Do you let the cedar age naturally to that classic silver-gray, or do you apply a finish to protect it and lock in a specific color? There’s no wrong answer here; it really boils down to the look you want and how much maintenance you’re willing to do.
Going Natural: Simply leaving your cedar shakes untreated is by far the easiest route. The wood's own natural oils are a fantastic defense against rot and insects. Over time, the sun and weather will slowly bleach out the warm honey tones, leaving a beautiful, distinguished silver patina. This process can take 5+ years to look uniform, and you'll notice sun-drenched walls will age much faster than those in the shade.
Applying a Finish: If you want to keep that "new wood" look or achieve a specific color, a quality stain is the way to go. Unlike paint, which forms a film on the surface, stains are made to soak into the wood. This lets the beautiful, natural texture of the cedar show through.
The choice between a natural patina and a stained finish is purely personal. A natural finish celebrates the wood's inherent ability to age gracefully, while a stain offers immediate color consistency and added UV protection.
Semi-Transparent vs. Solid Stains
If you land on staining, you’ve got another choice to make: semi-transparent or solid? Each gives a different result and offers varying levels of protection.
Semi-Transparent Stains
These finishes have pigment, but they’re thin enough to let the wood grain and texture shine. They provide good UV protection, which slows down the graying process while adding a nice hint of color. I find this is the perfect middle ground if you love the wood's character but want to steer its color in a certain direction.
Solid Color Stains
A solid stain looks a lot like paint, but it's a much better choice for cedar because it allows the wood to breathe. It completely hides the wood grain, which gives you maximum UV protection and a perfectly uniform color. This is your best bet for a bold, opaque look or if you're trying to match new siding to older, existing wood.
Planning for a Long Lifespan
When it's installed right and gets just a little bit of care, cedar shake siding is a true long-term investment. It’s not uncommon to see it last 30 to 35 years, and sometimes even longer. The good news is that the maintenance plan is incredibly simple.
A huge part of that plan is just keeping it clean. We talk about the importance of keeping debris away from your home's exterior in our guide on how to clean downspouts and gutters, and the same logic applies here. An annual rinse with a garden hose is usually enough to wash off the dirt and pollen that can trap moisture and lead to mildew, especially on the shaded, north-facing walls.
If you stained your siding, just plan on reapplying a fresh coat every 3-7 years, though this depends heavily on the product you used and your local climate. A quick walk-around inspection each spring is all it takes to spot any areas that are starting to look faded or worn.
Let's be clear: installing cedar shake siding is a significant project. Industry data shows that a professional installation can have an average cost of around $21,769, which works out to about $10.88 per square foot. You can dig into more roofing industry statistics to see how these numbers break down. That price reflects both the premium material and the skilled craftsmanship required—but when you factor in the decades of durability and timeless beauty, you can see the incredible value it adds to a home.
Whether you're tackling a complex project like this or need professional help with your home's exterior, having a trusted partner makes all the difference. For expert roofing and siding solutions backed by decades of experience, contact us for a free estimate today at https://pennohiorc.com.