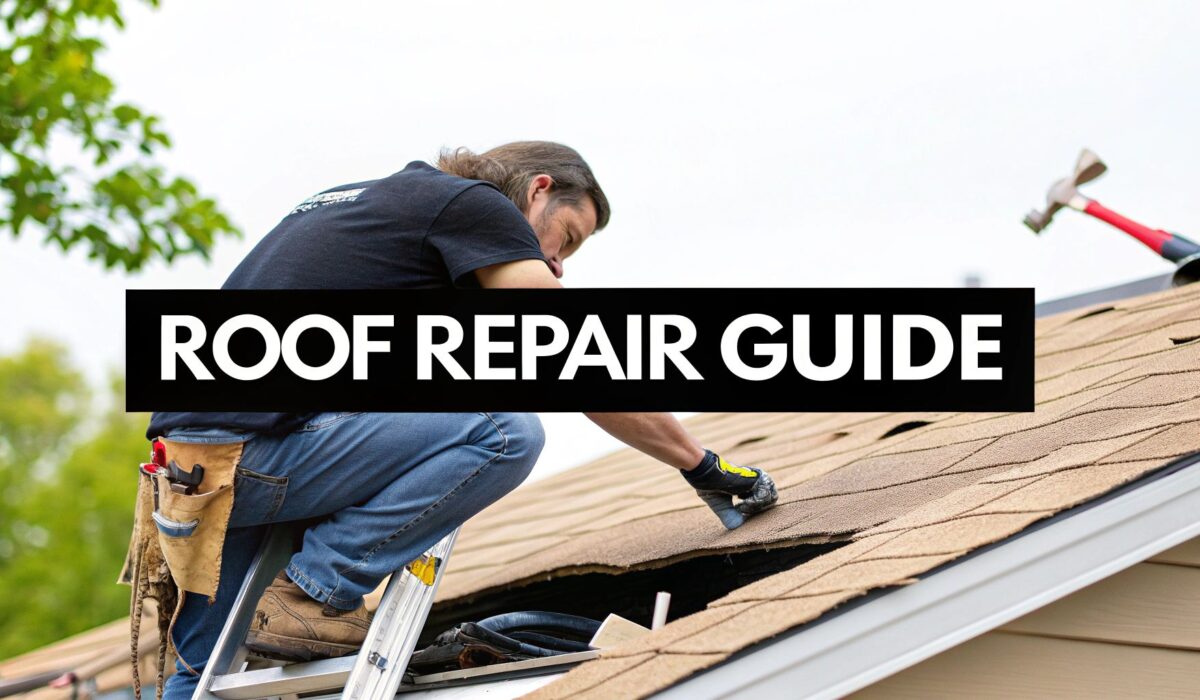
That sinking feeling you get when you spot a water stain spreading across your ceiling is unforgettable. Discovering a hole in your roof demands immediate attention to prevent what starts as a small issue from turning into a massive, expensive water damage nightmare. Your first moves are the most important—they involve a safe look from inside your attic and getting a temporary barrier up, like a tarp, to keep the weather out. This quick thinking is what will mitigate damage and buy you time to plan a proper fix.
What to Do Immediately After Finding a Roof Hole
Whether it's a bit of daylight poking through your attic boards or a full-blown drip, that moment of discovery is always stressful. But how you react in that first hour can make all the difference for your home's long-term health. The absolute top priority is to stop more water from getting in. This protects everything—your insulation, drywall, and even the structural wood framing of your house.
This is not the time to be a hero and scramble up on a roof that might be weak or slippery. Instead, your emergency game plan should be all about safety and controlling the damage from the inside first.
Start With a Safe Damage Assessment
Before you do anything else, grab a good flashlight and, if it’s safe to do so, head up into your attic. From there, try to spot where the light or water is coming in. Take note of the hole's general size and location, and look for other signs of moisture like soggy insulation or dark, tell-tale stains on the wooden roof deck. This view from the inside gives you a ton of information without the risk of climbing onto the roof itself.
Sometimes, finding the exact entry point is tougher than it sounds, as water can travel along rafters before it drips down. If you're having trouble locating the source, you might need a more in-depth guide on finding a roof leak before you try to put up any temporary cover.
A quick pro-tip: Safety always, always comes first. Never get on a roof that is wet, steep, or feels unstable. A look from the attic or even from the ground with a pair of binoculars is your safest bet.
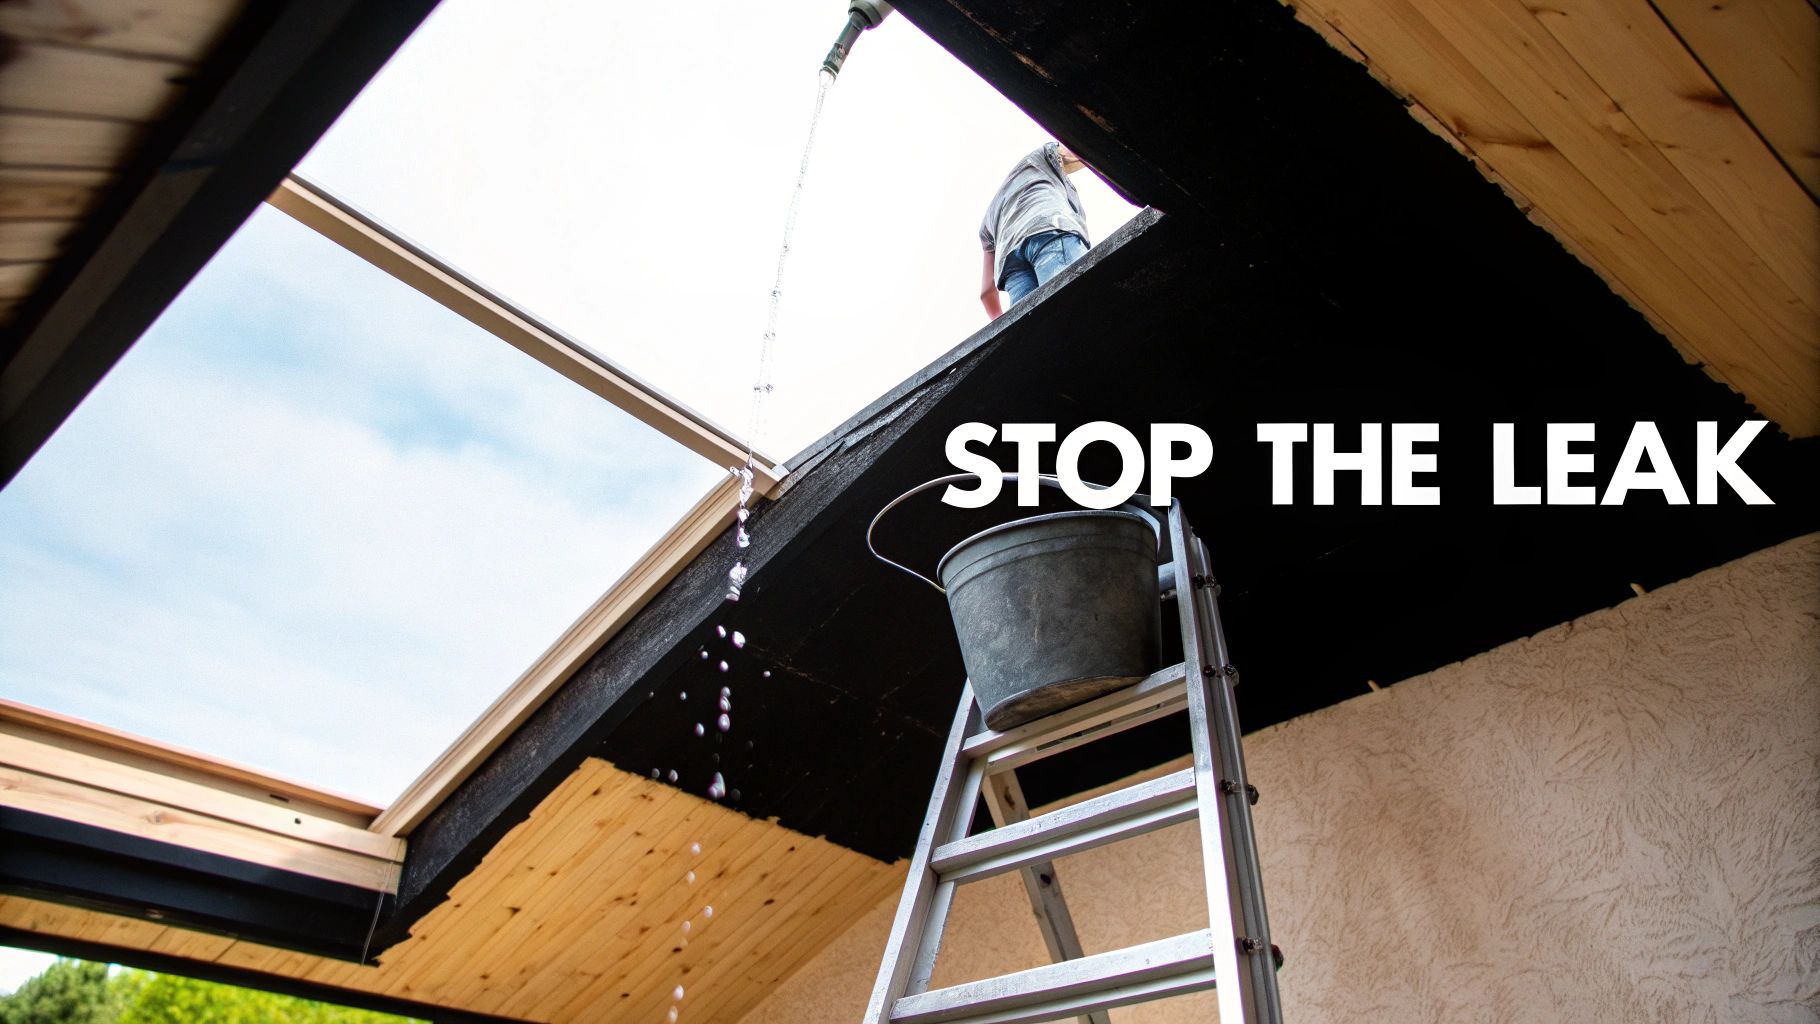
Create an Emergency Temporary Fix
Once you have an idea of where the problem is, your next job is to get a temporary barrier in place. The go-to method for this is a heavy-duty tarp. The real trick isn't just throwing it over the hole, but securing it so it can withstand wind and rain without letting water pool up underneath.
Here’s how to set up a temporary tarp cover that will actually work:
- Go Big: Don't just cover the hole. Make sure the tarp extends at least four feet above the damage and, if you can, all the way over the peak of the roof. This simple step stops water from running down the roof and sneaking under the tarp's edge.
- Anchor It Down: Use 2×4 boards to hold the tarp's edges down. A good technique is to wrap the end of the tarp around a board a few times and then nail the board directly to the roof deck, right through the tarp. This creates a really solid anchor and is often less damaging to the surrounding shingles than just nailing the tarp itself.
Remember, this is just a temporary patch. Think of it as first aid for your roof. It's a critical stopgap that gives you the breathing room you need to either gather the right tools for a permanent repair or call in a professional roofer to handle more serious damage.
Getting Your Roof Repair Toolkit Ready
Trying to patch a roof without having every single tool and material ready beforehand is a recipe for disaster. I've seen it happen. You get up on the ladder, pry off a shingle, and realize your utility knife is still in the garage. Every trip up and down that ladder isn't just a waste of time—it's another chance for an accident.
Think of it like a surgeon preparing for an operation. Everything is laid out, sterilized, and within arm's reach. You need that same level of preparation. A well-organized workspace on the ground translates to a safer, more efficient job up on the roof. Getting this right from the start is what separates a solid, permanent fix from a temporary patch that fails during the next downpour.
Your Essential Roof Repair Toolkit
Before you even think about setting foot on a ladder, it's time to gather your supplies. Having everything you need organized and ready to go is crucial for a smooth and safe repair. This checklist covers the essentials, from the gear that keeps you safe to the materials that will make your patch last.
| Category | Item | Purpose |
|---|---|---|
| Safety First | Sturdy Extension Ladder | Must extend 3 feet above the roofline for safe access. |
| Safety First | Safety Harness & Rope | A non-negotiable for any pitched roof to prevent falls. |
| Safety First | Non-Slip Boots | Provides critical grip on shingled or slick surfaces. |
| Safety First | Heavy-Duty Gloves & Safety Glasses | Protects hands from nails and eyes from flying debris. |
| Demolition & Prep | Flat Pry Bar or Roofer's Spade | For carefully lifting shingles without breaking adjacent ones. |
| Demolition & Prep | Claw Hammer | Essential for both removing old nails and driving new ones. |
| Demolition & Prep | Circular or Reciprocating Saw | Needed for cutting out sections of damaged decking. |
| Repair & Install | Utility Knife & Extra Blades | For precise trimming of shingles and underlayment. |
| Repair & Install | Caulking Gun | Used to apply roofing cement for a watertight seal. |
| Patch Materials | Plywood or OSB Sheathing | Replaces water-damaged or rotted roof decking. |
| Patch Materials | Roofing Underlayment | Your secondary water barrier between the decking and shingles. |
| Patch Materials | Roofing Cement/Sealant | A thick, tar-like adhesive for sealing all gaps and edges. |
| Patch Materials | Galvanized Roofing Nails | Wide-headed nails designed specifically to hold shingles securely. |
| Patch Materials | Matching Shingles | The most important material for a seamless, functional repair. |
Think of this table as your pre-flight checklist. Don't start the engine—or in this case, climb the ladder—until every box is checked.
Don't Skimp on Safety Gear
Let's be clear: working on a roof is dangerous. This is the one area where you absolutely cannot cut corners. Your ladder needs to be rock-solid, placed on level ground, and tall enough to reach at least three feet past the edge of the roof.
For any roof with a noticeable slope, a safety harness is your best friend. It’s the one piece of equipment you hope you never need, but you'll be glad you have it if you slip. Pair that with some good, rubber-soled boots for grip, and you've significantly reduced your risk.
From experience, I can tell you that even a small misstep can have serious consequences. Take safety seriously. A few extra minutes spent securing your harness and checking your ladder is always time well spent.
The Right Tools for a Clean Job
Once your safety is locked in, you need the right tools to do the work. A flat pry bar is perfect for gently persuading old shingles to come loose without snapping the ones you want to keep. You’ll also need a good claw hammer for pulling out all those old roofing nails.
If the damage goes down to the wood decking, a circular saw is your best bet for making clean, straight cuts to remove the rotted section. And don't forget a sharp utility knife—you'll be using it constantly for trimming underlayment and shaping the new shingles to fit just right.
Sourcing the Perfect Materials
The materials you choose are what will actually keep the water out, so quality and compatibility are key. When you head to the hardware store, the most important thing is to get shingles that match what's already on your roof.
Take a piece of a damaged shingle with you. A perfect color and style match isn't just about looks; different types of shingles are designed to interlock in specific ways. A mismatch can create tiny gaps that water will inevitably find. This is the final piece of the puzzle for making your repair completely invisible and, more importantly, permanently waterproof.
A Practical Guide to Patching a Roof Hole
Alright, you've got your safety gear on and your tools laid out. Now comes the real work: patching that hole. This isn't a race to the finish line; it's all about doing the job right. Every step here is crucial for creating a solid, waterproof repair that blends right in with the rest of your roof.
If you rush this, you'll likely be back up here after the next big storm, doing it all over again. So, take a deep breath, focus on quality, and let's get this done so it lasts.
Preparing the Damaged Area
First things first, you've got to do a little demolition. We need to get those busted shingles out of the way to see what's really going on with the roof deck. Grab your flat pry bar and gently work it under the shingles above the hole. The idea is to pop the nails loose without causing any more damage.
Once you have that top row of shingles lifted, you can start removing the damaged ones below. Be patient and systematic. For anyone who enjoys tackling projects around the house, applying some general DIY home repair strategies is a great mindset to have—it's all about being methodical.
This infographic gives a quick visual rundown of the gear you'll want on hand.
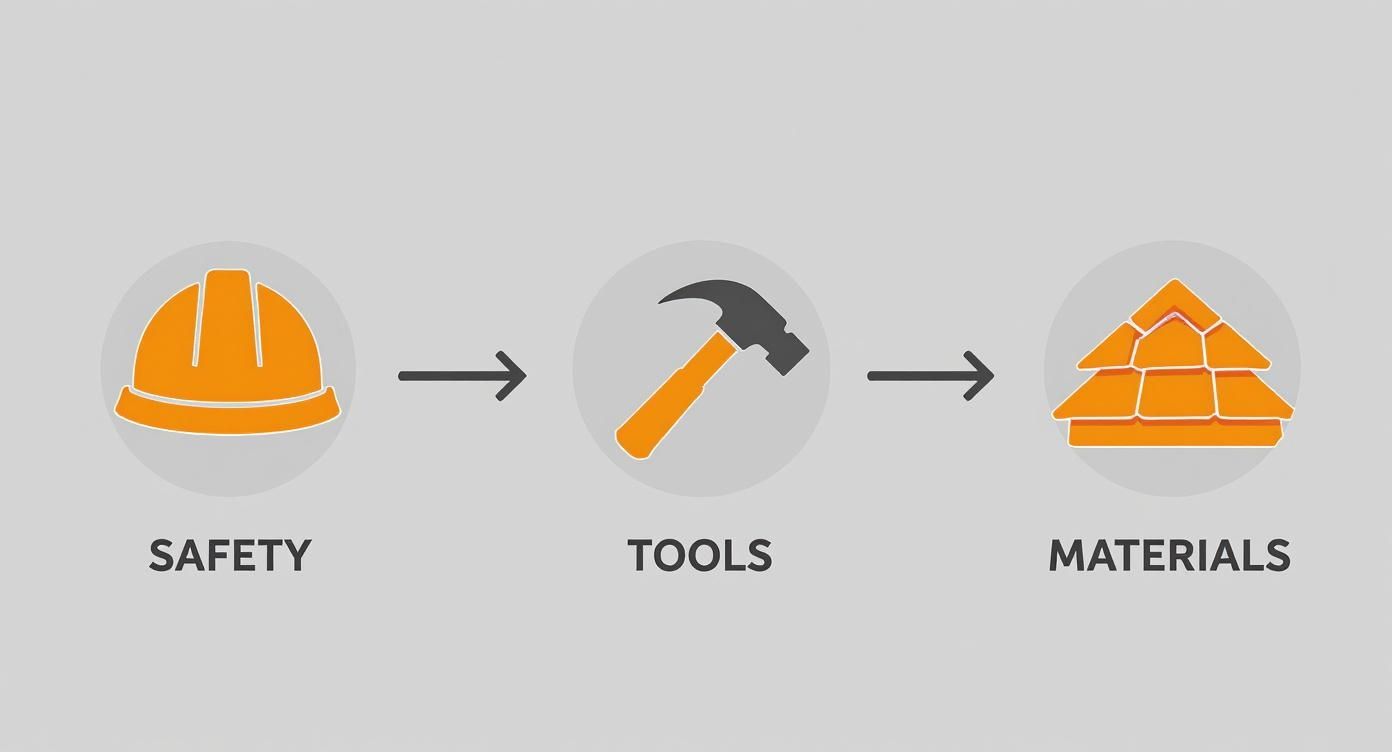
As you can see, it flows from personal safety to the tools for the job, and finally, the materials that will make the fix stick.
Addressing the Underneath Decking
With the old shingles gone, you'll get a good look at the roof decking—the wood base of your roof. This is a critical moment. If that wood feels soft, looks discolored, or is spongy to the touch, you've got water damage. You can't just cover that up; it has to be replaced.
Set your circular saw to the exact depth of the plywood, which is usually about 3/4 inch. Carefully cut out the rotten section. You want clean, square cuts that go a few inches into the solid, dry wood on all sides. This ensures your new patch has a strong anchor.
Measure the opening you just made, then cut a fresh piece of plywood or OSB to match. It should fit snugly. Secure it to the roof rafters with screws, making sure it sits perfectly flush with the existing decking. This solid base is what your new shingles will rely on.
Installing a Waterproof Barrier
Before a single shingle goes down, you need to lay down the underlayment (you might know it as tar paper or roofing felt). This is your roof's second line of defense against rain. Cut a piece that’s big enough to cover the new wood and also slide a few inches under the old shingles on every side.
The key here is layering. Start at the bottom of the patch and work up, making sure each new piece overlaps the one below it. This is how water is shed properly down the roof. A few roofing nails will hold it in place for now.
Expert Tip: Don't just cover the new wood. Make sure you tuck the top edge of the new underlayment at least six inches under the existing, undisturbed shingles above the repair. This overlap is what stops water from getting behind your patch.
This step is non-negotiable for a watertight seal. From here, you’re ready to start putting the roof back together.
Laying the New Shingles
Time to make it look like a roof again. Start laying your new shingles from the bottom row of the patch and work your way up. Your goal is to match the existing pattern exactly, with each new row covering the nails of the one you just laid.
For each shingle, use four galvanized roofing nails placed about an inch above the cutouts. You're looking for the Goldilocks of nail depth—not so deep that you crack the shingle, but not so high that water can get under the nail head. It should be perfectly flush.
When you get to the very last row, you'll have to slide those final shingles under the existing row above your patch. To finish it off, lift that top row of old shingles and apply a thick bead of roofing cement underneath them. Press it down firmly to seal everything and cover the last set of nails. This is your best defense against heavy wind and driving rain.
The need for these skills is huge. The U.S. roofing repair market is one of the world's largest, with an estimated 98,980 contractor businesses operating as of 2024. This is a massive industry, projected to grow past $60 billion by 2025, which shows just how constant the need for good roof work—both DIY and professional—really is.
How Much Will a Roof Repair Set You Back?
Trying to budget for a roof hole repair can feel like a shot in the dark, but it doesn't have to be. Let's break down the real costs, whether you're thinking of climbing that ladder yourself or calling in a pro. The decision isn't just about the initial cash outlay; it's also about what your time is worth, how comfortable you are working at heights, and ensuring the patch holds up for the long haul.
A small, straightforward patch might look like an easy DIY win, and sometimes it is. But letting a small leak go for too long is a classic homeowner mistake. Before you know it, that simple fix has mushroomed into a massive, and much pricier, structural headache.
What to Expect if You DIY It
If you’re leaning towards a do-it-yourself repair, your main costs will be materials and any tools you need to buy. For a basic patch on a standard asphalt shingle roof, the materials won't break the bank.
Here’s a rough idea of what you’ll be spending at the hardware store:
- Shingles: A bundle of asphalt shingles, which is usually enough to cover about 33 square feet, will run you somewhere between $30 and $50.
- Plywood/OSB: If the wood sheathing underneath is soft and rotted, you'll need to replace it. A 4×8 sheet costs about $20 to $40.
- Roofing Cement & Underlayment: Don't forget the essentials. A quality tube of sealant and a small roll of underlayment will add another $20 to $30 to your bill.
All in, you're looking at a total of around $70 to $120 in materials for a simple patch. From a pure cost perspective, the DIY route is definitely tempting, especially if the damage is minor and you can get to it easily.
The real cost of ignoring a leak isn't what you spend on shingles. It's the thousands you'll pay later for rotted support beams, soaked insulation, and a major mold problem.
The Cost of Calling a Professional
Hiring a roofer obviously adds labor to the bill, but what you're really paying for is experience, safety, and the confidence that the job is done right. The price a pro quotes you will depend on a lot more than just the size of the hole.
A roofer will factor in a few key things:
- Roof Pitch: The steeper your roof, the more dangerous and time-consuming the work becomes. That difficulty is reflected in the price.
- Accessibility: Is your roof tough to get to? If they need special equipment or extra setup time, that will increase the labor cost.
- Complexity of the Damage: Swapping out a few shingles is one thing. A repair that requires tearing out and replacing rotted decking or structural rafters is a completely different ballgame, and the price will show it.
The demand for skilled roofers isn't going anywhere. In fact, the global roof repair market is projected to grow from $38.8 billion in 2025 to a staggering $52.3 billion by 2031. This is largely driven by the kind of severe weather that's becoming all too common. You can learn more about these roofing market trends and what's behind them.
So, what’s the bottom line? A small professional patch job might start around $300, but more complex repairs can easily climb past the $1,000 mark.
When to Call a Professional for Your Roof Repair
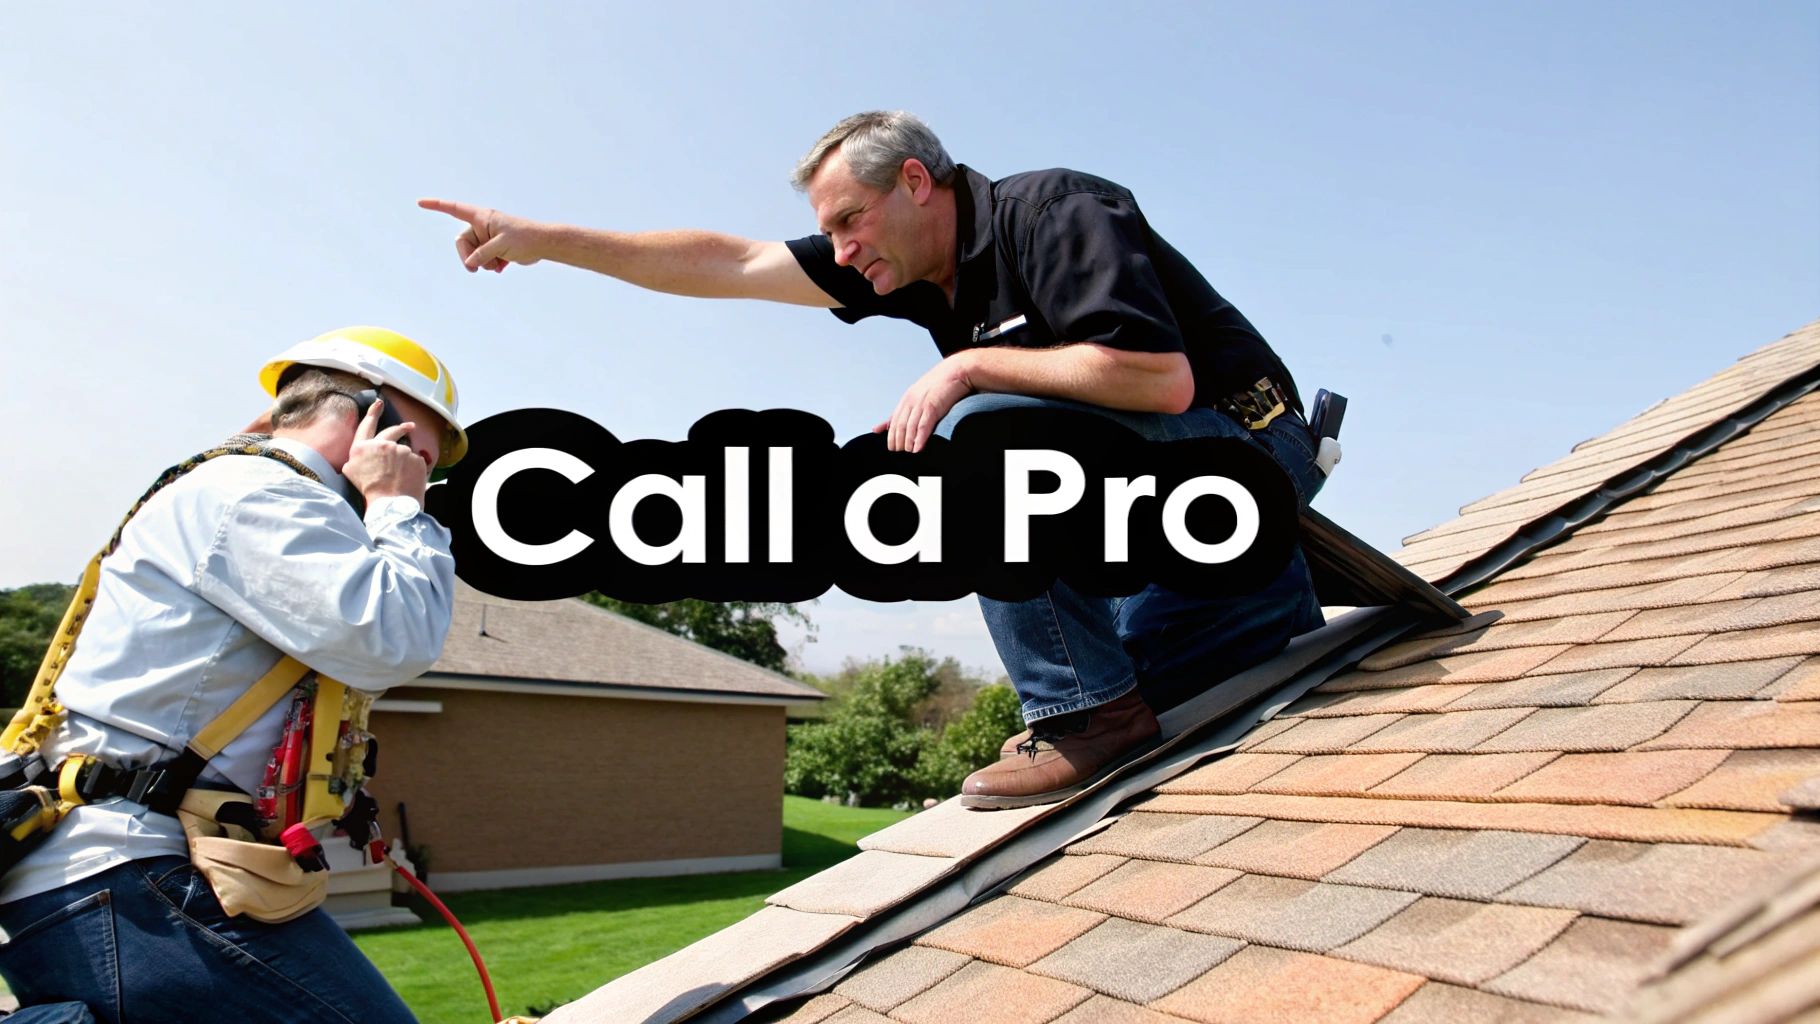
There’s a real satisfaction in tackling a home repair yourself, but I’ve learned over the years that knowing your limits is the most valuable skill a homeowner can have. This is especially true when you're dealing with the roof over your head.
A botched patch job doesn't just fail to stop the leak. It can create bigger headaches down the road—think chronic water intrusion, hidden mold, and structural rot that costs a fortune to fix. A quick call to a pro can save you from all that.
Recognizing the red flags that separate a simple patch from a major project is crucial. Not all roof holes are the same, and some situations carry risks that just aren't worth the potential savings.
Identifying When a Repair Is Too Big to Handle
Sometimes the signs are glaringly obvious, but other times they're a bit more subtle. If you come across any of these issues when you're up there checking things out, it's a clear sign to step back and call in an expert.
Here are a few telltale signs that you're in over your head:
- Widespread Damage: If you're looking at more than just a couple of isolated holes, or the damaged area is bigger than a few square feet, you’re likely dealing with a much larger, systemic problem.
- Spongy or Soft Decking: When you press on the wood decking around the hole, it should feel solid. If it feels like stepping on a wet sponge, that’s a bad sign. It means water has been soaking in for a while and has started to rot the structure underneath.
- Signs of a Long-Term Leak: Look for clues inside your home, too. Large, dark water stains on the attic ceiling, sagging drywall, or that distinct musty odor all point to a leak that's been active for some time, causing damage you can't even see from the roof.
Calling a professional isn't admitting defeat. It's making a smart, strategic move to protect your home's integrity and your investment. A bad repair can quickly turn a small problem into a full-blown catastrophe.
Safety and Skill Set Considerations
Beyond the sheer size of the damage, you have to be honest about the risks involved. Your safety and the specific features of your roof can easily turn a DIY repair into a job for the pros.
Think about these non-negotiable factors:
- Steep Roof Pitch: Any roof with a serious incline dramatically increases the risk of a fall. Professionals have the harnesses, ropes, and training to navigate these surfaces safely. It's just not worth the risk otherwise.
- Height and Accessibility: A second-story roof or one that's tricky to get to adds another layer of danger. Professionals are trained in ladder safety and have the right equipment for the job, which most homeowners simply don't have lying around.
When you decide you need an expert, your first step is to check their credentials, like ensuring your chosen professional is licensed and insured. Finding the right crew is about more than just a Google search.
With the global roofing industry projected to hit $186 billion by 2032, there's no shortage of qualified experts ready to tackle these complex jobs safely and effectively. It’s a huge market for a reason—some jobs just need a professional touch.
Got Questions About Patching Your Roof? Let's Clear Them Up.
Even with the best instructions, you're bound to have a few questions before you climb that ladder. That's perfectly normal. Tackling a roof repair can feel a bit daunting, and getting some clear answers can be the difference between a job well done and a call to a pro later on. Let’s go over some of the things people ask most often.
How Long Will My DIY Roof Patch Actually Last?
This is the big one, right? You want to know if all this effort is for a temporary fix or something more permanent. A solid DIY patch, done with the right materials that match your roof, can hold up for a good 5 to 10 years. Sometimes even longer.
What makes the difference is the quality of your work and your materials. How well you sealed everything up and the state of the shingles around the patch play a huge role.
But let's be realistic—a patch is still a patch. It’s a fantastic solution for an immediate problem, but it’s not the same as having a seamless, professionally installed roof. Think of it as a reliable, long-term fix, but be sure to give it a look during your yearly roof check-ups.
Here's a pro tip: The number one reason a patch fails is a bad seal. If you leave even a tiny gap for water to sneak under the edge, the whole repair is compromised, no matter how expensive your materials were.
Can I Just Repair My Roof in the Rain?
Let me be blunt: No. Absolutely not. Trying to work on a roof while it's raining or even just damp is a recipe for disaster. Roofs get dangerously slick when they're wet, and the risk of a fall skyrockets. It's just not worth it.
Safety aside, the repair itself is doomed to fail in wet conditions.
- Sealants Won't Stick: Roofing cement and other adhesives need a clean, dry surface to bond correctly. If it's damp, you'll get a weak seal that's practically guaranteed to leak.
- You'll Trap Moisture: If you seal up a patch over a wet spot, you’re trapping moisture inside your roof structure. This is how you get wood rot and mold, turning a small problem into a massive one.
If you spot a leak during a storm, the best you can do is manage it from inside. Place a bucket in the attic and wait for a string of clear, dry days before you even think about climbing up there.
What Does a Bad Repair Job Look Like?
It helps to know what to look for, whether you're checking your own work or inspecting a roof on a home you're buying. A bad patch usually sticks out like a sore thumb.
Keep an eye out for shingles that are a completely different color or style. You might also see shingles that are buckling or not lying flat. Another dead giveaway is gobs of roofing cement smeared around the edges—that’s usually a sign someone was trying to compensate for a poor seal. Of course, the ultimate sign of failure is a new water stain on the ceiling right below the spot you "fixed." That tells you everything you need to know.
If this all sounds like more than you want to take on, or if you just want the assurance of a professional job, we're here to help. For a free estimate from experts you can count on, check out our website at https://pennohiorc.com.