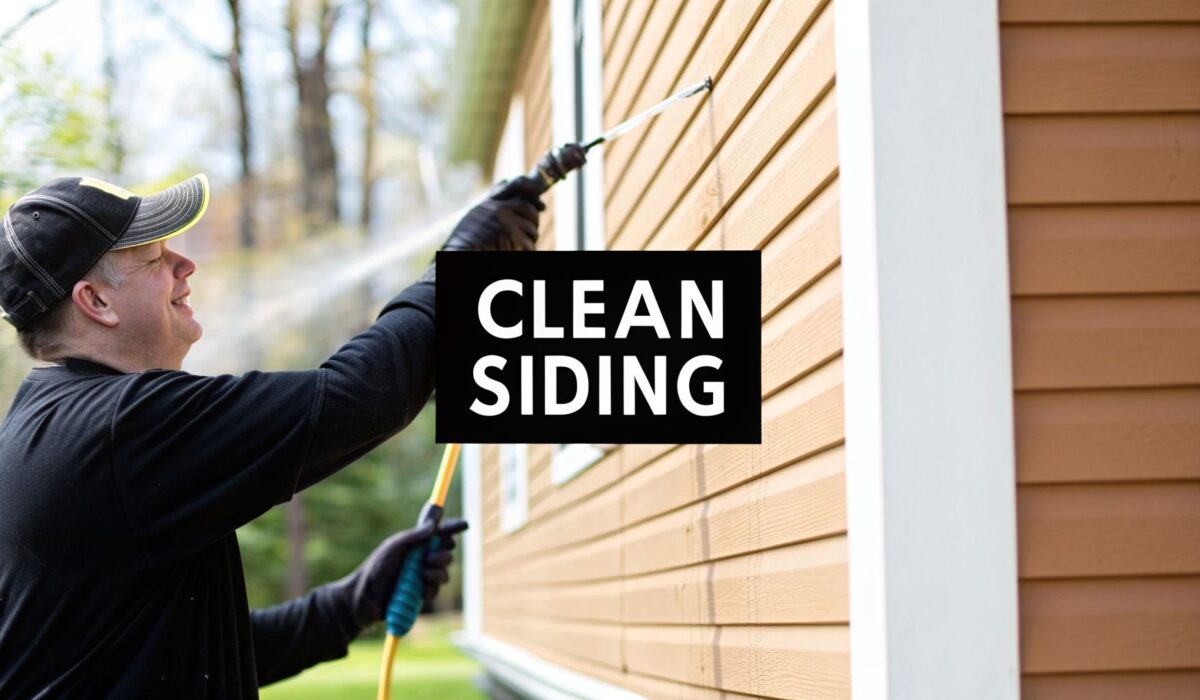
Walk outside and take a good, hard look at your vinyl siding. Is it showing that familiar green haze of algae or some dark, splotchy mildew? From general road grime to stubborn organic growth, your home’s exterior takes a beating.
The good news is that vinyl siding is incredibly resilient. The bad news is that grabbing the wrong cleaner can do more harm than good. Your choice of cleaning product—whether a simple DIY mix or a commercial powerhouse—will determine if you get a sparkling clean finish or a faded, damaged mess.
Why Your Cleaner Choice Matters More Than You Think
Think of your siding as your home’s first line of defense. Over time, that once-pristine surface can start looking tired and neglected. But this isn't just about appearances; it's about protecting your investment.
I’ve seen it happen too many times: a homeowner gets impatient and reaches for a harsh solvent or an abrasive cleaner. The result is never good. You can end up with:
- Permanent discoloration and unsightly faded patches.
- Dull scratches that ruin the siding’s finish.
- A compromised protective layer, which ironically makes it easier for new stains to set in.
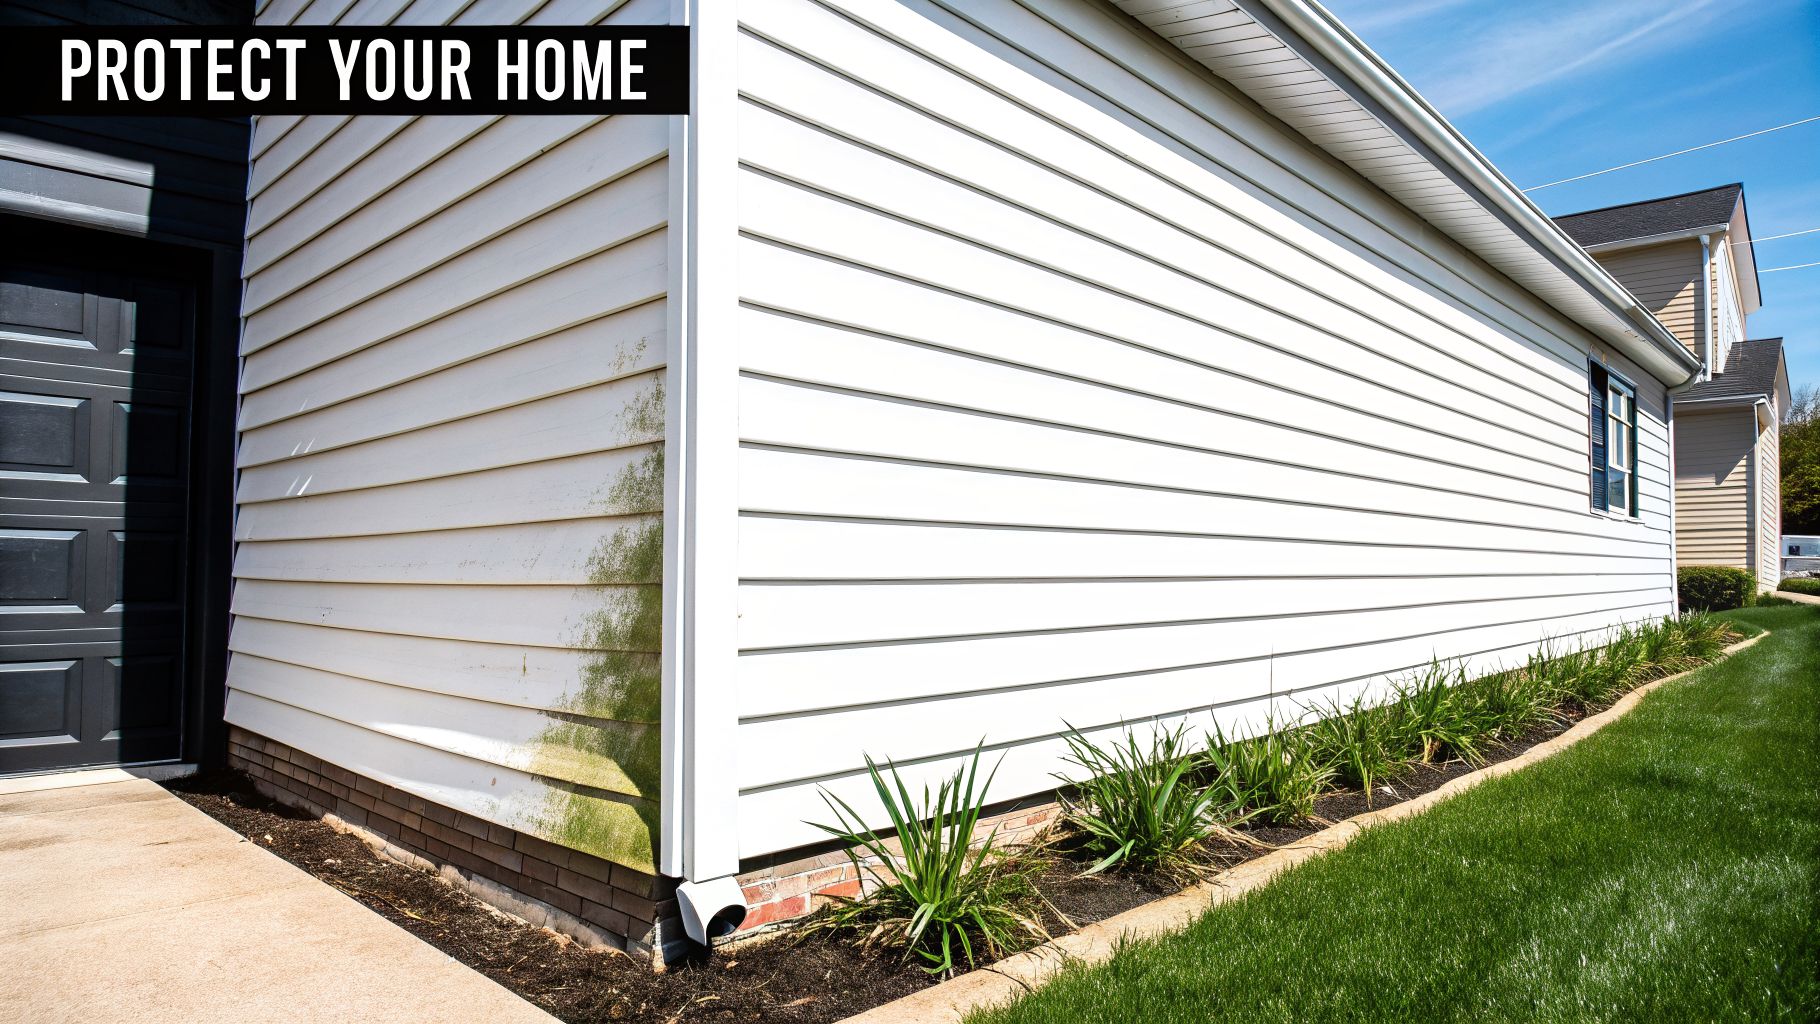
A Smart Way to Protect Your Home's Value
Using the right cleaner, on the other hand, works with the material. It lifts away the dirt, algae, and mildew without stripping the vinyl itself. This simple maintenance step is one of the easiest ways to safeguard your property value.
Vinyl siding is a huge part of modern home construction for a reason. The market was valued at a staggering USD 7.45 billion in 2024 and continues to grow. Why? Because it’s built to last—if you take care of it. Taking the time for a proper annual cleaning can extend your siding’s life by 10-15 years.
Choosing the right cleaner is the difference between a simple weekend chore and a costly future repair bill. It's a small decision that delivers a massive return by protecting your siding from premature aging.
It's About More Than Just a Clean Surface
A clean exterior instantly makes a home feel more welcoming and cared for. It’s a foundational step if you want to improve curb appeal and boost your home's overall aesthetic.
This guide will walk you through the best options out there, so you can confidently pick the right approach—from powerful commercial solutions to effective DIY recipes you can make yourself.
Gathering Your Essential Cleaning Toolkit
Before a single drop of cleaner hits your siding, a little prep work goes a long way. I’ve seen countless homeowners get halfway through the job only to realize they’re missing a crucial tool. Taking 15 minutes to gather everything first will save you hours of frustration later.
It’s about more than just convenience, though. Using the right gear is what separates a successful cleaning from a costly mistake. You wouldn’t use a steel wool pad on your car’s paint job, and the same principle applies here. Your goal is to gently lift away grime, not damage the vinyl surface.
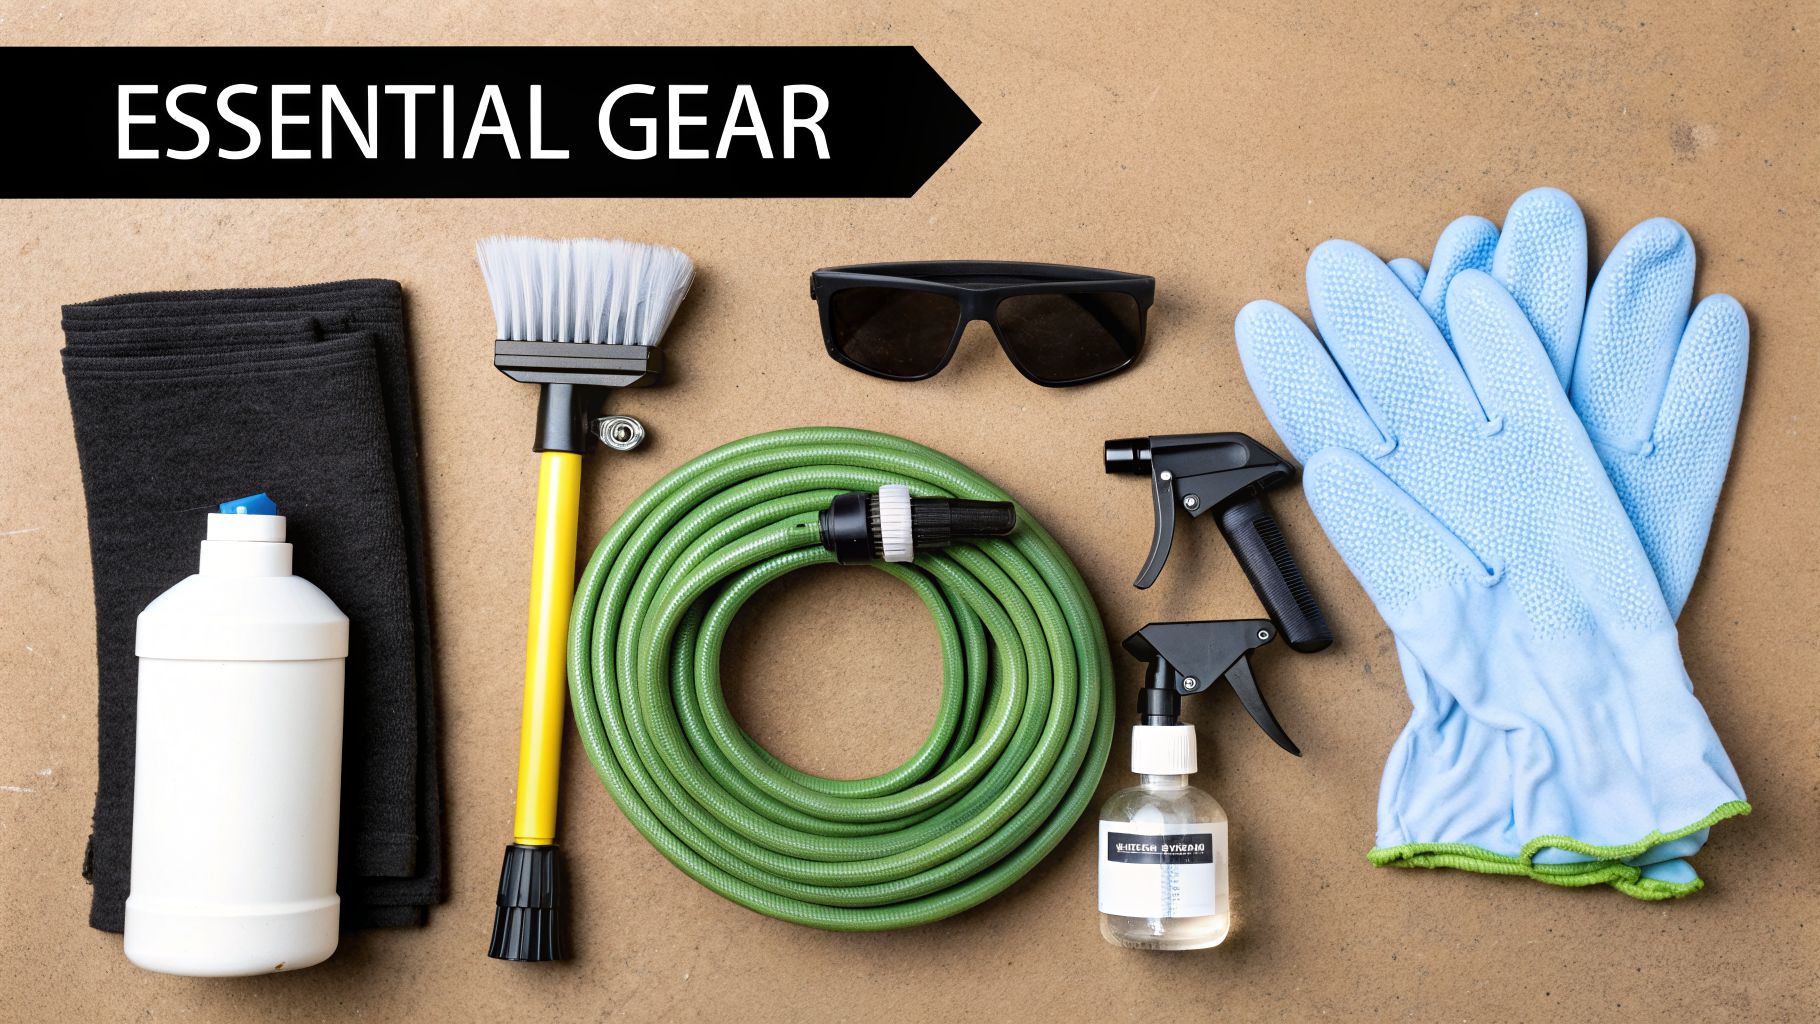
The Right Tools for the Job
So, what should you have on hand? For most homes, the list is surprisingly simple.
- Soft-Bristle Brush: This is your most important tool, and it’s non-negotiable. Look for a long-handled brush, sometimes sold as a car or RV wash brush, that allows you to reach higher spots without a ladder. The soft bristles are tough on dirt but won't leave behind a network of scratches.
- Two Buckets: Why two? One bucket is for your cleaning solution, and the other is for clean rinse water. Dipping your dirty brush into the cleaning solution just moves grime around. Rinsing the brush in the second bucket first keeps your cleaning mix effective.
- Garden Hose with a Spray Nozzle: For 90% of jobs, a standard garden hose is all the power you need. A good nozzle that adjusts from a wide spray to a more focused stream is perfect for wetting the siding and rinsing suds away.
With just these three items, you’re well-equipped to tackle most of the dirt and mildew on your vinyl siding.
"I always tell homeowners that the most common mistake is grabbing a brush that's too stiff. It feels like it's working faster, but you're actually creating thousands of tiny scratches that will collect dirt more easily in the future."
Power Washer vs. Garden Hose
I get this question all the time: "Can I just use my pressure washer?" While a pressure washer can make the job faster, it’s a tool that demands respect. It’s incredibly easy to force water up behind the siding panels, which can lead to hidden mold and rot. Too much pressure can even crack or shatter the vinyl.
A garden hose is always the safest bet for a DIYer. If you’re experienced with a pressure washer and decide to use one, stick to a low-pressure setting—under 1,600 PSI is a good rule of thumb. Use a wide, 40-degree fan tip and always keep the wand angled downward. Never spray directly up under the lip of the siding panels.
Safety and Protection Gear
Don't forget to protect yourself and your landscaping. Cleaning solutions, even mild homemade ones, can irritate your skin and eyes.
- Safety Glasses: A must-have. You will get splashed, and you don’t want soapy water or diluted bleach in your eyes.
- Non-Slip Footwear: You’ll be working on wet, potentially slick surfaces. A good pair of boots with solid traction is essential.
- Gloves: A simple pair of waterproof gloves will keep your hands from getting raw and protect them from the cleaning agents.
- Tarps or Plastic Sheeting: This is a pro-level tip that makes a huge difference. Before you start, cover any delicate flower beds, vegetable gardens, or outdoor electrical outlets near the foundation. This ensures the cleaning solution runoff doesn't harm your plants or create a safety hazard.
Choosing Your Cleaner: Commercial vs. DIY Solutions
With your tools laid out, the next big decision is what you’ll actually use to clean the siding. This really boils down to two paths: buying a pre-made commercial cleaner or mixing up your own solution at home.
Honestly, there isn't a single "best" answer. I've seen both work wonders. The right choice for your house will depend on how much dirt and grime you're up against, what you're willing to spend, and whether you're comfortable playing chemist with a bucket and some household staples.
The Power of Commercial Vinyl Siding Cleaners
Walk into any home improvement store, and you'll be met with a wall of options. The demand is huge—the global cleaning products industry is on track to hit USD 248.11 billion by 2026. That means companies are constantly competing to create effective, easy-to-use products for homeowners just like you.
To cut through the noise, it helps to know what you’re looking for:
- Oxygen Bleach Cleaners: These are my go-to for general cleaning. Products based on oxygen bleach (like OxiClean or similar brands) use sodium percarbonate. When mixed with water, it fizzes and releases oxygen bubbles that gently lift dirt, algae, and mildew stains without the harshness or smell of chlorine bleach.
- Specialized Siding Washes: Formulated just for vinyl, these often contain surfactants (which are basically heavy-duty soaps) to break down stubborn grime. Many also include mildewcides to stop mold and algae from coming right back. Just make sure the bottle explicitly says it's safe for vinyl siding.
- Eco-Friendly Alternatives: If you've got prized rose bushes or a vegetable garden near the house, a plant-based, biodegradable cleaner is a smart move. They do a solid job on general dirt but might need a little extra elbow grease for tough, set-in stains.
Expert Tip: Always, always read the label before you buy. If a product contains any harsh organic solvents, acids, or abrasive ingredients, put it back on the shelf. That stuff can eat away at your siding's protective finish and cause permanent damage.
Crafting Your Own DIY Cleaning Solutions
If you don't mind a little mixing, a homemade cleaner is a fantastic, cost-effective way to get the job done, especially for light to moderate dirt. The best part? You probably have everything you need under your kitchen sink right now.
For a deeper dive into different recipes, we've put together a comprehensive guide on various cleaning solutions for vinyl siding you can check out.
Here are two reliable homemade recipes for cleaning your vinyl siding, perfect for different levels of dirt and grime.
| Proven DIY Siding Cleaner Recipes |
| :— | :— | :— | :— |
| Cleaner Name | Ingredients & Ratios | Best For | Pro Tip |
| General Purpose Vinegar Wash | Mix 70% water and 30% white vinegar in a bucket or garden sprayer. | Light dirt, dust, and annual maintenance cleaning. | The mild acidity is great for cutting through surface grime without harming plants or pets. |
| Heavy-Duty Bleach Mix | Combine 1 gallon of water, ⅓ cup of powdered laundry detergent, and 1 quart of standard liquid bleach. | Stubborn algae, mildew, and heavy buildup. | Mix until the detergent is fully dissolved to avoid leaving a powdery residue on your siding. |
These two simple recipes have been staples in my own cleaning routine for years and handle most situations beautifully.
A word of caution when working with the bleach solution: safety first. Wear gloves and eye protection, make sure you have plenty of fresh air, and always wet down your plants and landscaping before you start spraying. This gives them a protective barrier. Most importantly, never let a bleach solution dry on the siding—keep it wet and rinse it off thoroughly.
The Right Way to Wash Your Vinyl Siding
Alright, you've got your cleaning solutions mixed and your gear laid out. Now it's time for the main event. Following a proven process is what makes the difference between a job well done and a frustrating Saturday afternoon.
First things first, a quick pre-flight check around the house can save you a world of headache. Take a few minutes to cover any exterior lights, electrical outlets, and security cameras with plastic and tape. You’ll also want to make sure every window and door is shut tight. The last thing you want is a soapy surprise inside.
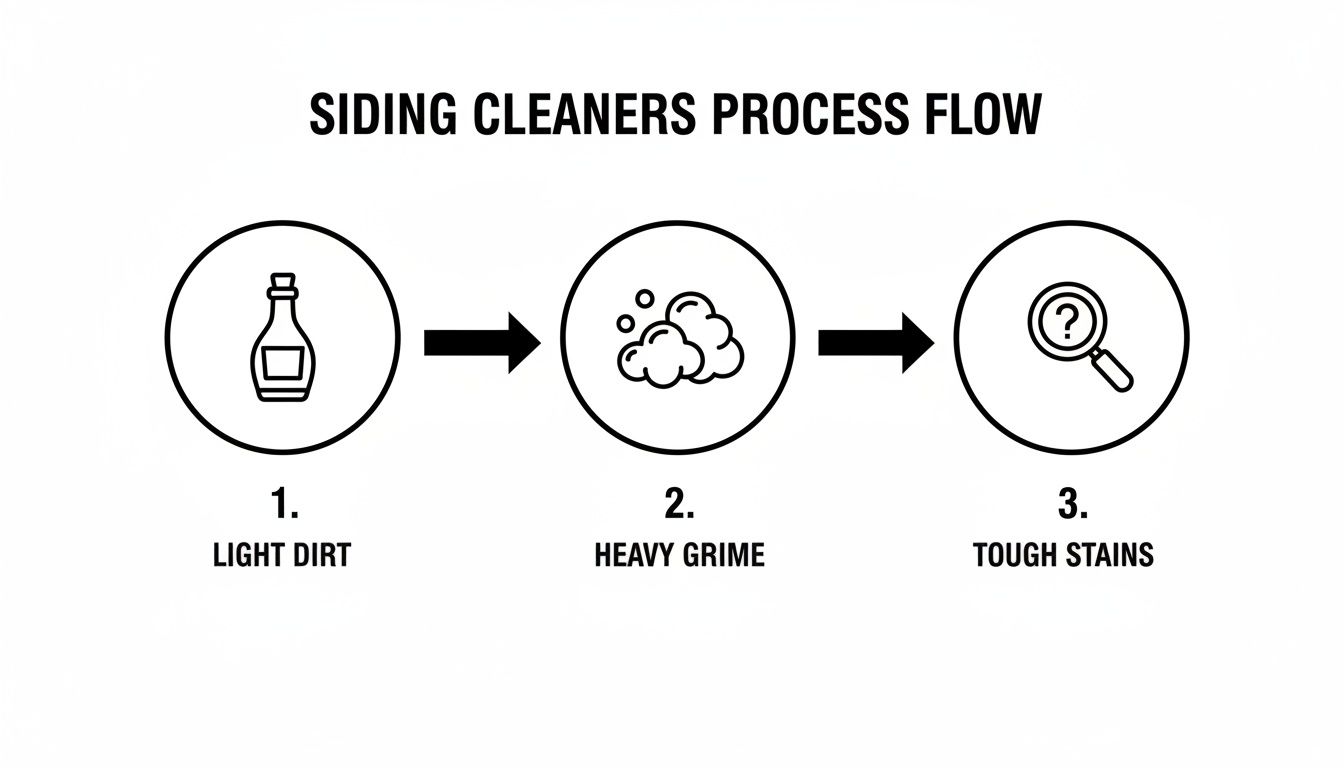
This chart gives you a great visual for how to tackle the job. The big takeaway is to always start with the gentlest method that works. You can always bring out the bigger guns for stubborn spots later. This protects your siding from unnecessary wear.
The Hand-Washing Method
Before you even think about soap, give the siding a good pre-rinse with your garden hose. This knocks off all the loose surface-level dirt and cobwebs, letting your cleaning solution get to work on the grime that’s really stuck on.
When you're ready to apply the cleaner, don't try to tackle a whole wall at once. Work in manageable sections, about 10×10 feet at a time. Here’s a critical pro tip: always apply your cleaner from the bottom and work your way up. This simple step prevents the solution from running down the dirty siding and creating clean streaks you'll have to fight with later.
Let the cleaner sit and do its thing for 5 to 10 minutes. Just don't let it dry on the surface, or you’ll be left with a filmy residue. If you see a patch starting to dry out, just give it a light mist of water. For any tough areas, a little elbow grease with a soft-bristle brush will usually do the trick.
When it's time to rinse, you’ll do the exact opposite: rinse from the top down. This lets gravity help you, washing all the soap and lifted grime cleanly off the siding.
I can't stress this enough: applying your cleaner from the bottom-up and then rinsing from the top-down is the single best way to avoid streaks. It’s a game-changer for getting that perfectly uniform, just-like-new finish.
Using a Pressure Washer Safely
A pressure washer can definitely speed up the job, but it’s also the fastest way to damage your siding if you’re not careful. The principles for how to safely use a pressure washer on other surfaces apply here, too—it's all about control and using the right settings.
If you’re going this route, here are the non-negotiable rules for vinyl:
- Keep the Pressure Low: Stick to a pressure setting between 1,300 and 1,600 PSI. Anything more powerful can easily crack, gouge, or force water behind the vinyl.
- Use the Right Nozzle: A wide-angle tip is your best friend. Use either the 25-degree (green) or 40-degree (white) nozzle. Never, ever use the red zero-degree tip; it will cut through vinyl like a knife.
- Mind Your Angle: Hold the spray wand level with your body and direct the water straight at the siding or at a slight downward angle. Never spray upward. This can drive a high-pressure jet of water up behind the siding panels, trapping moisture inside your walls and inviting mold.
With this game plan, you have everything you need to clean your siding with confidence. For even more pro tips and tricks, our full guide on the best way to clean vinyl siding is a great resource.
How to Handle Stubborn Siding Stains
So, you've finished the main wash, but some frustrating spots are still hanging on. It’s a common issue. Even the best general cleaning can leave behind specific types of stains that need a more direct attack. This is where you roll up your sleeves and do a little spot treatment.
The good news is you probably won't need to buy a whole arsenal of new vinyl siding cleaners. Most of these lingering messes can be treated with a targeted solution, sometimes using things you already have in your garage or under the sink. It all comes down to knowing what you're looking at.
Tackling Mold and Mildew
Those ugly green, black, or even gray patches are hands-down the most frequent problem we see, especially on the shady side of a house or tucked under the eaves where moisture lingers. A regular wash might knock back the surface grime, but to really get rid of it, you have to kill the growth.
- Your Best Bet: Mix a solution of 1 part household bleach to 4 parts water.
- How to Apply: Pour your mix into a standard garden sprayer and apply it directly to the moldy sections. Let it sit for about 10 minutes—this gives the bleach time to work—but don't let it dry on the siding.
- Finish the Job: Give the area a light scrub with a soft-bristle brush, then rinse everything thoroughly from the top down to wash it all away.
If you want to get a more detailed look at this process, you can follow our steps to ensure you’re actually killing the mold, not just wiping it off the surface.
Erasing Rust and Other Mineral Stains
Ever notice those reddish-brown streaks that seem to drip down from an outdoor spigot, a roof vent, or even just an old nail head? That's a rust stain, and simple soap and water won't make a dent in it. You need a specific cleaner designed to break down those mineral deposits.
As experienced siding and roofing contractors, we always start with pH-neutral cleaners for a general wash. It’s a simple practice that helps prevent the kind of damage we see in up to 30% of amateur pressure-washing jobs, protecting the siding’s finish and your home’s value. For more on how maintenance affects your home's worth, you can find key industry insights on siding trends.
For rust, your best friend is a product that contains oxalic acid. It’s the key ingredient in most commercial rust removers for a reason. Just be sure to follow the manufacturer's directions, as the strength and application method can differ between brands.
Dealing with Unexpected Messes
From a misplaced crayon to a messy DIY project, life can leave its mark on your siding. Here’s a quick guide for those oddball stains.
- Crayon and Marker: You might be surprised to learn that a good all-purpose household cleaner can often handle these. Just apply some to a soft cloth and gently work on the spot. If it’s being stubborn, a little rubbing alcohol on a clean rag usually does the trick.
- Oil, Tar, and Grease: These oily stains are tougher. Start with a basic soap-and-water solution. If that doesn't work, you'll need to move on to a solvent. Dab a small amount of mineral spirits onto a clean rag and gently blot the stain until it lifts, then rinse the area well. Always test mineral spirits on a hidden spot first (like behind a bush or under a deck) to make sure it doesn’t discolor your siding.
Knowing When to Call in a Professional
Every good DIYer knows that the most important tool they have is judgment. Knowing when a job is yours to tackle and when it's time to call for backup is a skill in itself. While cleaning your vinyl siding seems straightforward, certain situations can quickly get out of hand, and that's when a pro's experience is worth every penny.
The most immediate red flag? Height. If you have a two-story or even three-story home, just stop and think about the risks. Perching on a tall ladder while trying to scrub or control a powerful pressure washer is a dangerous balancing act. I’ve seen homeowners take falls that could have easily been avoided.
When the Job is Bigger Than DIY
It's not just about height, though. The condition of your siding and the nature of the grime are huge factors. Here are a few scenarios where my advice is always the same: pick up the phone.
- Widespread Mold or Algae: A few small spots are one thing, but if you're facing large, dark patches of black mold or stubborn green algae across entire walls, you're outgunned. Professionals use commercial-grade, low-pressure soft washing systems that kill the growth at the source without blasting your siding off the wall.
- Visible Siding Damage: Before you spray a single drop of cleaner, do a thorough walk-around. Look for panels that are cracked, brittle, loose, or warped. Applying pressure or even scrubbing too hard can turn a minor crack into a major breach, letting water get behind the siding where it can cause real damage.
- Stubborn, Unidentified Stains: You can handle most common dirt and grime. But some stains—like deep rust from a leaking AC unit, artillery fungus (those little black dots that won't scrape off), or strange chemical discolorations—are tricky. A pro can correctly identify the culprit and use the right treatment without experimenting on your house.
Calling a professional isn't admitting defeat—it's making a smart investment. A botched DIY cleaning can easily cause hundreds or thousands of dollars in damage, turning a weekend project into a massive headache.
The Value of an Expert Eye
Hiring a professional siding and roofing contractor brings more to the table than just a power washer. They bring a trained eye that can spot problems you'd likely miss.
An experienced cleaner will notice things like failing caulk around your windows or improper flashing that could be letting moisture in. They know exactly which vinyl siding cleaning products work best for your specific climate and siding type, ensuring a perfect result without any guesswork. In the end, it’s about protecting your home's value and getting a flawless finish that lasts.
Your Siding Care Questions, Answered
Over the years, we've heard just about every question you can imagine when it comes to keeping vinyl siding looking its best. Let's tackle some of the most common ones we get from homeowners just like you.
How Often Should I Clean My Vinyl Siding?
As a general rule of thumb, we recommend giving your siding a good, thorough cleaning once a year. This is usually all it takes to wash away the normal accumulation of dirt, grime, and pollen before it gets out of hand.
Now, that guideline isn't set in stone. If your home is in a particularly damp or humid area, gets a lot of shade from nearby trees, or is close to a dusty road, you might notice green or black streaks appearing sooner. In those situations, stepping up your cleaning schedule to every six to eight months will keep that buildup from getting a real foothold.
Can I Use Bleach on My Vinyl Siding?
Yes, you absolutely can—but you have to be smart about it. A diluted bleach solution is one of the most effective ways to kill stubborn mold and mildew that regular soap won't touch.
The key is getting the ratio right. We use a mix of one part household bleach to four parts water. Before you go to town, test this solution on an out-of-the-way spot to make sure it doesn't lighten your siding. Always give your nearby plants a good rinse with plain water before and after you apply the bleach solution, and never, ever mix bleach with cleaners containing ammonia. The combination creates a dangerous toxic gas.
What Is the Biggest Siding Cleaning Mistake?
By far, the most common and costly mistake we see is people getting too aggressive with a pressure washer. It's tempting to just blast the dirt away, but high-powered water is vinyl siding's worst enemy.
Cranking the pressure too high (using a high PSI) or pointing the nozzle in an upward direction forces water up and behind the siding panels. That trapped moisture is a recipe for disaster, leading to rot, mold growth inside your walls, and serious damage to your home’s structure. A gentle touch is always the better, safer path.
If you're looking at widespread mold, can't safely reach your second story, or see signs of warped or damaged panels, your best bet is to call in a professional. For expert siding and roofing care in Hermitage and the surrounding counties, trust the experienced team at Penn Ohio Roofing & Siding Group. Contact us today for a free estimate.