Before you even think about grabbing a ladder, let's talk about what a roof patch can and can't do. For small, isolated problems, patching a shingle roof can absolutely be a weekend project for a handy homeowner. It's a great way to save a little money and fix a straightforward issue, like replacing a single shingle that got cracked by a falling tree branch.
When Is a DIY Roof Patch a Smart Move?
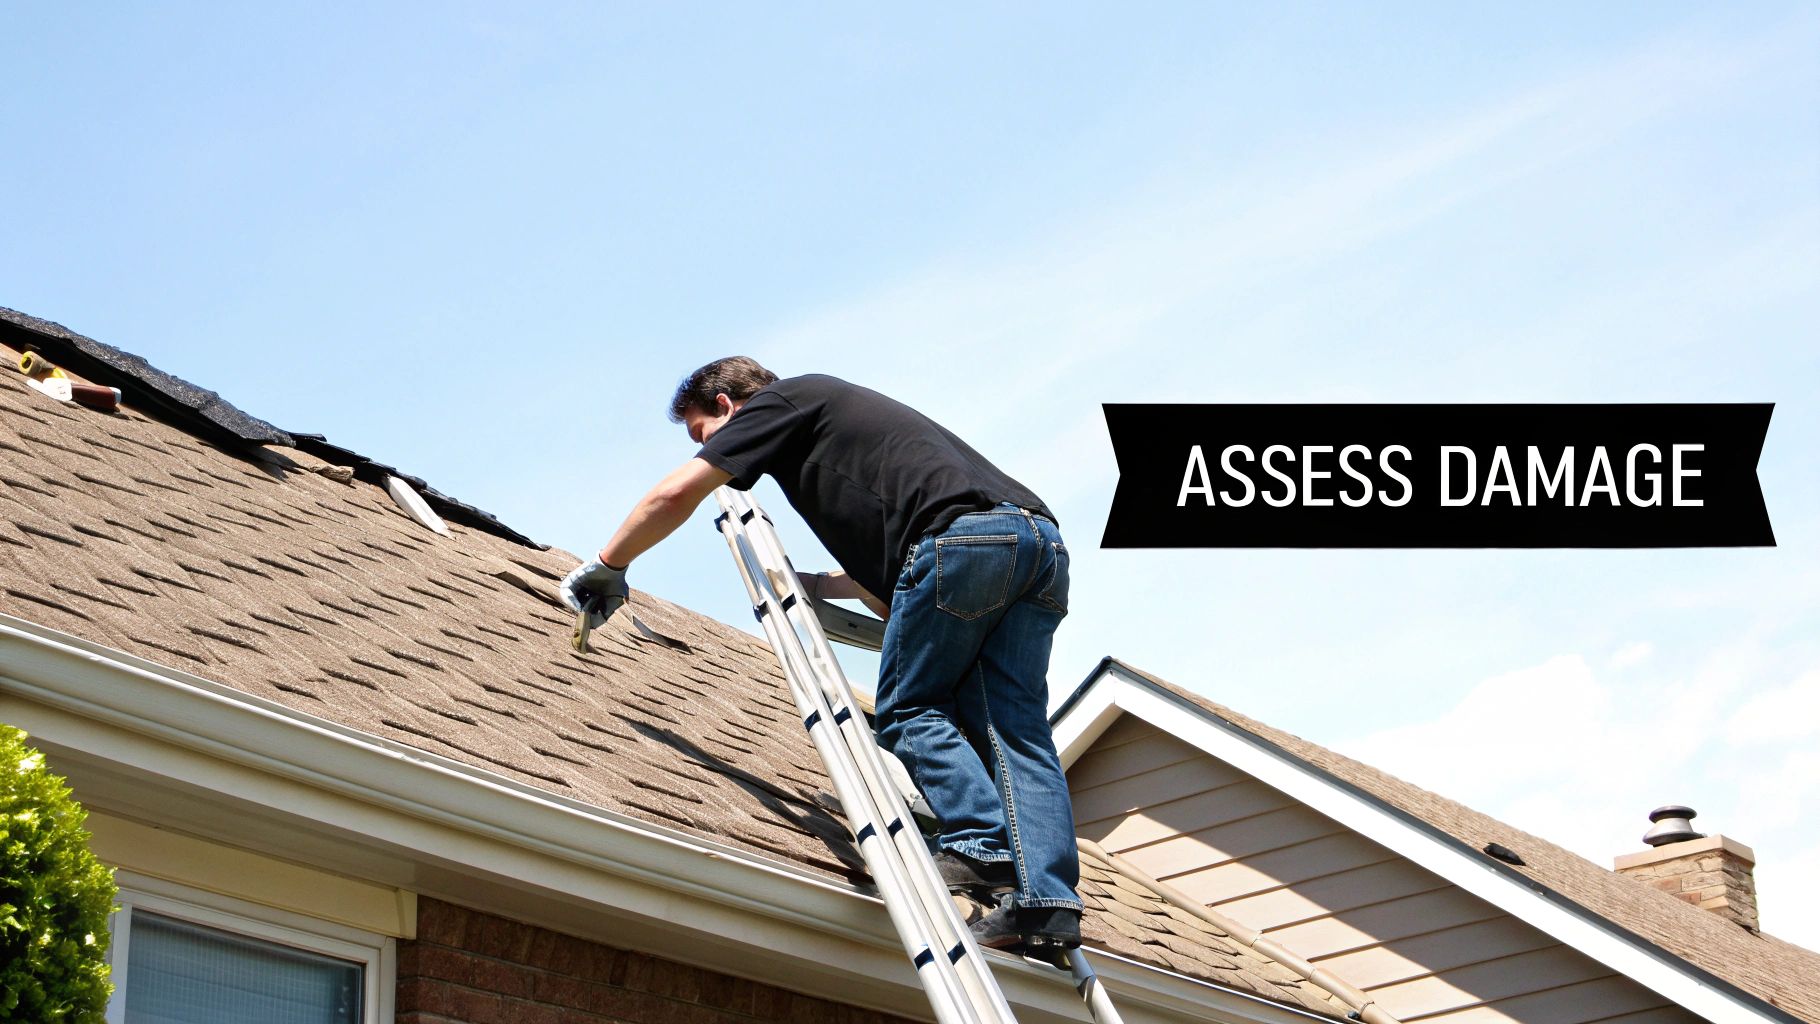
The real question is knowing when to tackle it yourself. It all boils down to an honest look at the damage and your own comfort level up on a roof. A few beat-up shingles are one thing; widespread issues pointing to deeper problems are another beast entirely. The trick is spotting the difference between a quick fix and a serious red flag.
For instance, finding a couple of shingles with curled edges after a brutal winter is usually a perfect job for a DIY repair. The same goes for one or two shingles that got ripped off in a heavy windstorm. Patching those up is a direct, effective solution.
Identifying Minor vs. Major Damage
To make the right call, you need to get a good look at the problem area. Here are the kinds of localized issues you can probably handle on your own:
- Isolated Missing Shingles: One or two shingles are gone, leaving the underlayment exposed.
- Cracked or Torn Shingles: A clean break or tear in a single shingle, usually from an impact.
- Curling Edges: The corners on a few shingles are lifting, but the rest of the shingle is still flat and in good shape.
The key difference is scale. If you see a large section, maybe a 10-square-foot area, where all the shingles look "bald" from losing their granules, that's not an isolated problem. It's a sign of advanced aging and widespread failure.
Assessing the Bigger Picture
Look beyond the one bad spot and consider your roof's age and overall health. Patching is a normal part of home maintenance, especially since North America makes up over 42% of the world's asphalt shingle market. Here, intense storms can sometimes shorten a shingle's lifespan to just 10–12 years, making repairs more frequent.
If your roof is still relatively young and the damage is clearly contained to one small area, a DIY patch is a logical next step. But if that roof is getting close to its 20th birthday and you're seeing problems pop up all over, a patch is probably just a band-aid. Learning about the broader signs of roof damage will help you figure out if you're dealing with a simple fix or a symptom of a much bigger issue.
Assembling Your Roof Patching Toolkit
Trying to fix a roof without the right equipment is a recipe for disaster. It’s not just about getting the job done; it’s about doing it safely and correctly so you don’t have to do it again in a few months. Having the right gear on hand makes the whole process smoother and protects the rest of your roof from accidental damage.
Think about a flat pry bar, for example. It's a roofer's best friend. Its thin, wide edge is perfect for sliding under shingles to gently pop the sealant and lift out old nails without cracking the shingle next to it. A regular crowbar is just too clumsy and will cause more harm than good. Your choice of roofing cement is just as important—some are formulated for high-heat climates, while others stay flexible in the cold, which is crucial for preventing future cracks.
Essential Tools and Materials
Before you even lean a ladder against the house, do a quick inventory check. There’s nothing worse than getting up on the roof only to realize you’re missing a critical tool. While every job is a little different, there are some absolute must-haves for any standard shingle repair.
Before you start, it's wise to gather everything you'll need. A well-prepared workspace is a safe and efficient one. The last thing you want is to be scrambling for a tool or material while you're perched on the roof.
Here's a detailed checklist to make sure you're fully equipped for the job.
Your Essential Shingle Repair Checklist
| Category | Item | Purpose and Pro Tip |
|---|---|---|
| Safety Gear | Sturdy Ladder & Safety Harness | A ladder that extends 3 feet above the roofline is a must. For any roof with a noticeable slope, a safety harness isn't optional—it's essential. |
| Safety Gear | Safety Glasses & Work Gloves | Protect your eyes from flying debris and your hands from sharp shingle edges and stray nails. |
| Repair Tools | Hammer | Specifically, a roofer’s hammer is ideal, but any standard claw hammer will work. |
| Repair Tools | Flat Pry Bar | This is your go-to for gently breaking the sealant and lifting shingles without causing collateral damage. |
| Repair Tools | Utility Knife (with extra blades) | You'll need a sharp blade for clean, precise cuts on new shingles. A dull blade will tear the material. |
| Patching Materials | Replacement Shingles | The closer the match to your existing roof, the better. Bring a sample to your supplier if you can. |
| Patching Materials | Roofing Cement/Sealant & Caulk Gun | This creates a waterproof seal under the shingle tabs. Choose a high-quality, all-weather sealant for the best results. |
| Patching Materials | 1 ¼-inch Galvanized Roofing Nails | These are non-negotiable. Their galvanized coating prevents rust, which would otherwise create a brand new leak. |
Having these items ready will not only streamline your repair but also ensure it's done to a professional standard.
A common DIY mistake is using the wrong fasteners. Standard nails or staples will rust and fail, creating a new leak where you just fixed one. Always use galvanized roofing nails designed for this specific purpose.
The Challenge of Matching Shingles
Finding replacement shingles that blend in with your existing roof can be one of the toughest parts of the job. A patch that sticks out like a sore thumb can really drag down your home’s curb appeal. Shingles vary by brand, color, and even the manufacturing batch, making a perfect match tricky.
Your first move should be to check the garage or shed for any leftover shingles from the original installation—that's the jackpot.
If you come up empty, carefully lift a loose shingle and check the underside for any manufacturer markings. Taking a clear, well-lit photo to a local roofing supplier can also work wonders. Just remember that years of sun and weather have faded your original shingles, so even a direct match might look a little different at first.
Getting the shingle right is key, but it helps to have a good grasp of understanding different roofing materials to make an informed choice. It’s also important to remember the layers working together. You can learn more about the critical protective barrier under your shingles by reading about what is roof underlayment.
How to Replace Damaged Shingles Like a Pro
Alright, you’ve got your tools laid out and your safety gear on. It's time to tackle the actual repair. This is where a little patience and the right technique separate a quick patch from a permanent, watertight fix. The biggest mistake people make is rushing and damaging the good shingles around the one they're trying to replace. Let's walk through how to do it right.
First, take a look at this quick overview. It breaks down the process visually and reminds you that a good repair starts with being prepared.
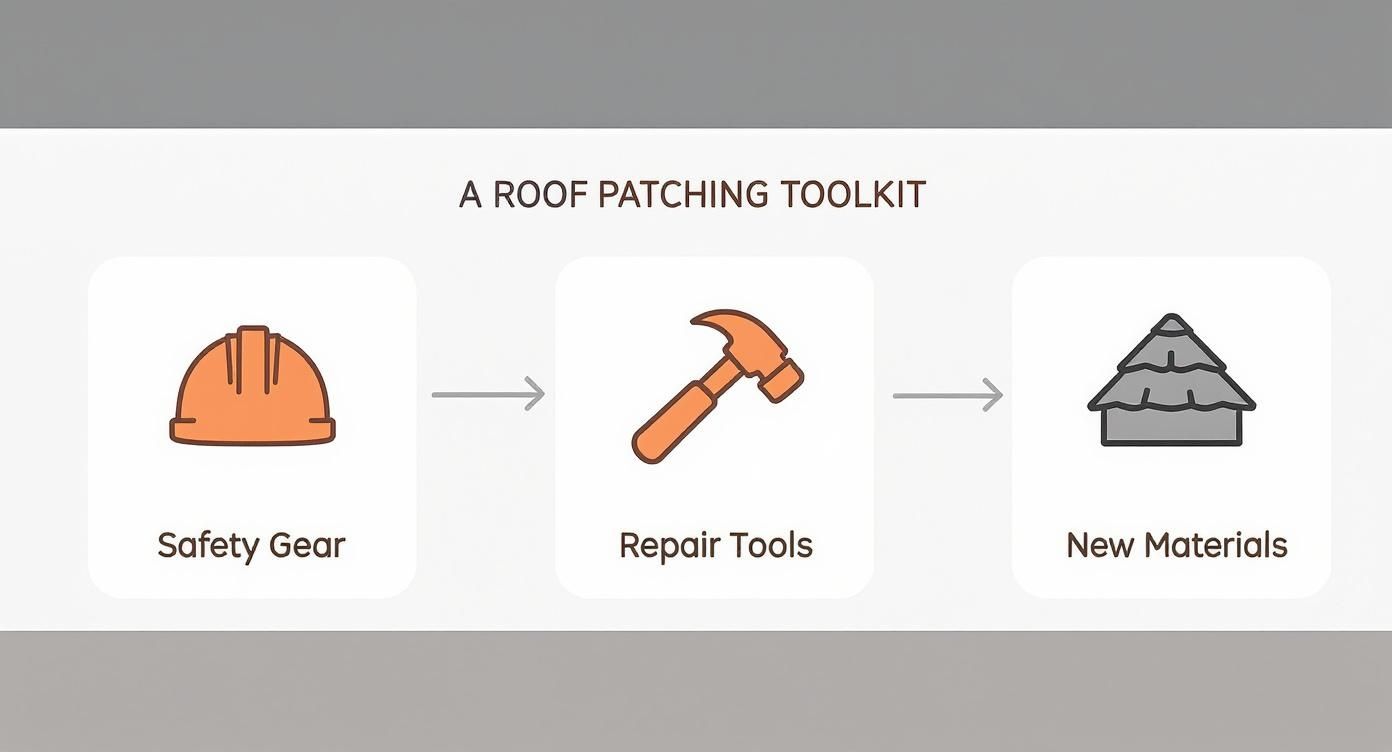
As you can see, getting the prep work right is more than half the battle.
Loosening the Old Shingle
Your first hands-on task is to break the seal holding the damaged shingle down. That black sealant strip on the underside of every shingle is surprisingly strong, especially when baked by the sun. Grab your flat pry bar.
You’ll want to gently work the pry bar under the edge of the shingle above the one you’re replacing. Wiggle it back and forth carefully until you feel the sealant give way. You might hear a soft popping sound—that’s normal. Next, do the same for the damaged shingle itself to free it from the one underneath.
A Quick Tip from the Field: If you're working on a cold day, shingles get brittle and can crack in a heartbeat. The best time to do this is on a mild, overcast day. If you can't wait, you can use a hairdryer on a low setting to gently warm the shingles. This makes them more pliable and much less likely to snap.
Pulling Nails and Removing the Damaged Shingle
Once the seals are broken, you've got to get the nails out. The trick is, you can't see them. They’re hidden by the overlapping shingle from the row above.
Slide your pry bar back under the damaged shingle and feel around for the nail heads. There are usually four per shingle. Once you locate one, lift up just enough to pop the nail head so you can grab it with the claw of your hammer or the notch in your pry bar. Pull all the nails out completely. With the nails gone, the old, busted shingle should slide right out.
Installing the New Shingle
Before you slide the new shingle in, take a second to look at the exposed roof deck and underlayment. If you see any signs of water damage or rot, you've got a bigger problem that this patch won't solve.
Assuming it all looks dry and solid, slide the new shingle into position. Line it up carefully, making sure its top edge is perfectly flush with the shingles next to it.
Now for the most important part: nailing it down. Use four 1 ¼-inch galvanized roofing nails. Drive them about one inch in from each side and place them just below the self-sealing tar strip. Never drive a nail through the sealant strip itself; you're just creating a funnel for water to get in.
- Nailing Depth: The goal is to drive the nail so the head is perfectly flush with the shingle. If you drive it too deep, you'll tear the shingle. If you leave it sticking up, the shingle above it won't be able to seal properly.
- No Exposed Nails: When you're done, you shouldn't see any nail heads. They will be completely covered by the shingle in the row above.
Sealing Everything for a Watertight Finish
The last step is to manually seal everything to make sure it's waterproof. Grab your caulk gun and roofing cement. Apply a dab about the size of a quarter under each corner of the new shingle to glue it to the one below.
Finally, gently lift the tabs of the shingle above (the one you loosened at the very beginning) and put a dab of sealant directly over the new nail heads you just drove in. Press that shingle down firmly to create a good, strong bond. This essentially recreates the factory seal and ensures your patch is just as tough as the rest of the roof. Getting these seals right is just as crucial as understanding things like what is roof flashing and how it protects the most vulnerable parts of your roof.
Common DIY Mistakes (And How to Avoid Them)
Look, I've seen it all. A small roof patch seems simple enough, but a few tiny oversights can turn a quick weekend fix into a massive, costly headache. Most DIY repairs that fail don't come down to a lack of effort. They fail because of a few common—and completely avoidable—mistakes.
Let's walk through the biggest culprits so you can get the job done right the first time.
Using the Wrong Nails
This one seems small, but it's a huge deal. Grabbing any old nail from your toolbox is a recipe for disaster. You absolutely must use 1 ¼-inch galvanized roofing nails. Anything else, like a standard construction nail, will rust as soon as it gets a little wet.
What happens when a nail rusts? It expands and contracts with temperature changes, wiggling around and widening the hole it's in. Before you know it, that tiny nail hole becomes a direct channel for water to seep right into your roof deck.
Overlooking What's Underneath
Another classic mistake is just ripping off the bad shingle and slapping a new one down. You can't do that. You have to play detective for a minute and inspect the roof deck that was hiding underneath.
Pull back the surrounding shingles and look closely at the wood. Are there dark stains? Does the wood feel soft or spongy when you press on it? Those are tell-tale signs of water damage and rot.
A failed patch almost always traces back to a step that was rushed or skipped. Taking an extra five minutes to properly inspect the decking or use the correct sealant can save you from having to do the entire repair over again—or worse, paying for major water damage restoration inside your home.
Covering up rotten decking is like putting a clean bandage on an infected wound. The problem is still festering underneath, and the rot will only spread, potentially compromising the structural integrity of your roof. If the wood is soft, you have a bigger job on your hands and need to replace that section of decking before proceeding.
Going Overboard with Sealant
Roofing cement is your friend, but you can have too much of a good thing. The goal is to create a watertight seal, not to slather the shingle in a thick layer of black goo. This is probably the most common misstep I see.
Piling on a thick bead of sealant creates a little dam. Instead of helping water run off, it traps it right against the edge of the shingle. That trapped moisture keeps the shingle perpetually damp, causing it to break down way faster than it should.
All you really need are a few dabs of sealant—about the size of a quarter—under the corners of the new shingle and a tiny bit over the nail heads you've covered. You're just trying to replicate the original factory seal, not glue the whole thing down.
Think of these as lessons learned the hard way by others. By keeping these pitfalls in mind, you can tackle your patch with the confidence of a pro.
- Wrong Nails: Stick to galvanized roofing nails. No exceptions. They're designed to resist rust and stay put.
- Ignoring Deck Damage: Always check the wood underneath. Never, ever cover up soft spots or rot.
- Excessive Sealant: Remember, less is more. Use small, strategic dabs, not thick lines.
- Poor Nail Placement: Nailing too high means the wind can lift the shingle. Nailing too low (through the tar strip) creates a potential leak point.
Avoiding these simple mistakes is what separates a durable, long-lasting repair from one you'll be redoing next season. A patch done right will protect your home and blend in seamlessly, saving you from a much bigger problem down the road.
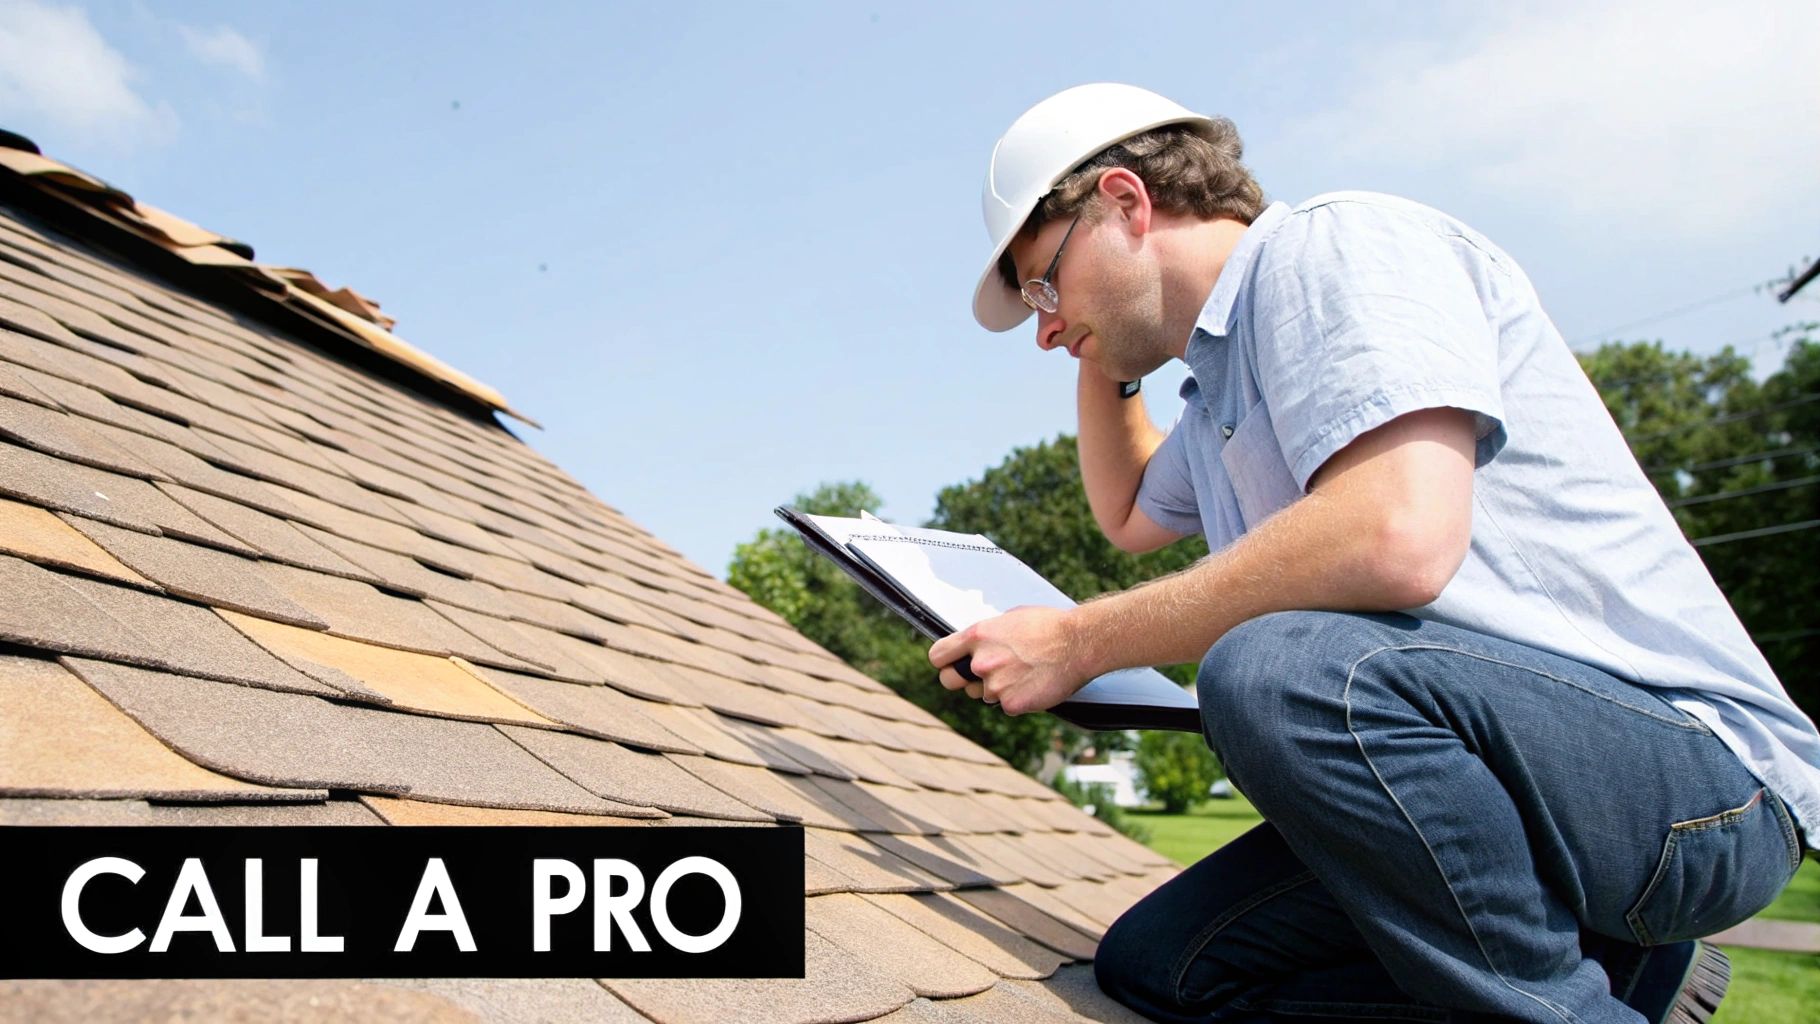
When Your Roof Needs a Professional Eye
Knowing your limits is one of the smartest things you can do as a homeowner. Sure, patching a single damaged shingle can be a satisfying and money-saving DIY win. But some situations are just too complex—or downright dangerous—to tackle on your own.
Recognizing the red flags is key to protecting your home’s structure and, more importantly, your own safety.
A small, isolated repair is one thing. Widespread damage is another beast entirely. If you get up on the roof to fix one cracked shingle and find a whole field of curling edges, bald spots from missing granules, or lifting tabs, you're looking at a problem that's bigger than a simple patch job. This is often a sign of systemic failure, meaning the shingles are at the end of their life. A patch here is just a temporary fix for a much larger issue.
Signs It’s Time to Call an Expert
The most serious warning sign? A soft or spongy feeling under your feet as you walk on the roof. This is a huge red flag. It means water has gotten past the shingles and underlayment, and the wood decking underneath is starting to rot. Slapping a new shingle over rotten decking is a massive mistake; you're just trapping moisture and letting the decay spread, which guarantees a much more expensive and difficult repair down the road.
The location of the damage also tells you a lot. Leaks showing up near complex, high-risk areas are best left to the pros. These spots include:
- Roof Valleys: These are the channels where two roof planes meet, and they handle a massive volume of water.
- Flashing: The metal work around chimneys, vents, and skylights is a common failure point.
- Eaves and Drip Edges: The perimeter of your roof is critical for shedding water away from the house.
Trying to DIY a repair in these zones can easily make things worse. A professional has the experience and specialized materials to seal these critical transitions correctly, ensuring they hold up against the weather for years.
Safety and Scope Considerations
Finally, be honest with yourself about the physical challenge. If your roof is especially steep (think a pitch greater than 6/12) or you're working on a second story or higher, the safety risks climb exponentially. Working on these kinds of roofs requires proper safety equipment and, frankly, experience. No amount of savings on a DIY project is worth a serious injury from a fall.
The global roofing market is projected to hit $125 billion, with repair services being a huge part of that growth as homeowners see the wisdom in professional help for bigger problems. You can learn more about these global roofing market and its growth trends if you're interested.
Bottom line: when you find widespread damage, rotten decking, or leaks in those critical spots, calling in a team like Penn Ohio Roofing & Siding Group is the safest and most effective move for the long haul.
Your Top Shingle Repair Questions, Answered
Even the best set of instructions can leave you with a few questions. When you're up on a ladder, you want clear answers, not guesswork. Let's tackle some of the most common things homeowners ask when patching an asphalt shingle roof.
How Long Will a Shingle Roof Patch Actually Last?
This is the big one, and the answer really comes down to the quality of the repair.
If you do it right—meaning you replace the entire damaged shingle with a new one and seal it properly—that patch should last for the rest of your roof's lifespan. It basically becomes a part of the original roof system.
On the other hand, a quick fix like slathering roofing cement over a crack is just a band-aid. You might get a season out of it, maybe a little more, but it’s a temporary solution that will eventually fail. For a repair you can trust long-term, you have to replace the shingle.
What’s the Best Weather for Fixing a Roof?
Believe it or not, weather can make or break your repair job. The absolute ideal conditions are mild, dry, and overcast. This keeps the shingles flexible enough to work with but not so hot that they become gummy, and it allows any sealant to cure properly.
Trying to work in the wrong weather can completely undermine your efforts:
- Hot, Direct Sunlight: Makes shingles soft and overly pliable. It’s incredibly easy to tear them or leave scuff marks.
- Cold Temperatures: Makes shingles brittle. Try to lift a cold shingle, and it's likely to crack or snap.
- Wet or Icy Conditions: This is a firm no. Never, ever work on a roof that’s wet or icy. It's a serious safety risk.
What if I Can't Find Shingles That Match?
This happens all the time, especially with older roofs where the sun has faded the original color. A brand-new shingle can stick out like a sore thumb.
Here’s a trick the pros use to maintain curb appeal. Go to a less visible part of your roof—say, the back side that no one sees from the street—and carefully remove a shingle from there. Use that perfectly weathered shingle for the patch in the highly visible area. Then, put your new (slightly mismatched) shingle in that hidden spot. It's a simple swap that makes a huge cosmetic difference.
Sometimes the damage is just too widespread for a simple patch. When you're looking at a bigger project, financial questions naturally come up. You might be asking, "Will Insurance Cover Roof Replacement?" It’s worth understanding your options when the stakes are higher.
When a simple patch won’t cut it, or if you just want the confidence that comes from a professional job, Penn Ohio Roofing & Siding Group is ready to step in. Our crew handles everything from small repairs to complete replacements, always with the quality your home deserves. Reach out today for a free, no-obligation estimate at https://pennohiorc.com.