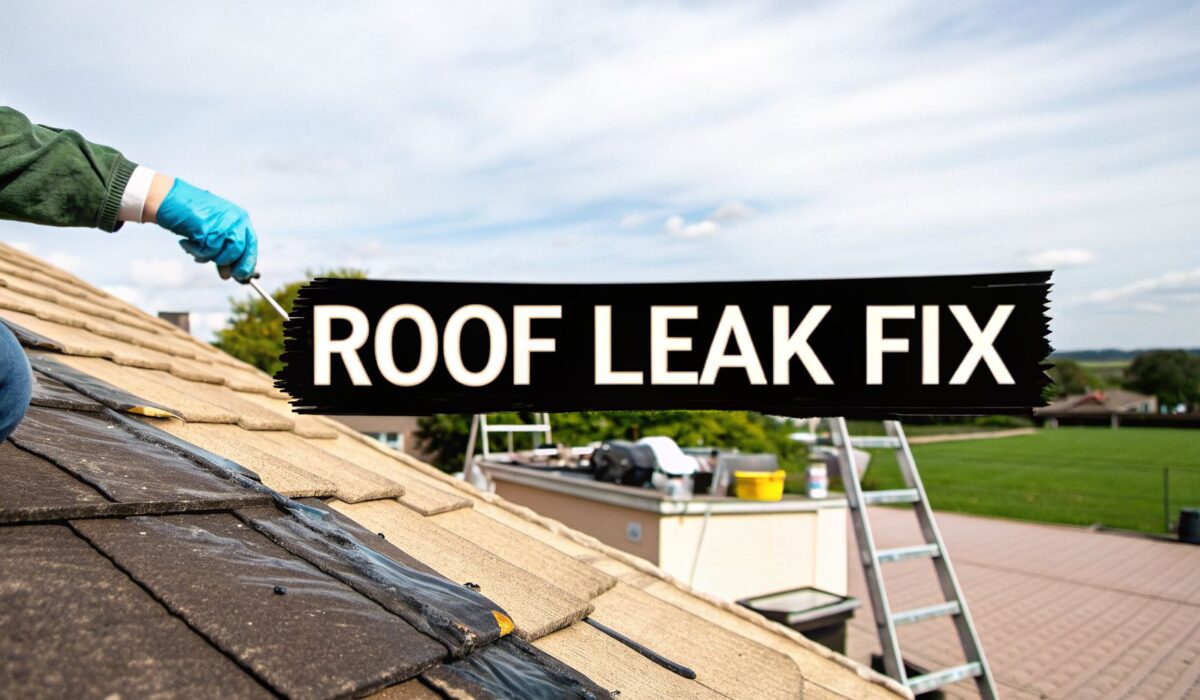
That dreaded dark spot on the ceiling. It’s a sight that makes any homeowner’s stomach drop. Your first instinct might be to panic about the roof itself, but hold on. The most important job right now isn't fixing the leak—it's controlling the water that’s already inside. Acting fast is your best defense against turning a small drip into a massive, expensive problem.
Your Immediate Action Plan for a Roof Leak
When you discover a leak, the clock starts ticking. What you do in the first 30 minutes can literally save you thousands of dollars. An unchecked drip quickly soaks drywall, ruins insulation, and compromises your home's framing.
Don't underestimate the damage. Industry data shows untreated leaks can lead to an average of over $10,000 in water damage repairs. Worse yet, slow responses contribute to mold growth, a problem affecting 20-30% more homes annually simply because the water wasn't managed quickly enough.
When a leak strikes, your first half-hour is all about damage control. This quick checklist outlines the immediate, non-negotiable steps to protect your property before you even think about getting on the roof.
Emergency Leak Containment Checklist
| Action Item | Why It's Critical | Pro Tip |
|---|---|---|
| Place Buckets | Catches drips immediately, preventing water from spreading across floors and subfloors. | Lay an old towel or a small piece of wood in the bottom of the bucket to absorb the impact of the drips and stop annoying splashing. |
| Move Valuables | Protects furniture, electronics, and personal items from water damage. | Water can travel along joists and studs, so clear a wider area than you think is necessary. Move things from the room below if possible. |
| Puncture Ceiling Bulge | Safely releases pooled water, preventing a sudden and destructive ceiling collapse. | Use a screwdriver to make a small, controlled hole in the center of the bulge. Make sure your largest bucket is directly underneath first! |
These three actions are your first line of defense. By containing the immediate threat, you buy yourself crucial time to find the source and plan a proper repair without the added pressure of a worsening interior flood.
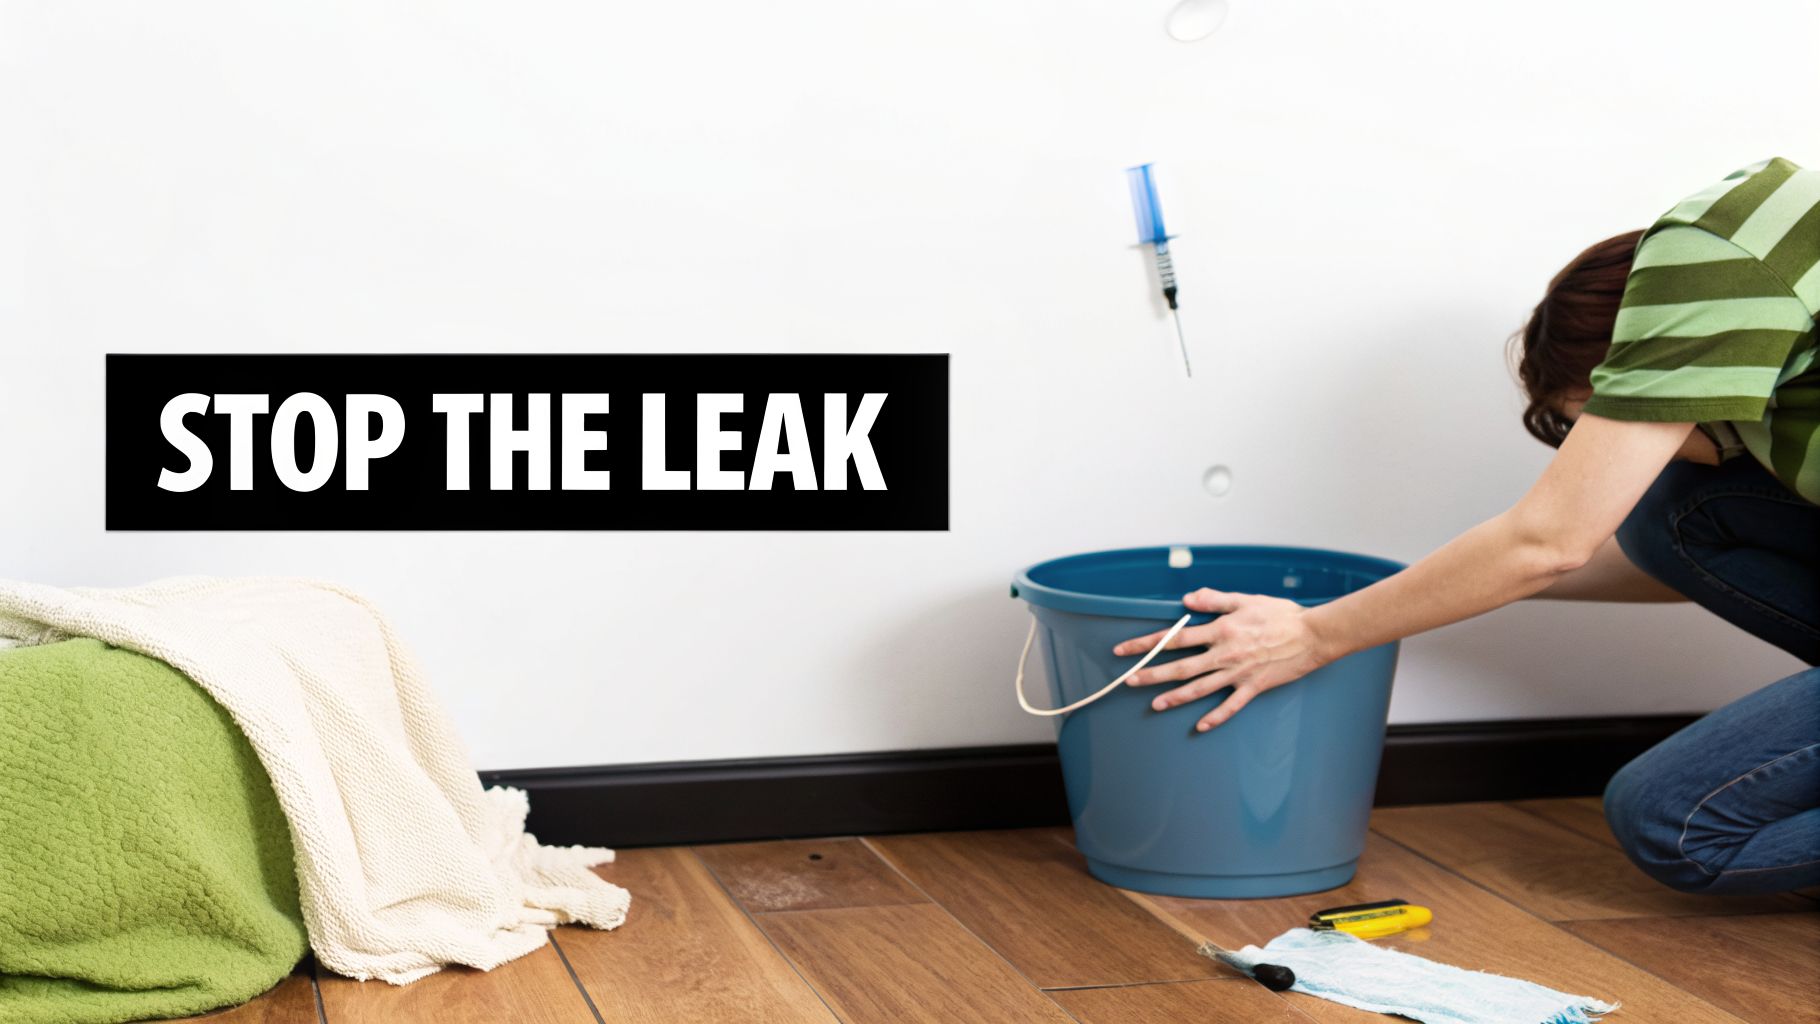
Contain the Interior Water Damage
First things first: grab buckets, trash cans, storage totes—anything that can hold water. Get them under the drips immediately.
Next, get your stuff out of the way. This means furniture, electronics, rugs, and anything else of value. Water has a sneaky way of traveling, so clear a larger radius around the drip than seems necessary.
You might notice the paint on your ceiling starting to bubble or sag. That's a bad sign. It means a significant amount of water is pooling up on the other side of the drywall, creating pressure that could lead to a messy collapse.
Pro Tip: Don't let a ceiling bulge burst on its own. Position a large bucket right under the lowest point of the sag. Then, carefully poke a small hole in the very center with a screwdriver to let the water drain in a controlled stream. This prevents a huge section of wet drywall from crashing down.
Find the Source (If It's Safe)
Once you've managed the situation inside, you can try to find where the water is coming from. If your attic is safely accessible, head up there with a powerful flashlight. You're looking for tell-tale signs on the underside of the roof sheathing: dark water stains, damp insulation, or active drips.
If you find the spot, placing another bucket in the attic can stop the leak from ever reaching your living space. For more on what to look for, this Quick UK Guide to Stop Damage Now has some helpful visuals.
A serious word of caution: never get on your roof during a storm or when it’s wet. It’s incredibly dangerous. Your initial job is just to contain the mess inside. Once that's done, you have the breathing room to figure out the next steps, like exploring DIY fixes you might find in our guide on fixing a hole in your roof.
How to Pinpoint the Source of Your Roof Leak
Finding a roof leak isn't as simple as looking up. That water stain blooming on your ceiling is just where the water finally decided to show up—the real entry point on your roof could be ten, even twenty feet away. Water is a sneaky traveler. It will run along rafters, seep through insulation, and follow framing before it finds a low point to drip. Your job is to play detective and trace it back to the source.
The safest place to start your search is almost always the attic. Pick a rainy day or, if it's dry, grab a helper for a "water test" and head upstairs with a good, bright flashlight. Be careful where you step! Stick to the wooden joists and framing members only. Stepping on the drywall between them is a quick way to end up with a much bigger hole in your ceiling.
Start Your Search in the Attic
Once you’re safely situated, click off the flashlight and just let your eyes adjust to the dark for a minute. Look for any pinpricks of daylight peeking through the roof deck. Even the tiniest sliver of light is a potential path for water.
Now, switch your flashlight back on and methodically scan the underside of the roof sheathing—that’s the plywood or OSB layer your shingles are nailed to. You're searching for the classic signs of water intrusion:
- Dark water stains: These often show up as long streaks running down the wood, following gravity.
- Soggy or compacted insulation: If your insulation looks damp, clumpy, or flat, that's a dead giveaway.
- Mold or mildew: A musty smell is your first clue. Visible black spots confirm you have a long-term moisture issue.
- Rusted-out nails: Any nails poking through the sheathing will rust when wet, often leaving a tell-tale trail below them.
Remember, the actual leak is almost always "uphill" from where you see the damage. Water flows down, so follow any stains or damp spots upward toward the roof's peak. This simple principle is the core of how to find roof leaks and saves a ton of guesswork.
The Most Common Leak Culprits
Most roofs don't just start leaking in the middle of an open field of shingles. About 90% of leaks happen at penetrations—any spot where something sticks through your roof. These are the natural weak points where flashing can fail over time.
This is where you should focus your attention:
- Roof Vents: Check the rubber boots or "gaskets" around plumbing vent pipes. They get brittle and crack from sun exposure. Also, inspect the flashing around attic and exhaust vents.
- Chimneys: The metal flashing around a chimney is a complex, multi-layered system. Look for any sections that are rusted, loose, or pulling away from the brick, and check for failing sealant in the joints.
- Skylights: These are notorious leak sources. Carefully inspect the sealant around the glass and the flashing that integrates the unit into the roofing.
- Dormers and Valleys: Any place two roof planes meet (a valley) or a wall intersects with the roof (a dormer) relies heavily on flashing. If it’s damaged or was installed incorrectly, it's a prime suspect.
After identifying the initial signs inside, the next step is confirming the exact entry point outside. Getting a broader perspective on how to detect water leaks can be incredibly helpful, as the same principles apply to plumbing, foundations, and, of course, roofs.
Perform a Controlled Water Test
What if you can't find the source from the attic, or you don't have one? Your next best move is a controlled water test. You'll need a garden hose and a patient helper for this. A word of caution: never use a pressure washer. It will blast water under your shingles and can cause more damage than you started with.
Your helper needs to be inside the house, keeping a close eye on the ceiling where the leak first appeared. You'll be up on the roof with the hose. The key here is to be systematic and work from the bottom up.
Start by gently soaking the roof surface just above where the leak shows up inside. Don't go crazy—just a steady, rain-like flow is perfect. Have your helper wait a few minutes for a drip to appear. If nothing happens, move your stream of water a few feet higher up the roof and wait again. Keep repeating this process, isolating one small section at a time. The moment your helper yells, "It's dripping!", you've found the area of your leak. This patient approach is the only way to be sure you’re patching the right spot.
A Homeowner’s Guide to Roof Repair Solutions
Alright, you’ve played detective and tracked down the source of that pesky leak. Now it's time to switch hats from investigator to repair tech. What you do next depends entirely on the situation—the weather, your specific roofing material, and frankly, how comfortable you are climbing up there. We'll walk through both the quick-and-dirty emergency patches to stop water damage in its tracks and the proper, permanent fixes you'll need for a lasting solution.
This is your game plan for fixing a leaking roof. Whether you need an immediate fix in a downpour or a solid, long-term repair, you’ll have the know-how to get it done right.
Before you touch a single tool for the repair, you have to be 100% sure where the water is getting in. This flowchart breaks down the professional process for pinpointing a leak's true origin.
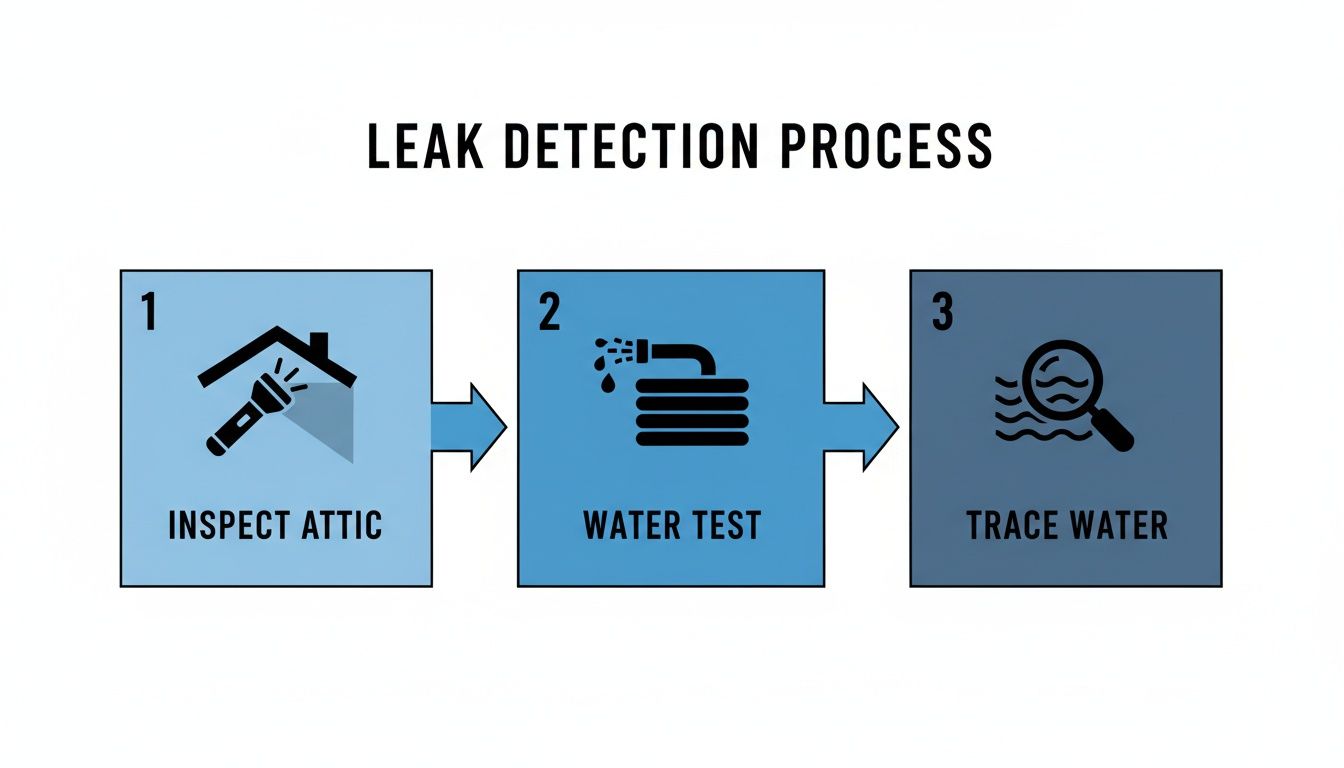
It’s a simple, methodical approach: start inside, use a controlled water test outside, and trace the path back. Don't skip this—it's the most critical step.
Urgent Solutions for Active Leaks
When it’s pouring rain and water is dripping into your living room, you’re not doing a permanent repair. Your one and only job is damage control. The two best tools for this are a bucket of roofing cement and a heavy-duty tarp.
Think of roofing cement (also called roofing tar) as a thick, waterproof bandage for your roof. It's a messy, gooey paste, but its biggest advantage is that you can smear it on a wet surface to temporarily plug a hole or crack. Just use a putty knife to clean away any leaves or debris and spread a thick layer over the spot, making sure you go a few inches past the edges of the damage.
A Word of Caution: Roofing cement is a fantastic emergency fix, but it's not meant to last. The sun's UV rays will eventually cook it, causing it to dry out, get brittle, and crack. You have to go back and do a proper repair when the weather improves.
If you’re dealing with a larger area of damage, a tarp is your go-to. Get a heavy-duty one and lay it flat so it covers the entire damaged section. You’ll want at least four feet of extra tarp to go up and over the peak of the roof (the ridge). This keeps rainwater from just running down the roof and right under it. Don’t secure it with nails or staples—the wind will rip them right out. Instead, wrap the edges of the tarp around some 2×4 boards and screw the boards directly to the roof deck. It's much more secure.
Permanent Repairs for Asphalt Shingle Roofs
There's a reason asphalt shingles are the most common roofing material out there—they’re tough and relatively simple to fix. Most leaks on a shingle roof come from shingles that are cracked, curled up at the edges, or just plain missing after a windstorm.
The good news? Replacing a few shingles is a very doable DIY project. The bad news is what happens if you don't. Asphalt shingles are on 75-80% of homes in North America, and they account for a whopping 40% of all roof leak calls. A small, ignored leak can quickly turn into a $5,000 to $15,000 disaster as water soaks your insulation, rots the sheathing, and damages your home's structure.
Here’s the basic tool kit for a shingle replacement:
- A flat pry bar to gently break the sealant on the shingles
- A hammer
- Galvanized roofing nails, usually 1 ¼ inches long
- A sharp utility knife
- A tube of roofing sealant
Start by sliding your pry bar under the shingle directly above the damaged one to break its seal. Do this carefully. Once you lift it, you’ll expose the nails holding the bad shingle down. Use the claw of your hammer or the pry bar to pop those nails out, and the old shingle should slide right out.
Slide the new shingle into place, making sure it lines up with the ones on either side. Nail it in with four roofing nails, placed just under the sealant strip of the shingle above it. To finish the job, put a small dab of roofing sealant under the tabs of the shingle you just lifted and press it down firmly to create that critical waterproof seal. For a more detailed walkthrough, check out our guide on how to patch shingles.
Fixing Leaks on Metal Roofs
Metal roofs are fantastic for their longevity, but they’re not bulletproof. When they do leak, it’s almost always in one of two places: the seams where the panels overlap or around the screws holding them down.
Over the years, the sun bakes the little rubber washers on the screws, causing them to dry out and crack. This creates a perfect little pathway for water to get in. The fix is usually simple: back the old screw out, clean the spot, and replace it with a new, slightly oversized screw. The larger diameter ensures it bites firmly into the old hole and the fresh washer creates a tight seal.
For a leaky seam, the job is all about cleaning and sealing. Get a wire brush and scrub away any old, failed sealant, rust, or gunk. Then, wipe the area with a solvent like denatured alcohol to make sure the new sealant will stick properly. Using a caulk gun, apply a continuous bead of a high-quality sealant designed specifically for metal roofing. You need one that stays flexible, as the metal panels will expand and contract with temperature changes.
Repairing Common Flat Roof Materials
Flat roofs, which are often covered in rubber (EPDM) or a thermoplastic membrane (TPO), present their own unique challenges. Leaks almost always spring from failing seams, around vents and pipes, or from punctures caused by falling branches or foot traffic.
Fixing a hole in a flat roof is a lot like patching an inner tube on a bicycle. You'll need a patch kit made specifically for your type of roofing material—don’t mix and match!
The process boils down to a few key actions:
- Clean It Thoroughly: The area has to be spotless and completely dry. Use the cleaner from the kit to get rid of every bit of dirt and grime.
- Apply the Primer: Once it’s clean, you’ll apply a special primer to both the roof surface and the back of the patch itself. This preps the two surfaces to chemically bond together.
- Place the Patch: After the primer gets tacky to the touch, carefully position the patch over the hole. You only get one shot at this, so be precise.
- Roll It Out: Use a small, hard seam roller to press the patch down. Start from the center and work your way to the edges to push out any trapped air bubbles.
When you do this right, the patch basically becomes a permanent, welded part of the roof membrane. It’s a job that requires patience, but it's definitely within the wheelhouse of a detail-oriented homeowner.
Essential Safety Measures for DIY Roof Work

Before we even talk about finding and fixing leaks, we need to have a serious conversation about safety. Getting up on a roof is no joke. A fall can change your life in an instant. This isn't just about ticking boxes; it’s about getting the job done and walking away safely.
Let’s start with your ladder—it’s your first point of contact with the roof. Setting it up correctly is everything. We use the “4-to-1 rule” in the field: for every four feet of height you need to climb, move the base of the ladder one foot out from the wall. This creates the most stable angle.
Once you’ve got the angle right, make sure the ladder is on solid, level ground. Critically, it must extend at least three feet above the roof's edge. That extension gives you something sturdy to grab onto when you’re stepping on and off the roof, which is precisely where many accidents occur.
Gearing Up for Safety
The right tools for the repair are useless if you don't have the right safety gear. This is your personal protection, and it's not the place to save a few bucks.
- Proper Footwear: This is simple but crucial. Get yourself a pair of soft-soled boots or shoes with excellent grip. They’ll stick to the roof better and are less likely to scuff up or damage the shingles.
- Safety Harness: A personal fall arrest system (PFAS) is your best friend on a roof. This isn't just for pros. It's a system: a full-body harness connected by a shock-absorbing lanyard to a secure anchor.
- Secure Anchor Point: That harness won't do you any good if it’s not anchored to something solid. You need to install a proper roof anchor, bolting it directly into a roof rafter—not just the plywood sheathing.
If your roof has any kind of steep pitch or you'll be working near an edge, a PFAS is non-negotiable. It’s the one piece of equipment that can turn a potential catastrophe into just a scary moment.
Your goal is to get home safely after you fix the leaking roof. A fall arrest system isn't just for professionals—it's for anyone who values their life while working at height. It is your best and last line of defense.
Watch for Environmental Hazards
Your safety check doesn't stop once you're geared up. The environment you’re working in can be just as dangerous as a fall. You have to stay aware.
Never, ever work on a roof that's wet. I'm not just talking about rain; morning dew, frost, or a bit of ice can make a roof feel like a skating rink. Always wait for it to be completely dry. High winds are another major risk—a strong gust can knock you off balance before you even know what's happening.
Lastly, be extremely mindful of overhead power lines. You don’t even have to touch a wire to get electrocuted; electricity can arc across several feet. A good rule of thumb is to keep yourself, your ladder, and all your tools at least ten feet away from any power lines. No exceptions.
Knowing When to Call a Professional Roofer
There’s a certain satisfaction in fixing things yourself, and a small roof leak can seem like a straightforward weekend project. But let me be blunt: knowing when to fix a leaking roof on your own versus when to call in a professional is the most critical judgment call a homeowner can make. Small DIY patches can turn into catastrophic failures, and the line between a simple fix and a major problem is often thinner than you think.
Your safety and your home's structural integrity are on the line. Making the right call starts with being honest about the situation on your roof and your own limitations.
Red Flags That Demand a Professional
Some problems are just too big or too risky for a DIY approach. If you see any of these signs, it's time to get an expert on the phone immediately.
Walking on your roof and feeling a spongy or soft spot underfoot is a five-alarm fire. That isn't just a shingle problem; it means the underlying roof deck—the wood that forms the foundation of your roof—is likely rotted through. Slapping a new shingle on top is like putting a band-aid on a broken bone. The structure is compromised and needs a pro.
Take a step back and look at the big picture. Are you seeing just one or two missing shingles, or is the damage widespread? If you spot large patches of granules missing, multiple leaks in different parts of the attic, or entire sections of shingles peeling up, you’re not dealing with an isolated issue. This is usually a sign that your roof is at the end of its 17-20 year lifespan and is failing systemically.
The design of your roof itself can be a major factor:
- Steep Pitch: Anything steeper than a 6/12 pitch is dangerous territory. Professionals use specialized safety harnesses and have the experience to work on these angles safely.
- Multiple Stories: The risk of a life-altering fall increases exponentially when you're working on a second or third-story roof. It’s just not worth it.
- Complex Features: If your roof has lots of valleys, dormers, or skylights, the flashing around them is intricate. A tiny mistake here is a guaranteed future leak.
A professional roofer doesn't just fix the leak you can see. They diagnose the underlying cause to prevent the next one and protect the integrity of your entire roofing system. That's the real value.
DIY vs Professional Roof Repair
Deciding whether to tackle a leak yourself or call in the experts can be tough. This table breaks down common scenarios to help you make a smarter, safer choice.
| Scenario | DIY Approach | When to Call a Pro |
|---|---|---|
| A Few Blown-Off Shingles | A confident DIYer can often replace a handful of shingles with the right tools and safety gear. | If the damage is widespread, on a very steep section, or near complex flashing. |
| Cracked Pipe Boot Flashing | Applying roofing sealant or replacing the rubber boot can be a manageable fix for a minor leak. | If the decking around the pipe feels soft or the leak has been active for a long time. |
| A Known, Small Puncture | For a tiny hole (e.g., from a fallen branch), a temporary patch or targeted sealant application can work. | If you can't find the source, the hole is large, or it's on a metal or tile roof. |
| Widespread Granule Loss | There's no effective DIY fix for this. It signals the end of the shingles' life. | Always. This requires a professional assessment for a potential roof replacement. |
| Spongy Roof Decking | Never attempt a DIY repair. This is a sign of serious structural damage. | Immediately. The rotted decking and any affected framing need to be replaced by a pro. |
| Leaks Around Skylights/Chimneys | Attempting to re-seal flashing can sometimes work, but it's a high-risk repair. | If you're not 100% confident or if the initial seal fails. Flashing is a job for experts. |
Ultimately, if you have any doubt about the repair or your ability to do it safely, making the call is the best decision you can make.
The Long-Term Value of an Expert Solution
Hiring a professional roofer might seem like a big expense upfront, but it's an investment that pays for itself. A seasoned pro brings years of experience to the job, allowing them to spot subtle issues an untrained eye would miss. They understand how the whole system works together, from ventilation to flashing to underlayment.
This expertise is critical when you consider the hidden costs of a poorly handled leak. Did you know that persistent moisture in attics can lead to electrical shorts, contributing to as many as 50% of fire insurance claims? Or that 25% of cases involving untreated water damage end with an average mold remediation bill of $7,500? You can find more roofing industry statistics that paint a clear picture of what's at stake.
Warranties and Guarantees
Beyond their skills, professionals offer something a DIY job can never provide: workmanship warranties and material guarantees.
A workmanship warranty is the roofer's promise that their labor is sound. If the repair fails because they installed it incorrectly, they come back and fix it on their dime. A material guarantee, passed on from the manufacturer, protects you from defective products. This two-part protection ensures your investment is safe. You’re not just paying for a patch; you're buying the confidence that the job was done right and will hold up when the next storm hits.
Answering Your Top Questions About Roof Leaks
Finding a leak always brings up a flood of questions. We hear the same concerns from homeowners all the time, so let's get you some straight answers to the most common ones.
How Much Does It Cost to Fix a Leaking Roof?
This is the million-dollar question, isn't it? The truth is, the cost is all over the map. If you're handy and just need to patch a couple of shingles, you might get away with spending less than $100 on materials.
For a professional fix on a minor issue—say, resealing the flashing around a plumbing vent—you’re likely looking at a bill between $300 and $750. But if that small leak has been ignored and water has been seeping into the structure, the costs can jump dramatically. Once you start talking about replacing soggy insulation or rotted roof decking, the repair can easily climb to $1,500-$3,000 or even higher. It all boils down to your roofing material, where the leak is, and how much damage it's already done.
Can I Claim a Roof Leak on My Homeowner's Insurance?
This is a big one, and the answer is usually, "it depends on what caused it." Homeowner's insurance is designed to cover sudden, accidental damage. Think of things that are out of your control.
Your policy will likely cover leaks caused by:
- A storm that tears shingles from your roof.
- A tree limb falling and puncturing the surface.
- Significant damage from a hailstorm.
However, insurance almost never covers problems that stem from old age or a lack of maintenance. If your roof is simply worn out and fails, the insurance company will consider that your responsibility. My best advice? The moment you suspect damage, take pictures of everything and call your agent.
A professional roofer’s assessment can be invaluable for an insurance claim. Their detailed report and estimate provide the expert documentation needed to validate the source and extent of the damage, which can make all the difference in getting your claim approved.
How Long Can I Wait to Fix a Small Roof Leak?
The short answer? You can't. A "small" leak is one of the most misleading terms in homeownership. That tiny drip is a sign of a much bigger problem brewing out of sight.
Water is incredibly destructive. It will soak your attic insulation, turning it into a useless, compressed mat. It will stain and weaken drywall, and before you know it, you've got a perfect environment for mold to grow inside your walls. A problem that could have been a simple shingle repair can quickly become a massive, expensive structural issue if you put it off.
What Are the Signs of a Hidden Roof Leak?
Not all leaks are obvious. Sometimes the water finds a sneaky path, and the first clue isn't a puddle on the floor. Knowing what to look for can help you catch a hidden leak before it causes a catastrophe.
Inside the house, keep an eye out for:
- Faint water stains on the ceiling or walls, which can look like yellowish or brownish rings.
- Paint that starts bubbling, blistering, or peeling for no apparent reason.
- A stubborn musty smell you can't seem to air out, especially in closets or upper-floor rooms.
When you're outside, check your roof for:
- Shingles that are visibly cracked, curled up at the edges, or missing altogether.
- Flashing around chimneys, vents, and skylights that looks bent, rusted, or pulled away.
- A buildup of shingle granules in your gutters. They look like coarse black sand and are a sign your shingles are breaking down.
Making a habit of checking for these clues is the best way to find and fix a leaking roof before it becomes a real nightmare.
When you need a reliable and expert opinion on your roofing issue, trust the team that has been serving the community for over 25 years. For professional advice and a free estimate, contact Penn Ohio Roofing & Siding Group today at https://pennohiorc.com.