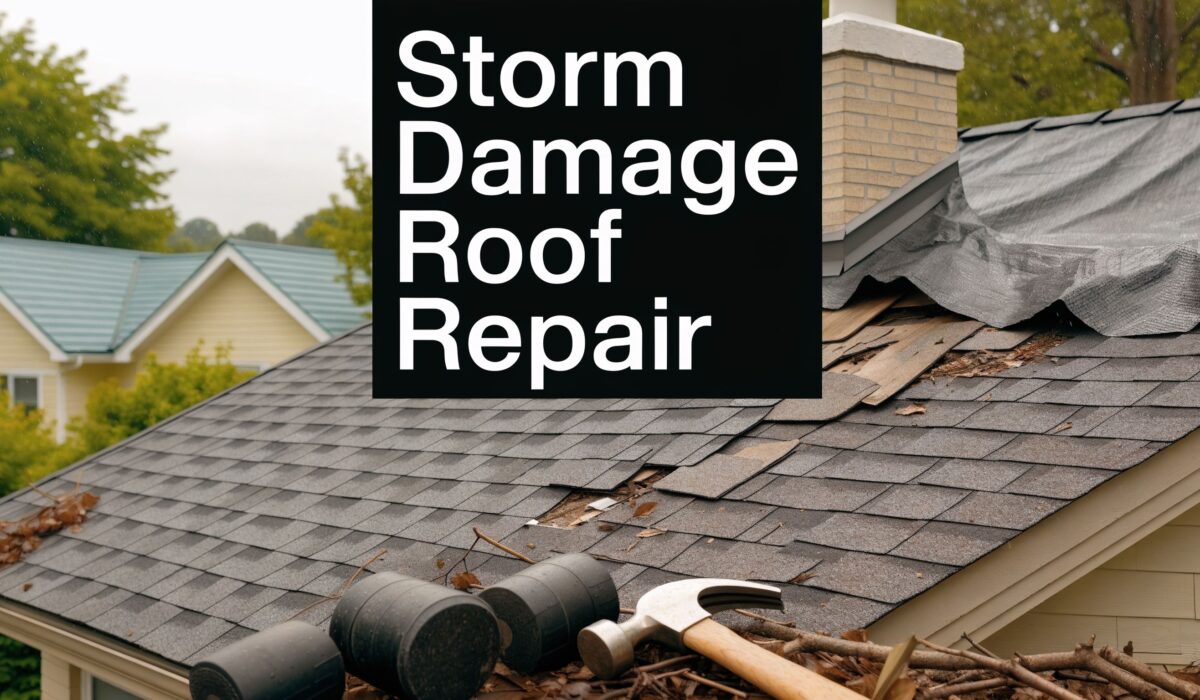
You wake up after a hard Mahoning Valley storm and the house feels different. Maybe there’s a water stain on the ceiling, shingles in the yard, or gutter metal twisted where it looked fine yesterday. That moment puts a lot of people into panic mode.
Slow it down. Most storm damage roof situations in Youngstown are manageable if you handle them in the right order. Safety first. Stop further water entry second. Documentation third. Then deal with the insurance process and the repair plan.
Storm damage roof repair Youngstown OH isn’t the same as generic roofing advice from a national blog. Local roofs take a beating from hail, high winds, heavy rain, and winter ice. Those weather patterns create both obvious damage and the kind you don’t notice until the attic smells damp or the drywall starts to bubble.
After the Storm Your First Steps in Youngstown
A common morning-after call goes like this. The wind howled all night, rain came in sideways, and now the homeowner sees shingle tabs in the driveway and a brown spot spreading on the bedroom ceiling. They’re worried the whole roof is ruined. Sometimes it is a major claim. Sometimes it’s a repairable section and some damaged flashing. The key is not guessing from the ground.
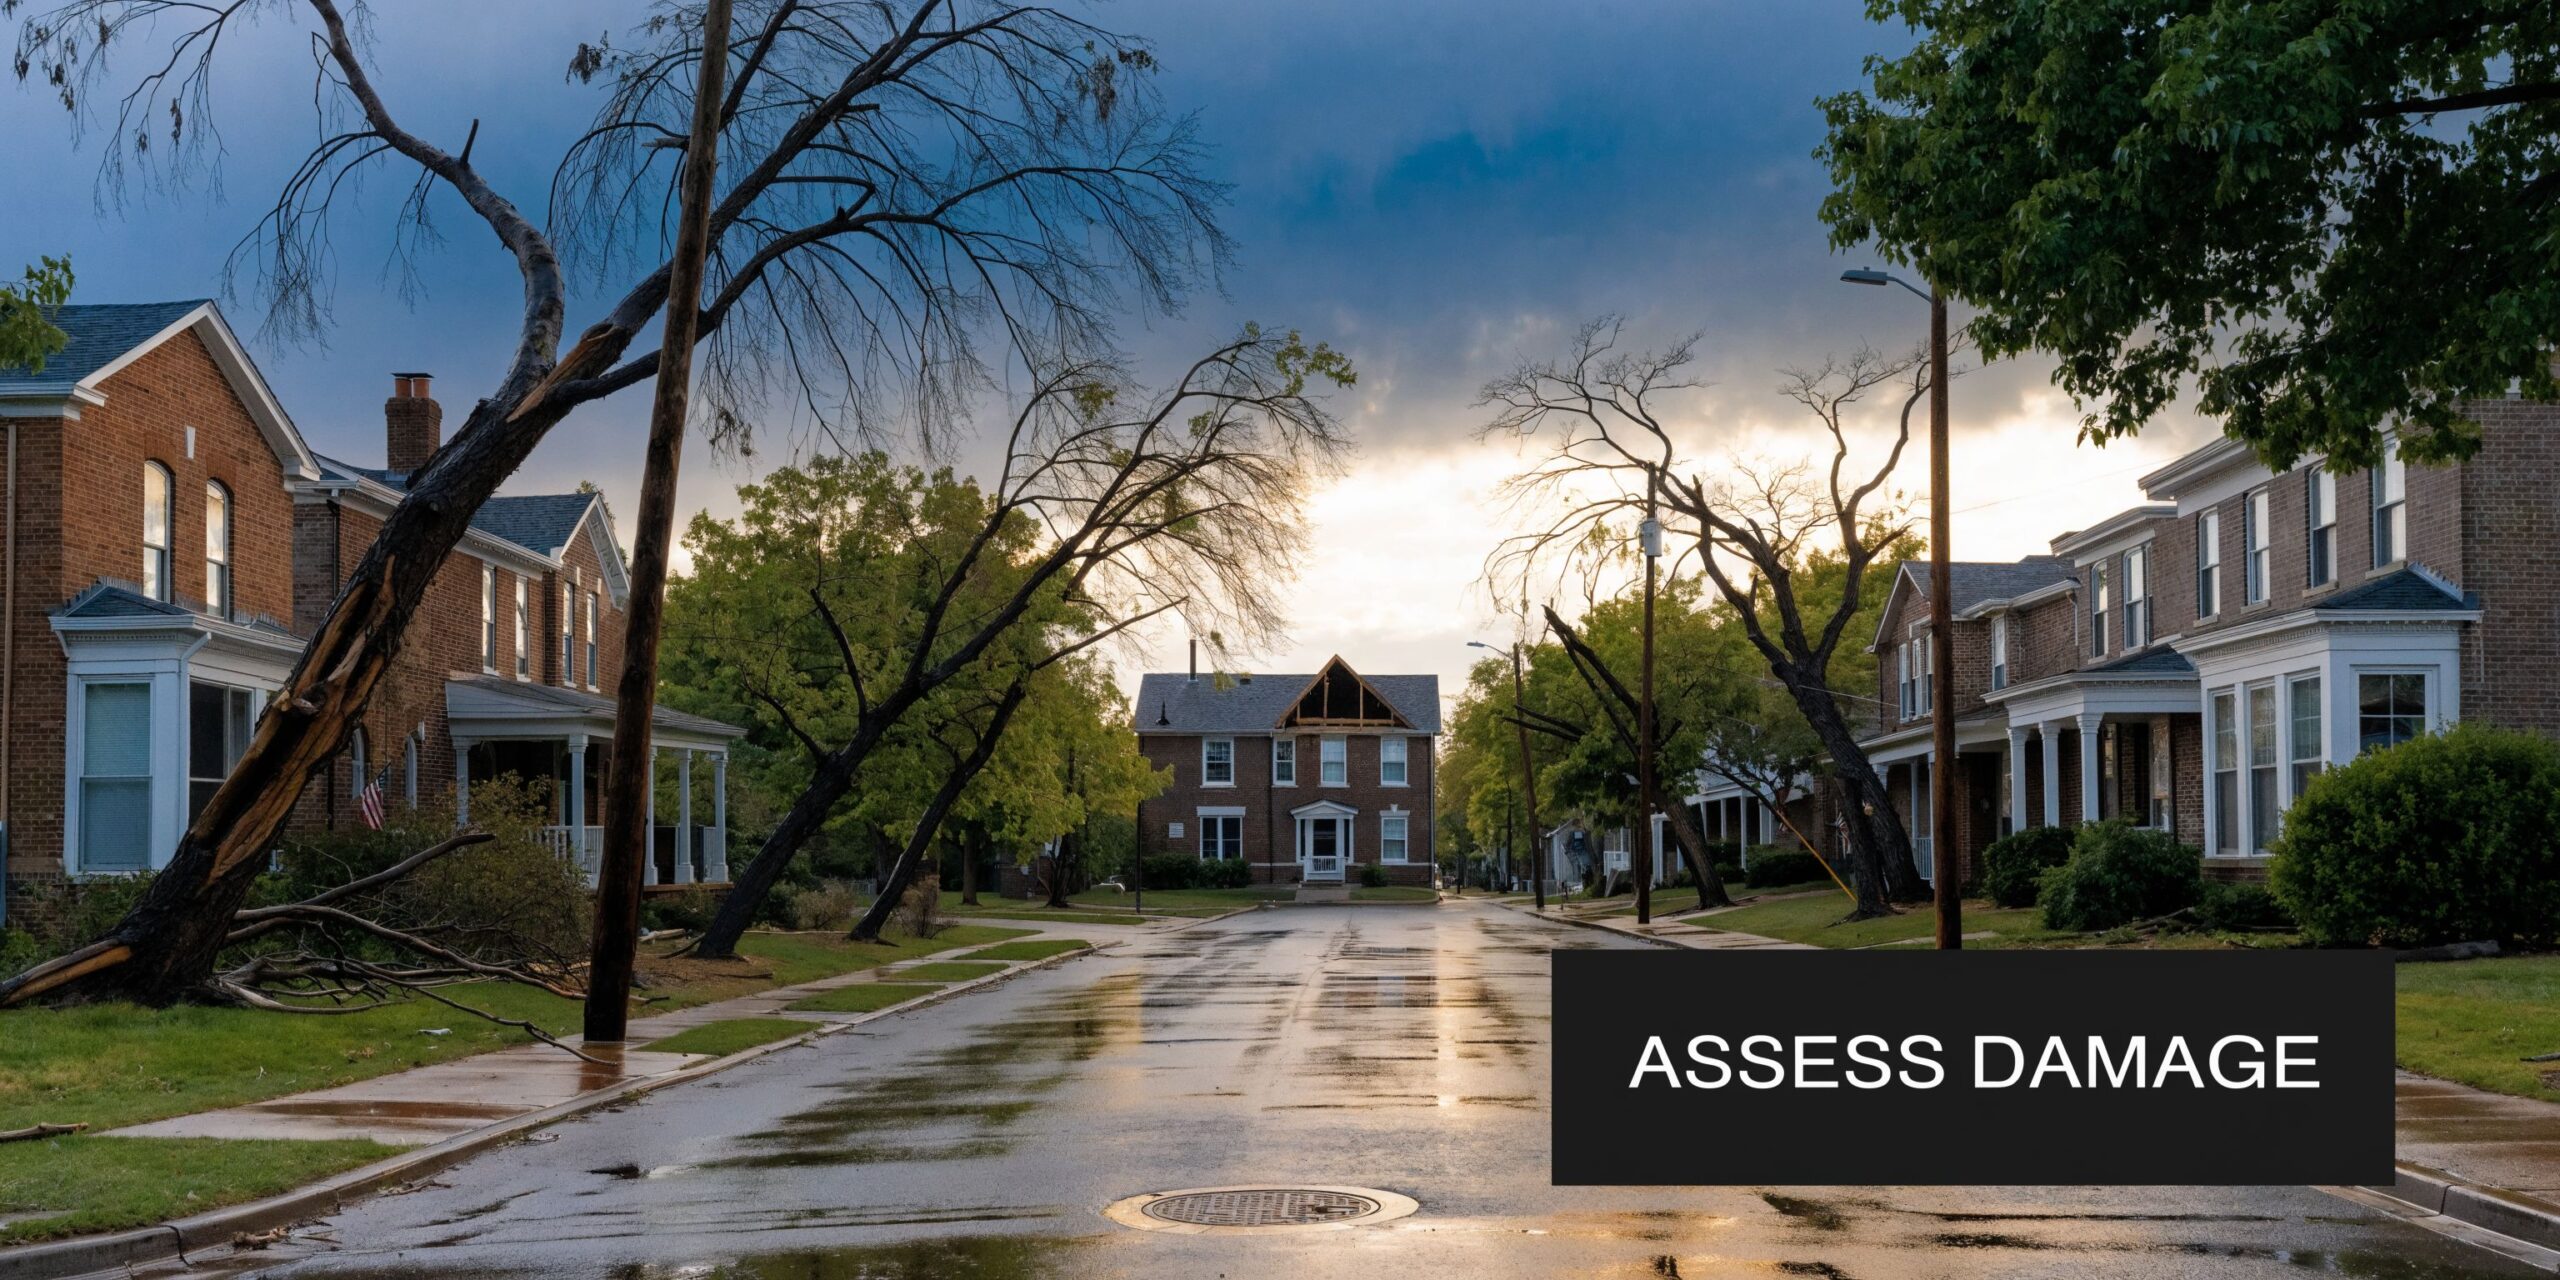
Youngstown gets enough severe weather that this isn’t rare. In the last 12 months, Youngstown, OH, recorded 322 total storm reports relevant to roofing, including 67 hail reports and 250 high wind incidents according to local storm activity data for Youngstown roofing damage.
What to do before you touch anything
Don’t climb the roof right away. Wet shingles, loose decking, and storm debris turn a quick look into a hospital trip.
Start with what you can safely confirm from inside and from the ground:
- Check ceilings and walls: Look for fresh stains, peeling paint, damp insulation, or dripping around light fixtures.
- Walk the perimeter: Scan for missing shingles, bent flashing, fallen branches, dented gutters, and debris piles.
- Look in the attic: If you can get there safely, check for wet wood, daylight through the roof, or dark moisture trails.
If you’re not sure what counts as damage, this guide to common signs of roof damage helps you separate storm-related issues from older wear.
Keep your first goal simple
Your job on day one isn’t to diagnose every roofing detail. Your job is to answer three questions:
- Is anyone in danger?
- Is water actively getting in?
- What evidence can be preserved before cleanup starts?
Practical rule: If the storm just passed and the roof is still wet, stay off it. Ground photos, attic photos, and interior photos are safer and often more useful in the first hour anyway.
Youngstown homeowners often make one mistake right here. They either ignore small signs because the leak “isn’t that bad yet,” or they rush into a patch without documenting the damage. Both decisions can cost you later. A small opening after hail or wind can become a larger interior problem fast, especially when another rain rolls through before repairs begin.
Securing Your Home and Documenting the Damage
Once everyone is safe, move from worry to control. The roof can be repaired. What matters now is preventing more damage and creating a clean record of what the storm did.

One of the biggest problems after a storm isn’t the damage itself. It’s poor documentation. As noted in this summary of storm claim pain points in Youngstown, many companies say they help with insurance claims, but few explain how to document damage properly, how to review adjuster reports, or how to handle appeals.
Secure the house first
If water is entering the home, temporary protection matters. A professional tarp job is better than a rushed DIY attempt, especially on a steep or slick roof.
Use this order:
- Cut power if needed: If water is near fixtures, outlets, or electrical panels, call an electrician or utility provider before doing anything else.
- Move valuables out of the leak zone: Furniture, electronics, rugs, and paper records should be relocated before the next rainfall.
- Catch water and relieve pressure: Buckets help, and if water is ballooning behind ceiling paint or drywall, a professional should assess it before collapse creates a mess.
- Arrange temporary dry-in work: Tarping or emergency sealing should stop additional entry until permanent repairs are approved and scheduled.
Document like an adjuster will read it
Most homeowners take a few phone pictures and think that’s enough. It usually isn’t. Good claim documentation tells a story. It shows where the storm hit, what it damaged, and how the damage affects the home.
Create a folder on your phone and capture everything in one pass.
Photo checklist that helps
- Wide exterior shots: Stand back and photograph the full roofline, each elevation, gutters, downspouts, siding, windows, fences, and detached structures.
- Mid-range damage shots: Move closer to the area with missing shingles, lifted tabs, bent flashing, dented metal, or debris impact.
- Close-ups with context: Capture granule loss, exposed underlayment, cracked seal lines, punctures, and interior staining. Take the same area from more than one angle.
- Collateral evidence: Photograph tree limbs, hail accumulation if visible, damaged patio furniture, torn screens, or anything else that supports storm intensity.
- Interior sequence: Ceiling stains, wet insulation, attic decking, wet personal property, and floor damage should all be logged before cleanup.
Keep a written log too
Photos matter, but a written timeline helps your claim make sense.
A simple notebook or phone note should include:
| Item | What to record |
|---|---|
| Storm date | When the storm happened or when you discovered the issue |
| First signs | Leak location, noise, fallen shingles, attic moisture |
| Calls made | Insurance, roofer, mitigation company, utility company |
| Temporary work | Tarping, water extraction, emergency sealing |
| Expenses | Supplies, emergency visits, interior protection costs |
If you want to understand how contractors use imaging tools to spot roof issues from a safer angle, this overview of drone roofing inspection software is useful background. It gives homeowners a better idea of how aerial documentation fits into a modern inspection record.
Save damaged materials if they fall to the ground. A torn shingle tab, bent flashing piece, or punctured vent cap can become useful evidence later.
Don’t throw away receipts. Don’t delete blurry photos until the claim is closed. Don’t let a cleanup crew remove evidence before it’s documented. Those details can matter more than people realize.
Navigating Your Roof Damage Insurance Claim
The insurance part frustrates more homeowners than the roofing work. The roof problem is visible. The claim problem is paperwork, wording, and proof.
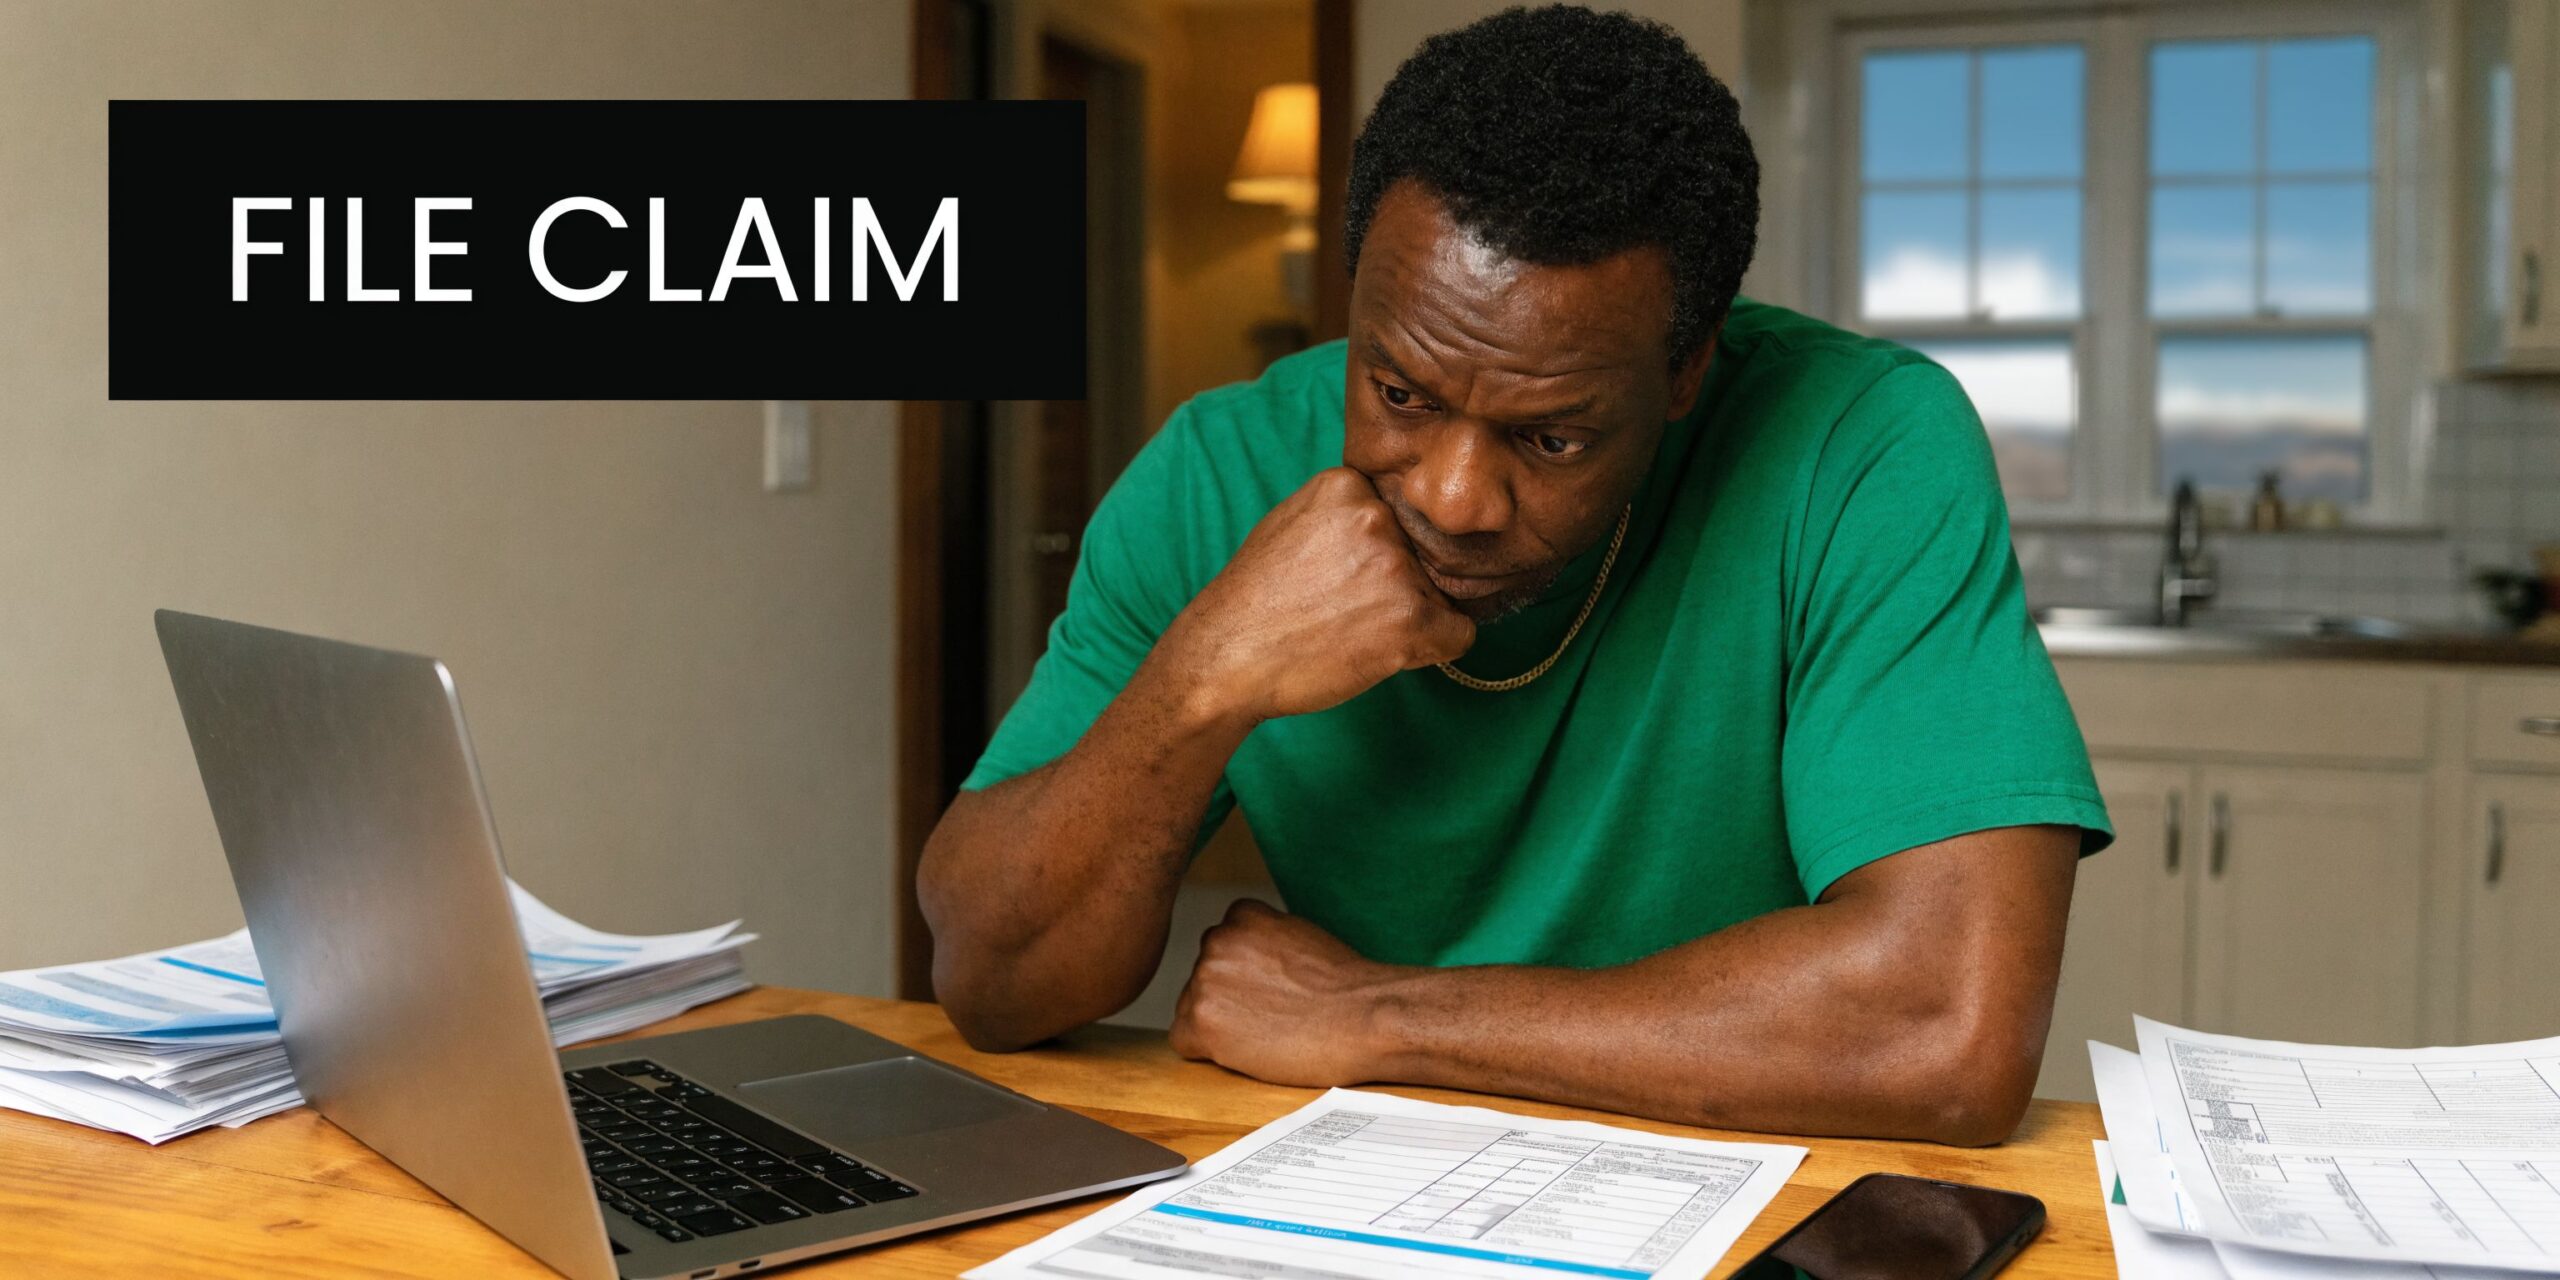
The most important idea is simple. Your insurance carrier wants to know whether the roof was damaged by a covered storm event or whether the roof is just old and worn out. That distinction decides a lot.
According to this roof damage insurance claim guide, 60% of denials stem from inadequate proof of “act of God” versus wear and tear. The same source says GAF/Owens Corning certified crews report 92% first-pass claim payouts, versus 65% for non-certified, by using forensic analysis like core sampling to prove storm-related damage.
What to say when you open the claim
Keep your language factual.
Good language sounds like this:
- “After the storm, we found water intrusion in the back bedroom.”
- “We observed missing shingles and visible damage that appears storm-related.”
- “We need an inspection to determine the full scope.”
Avoid guessing. Avoid saying the roof is old, probably worn out, or “needed replacement anyway.” Let the inspection determine cause and scope.
Understand the terms before you sign anything
Insurance paperwork gets less intimidating when you strip it down.
Three terms homeowners should know
| Term | Plain meaning |
|---|---|
| Deductible | The portion of the loss you’re responsible for paying under your policy |
| ACV | Actual Cash Value. Payment that factors in depreciation |
| RCV | Replacement Cost Value. Payment structure intended to cover replacement cost under policy terms |
If your carrier uses ACV language first, that doesn’t automatically mean the file is done. Some claims release payment in stages depending on policy terms and completed work.
The adjuster visit matters more than people think
A lot can be missed during a fast inspection. Soft hail bruising, seal strip failure, flashing separation, and hidden moisture don’t always jump out from a quick walkaround.
This is why homeowners often want a contractor present during the adjuster appointment. The point isn’t confrontation. The point is making sure the inspection is complete and the damage is properly identified.
For a closer look at that process, this page on the roof insurance claim process gives a practical breakdown homeowners can review before meeting the adjuster.
Build a claim file, not a pile of paper
A clean file helps when estimates come back low or parts of the claim are questioned.
Keep these together:
- Photos and video: Organized by exterior, attic, interior, and detached structures
- Inspection notes: Dates, findings, areas of concern
- Communication log: Who said what, and when
- Emergency receipts: Tarping, mitigation, temporary repairs
- Home inventory support: Photos of affected contents and records of damaged items
If interior damage extends to belongings, this practical guide to your house inventory for insurance is a useful way to think through documenting contents in a way carriers can follow.
What works: clear photos, a written timeline, and a contractor who can explain storm-caused damage in plain language.
What doesn’t: one dark attic photo, vague descriptions, and rushing to permanent repairs before the carrier documents the loss.
If the first estimate feels incomplete, don’t panic and don’t assume it’s final. Ask questions. Compare scope lines. Look for missing components like flashing, underlayment, ventilation items, or interior repairs tied to the leak path.
Choosing a Licensed Youngstown Roofing Contractor
Once the emergency is stabilized and the claim is moving, the next decision is the one that protects your house long after the storm is forgotten. Who is doing the work?
After a bad storm, trucks show up fast. Some are legitimate local contractors. Some are storm chasers working a neighborhood for a short window, collecting deposits, using vague scopes, and disappearing when callbacks start.
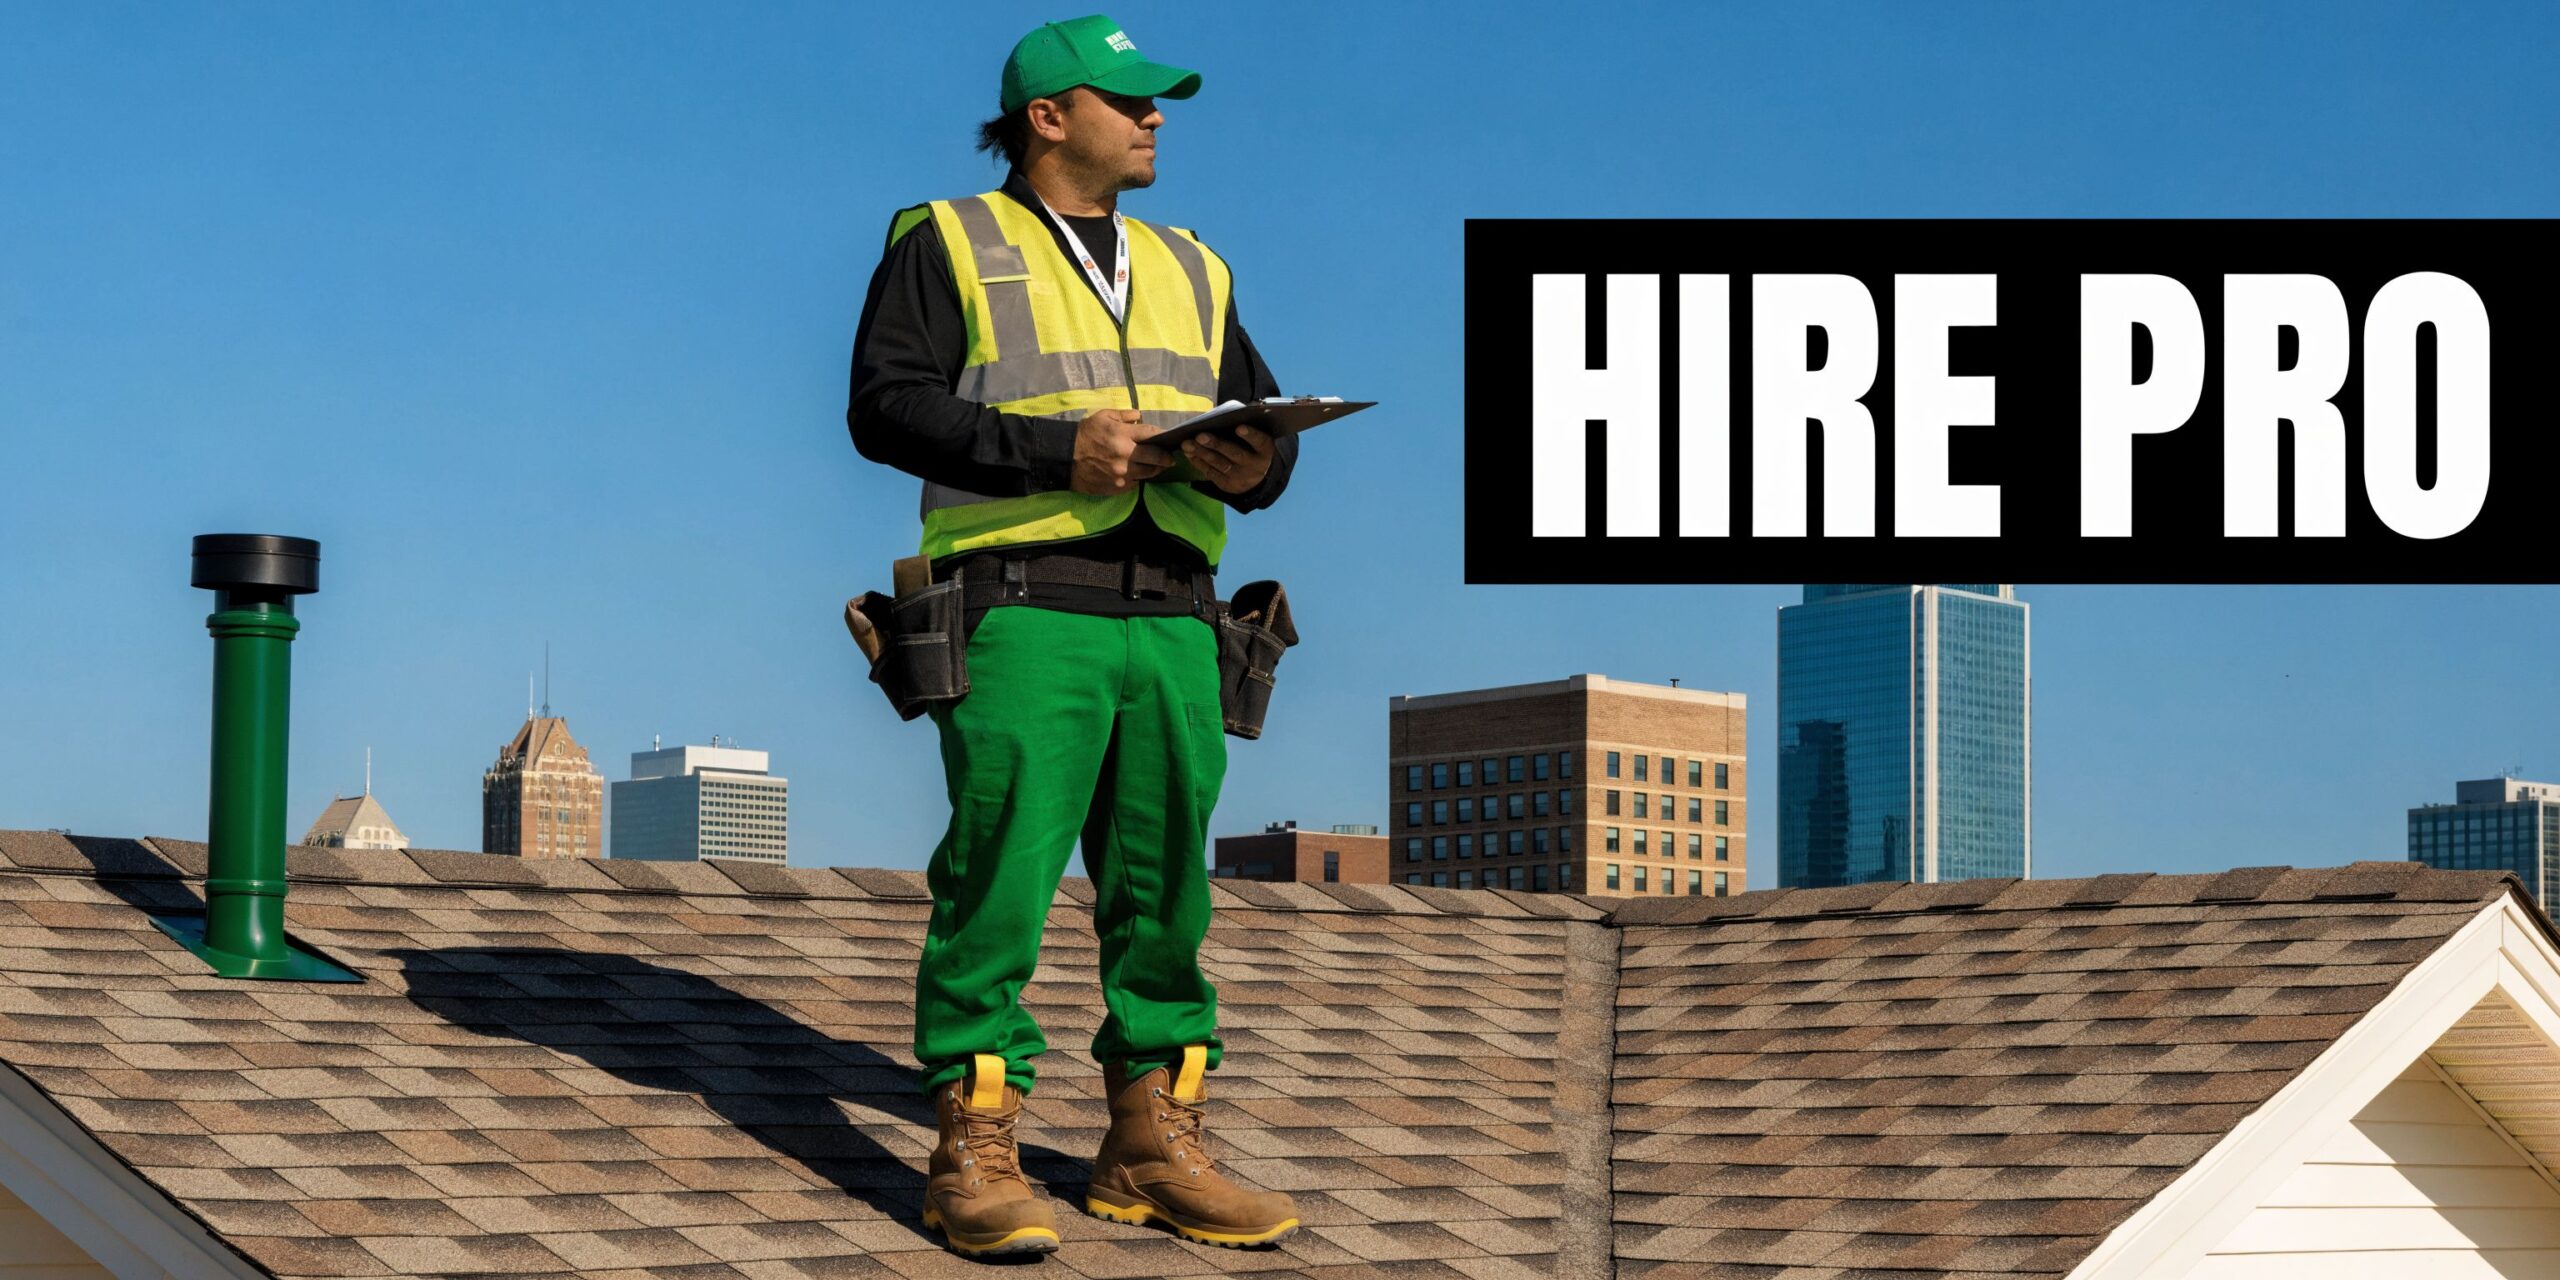
What a real contractor should provide
A professional roofing contractor should be able to show you, clearly and without pressure:
- Local business identity: A verifiable local presence, not just a temporary hotel room or a magnetic sign on a truck.
- Proof of insurance and licensing status: You need to know who is responsible if there’s property damage or a worker injury.
- A written scope of work: Not a handshake. Not a one-line total.
- Material details: Shingle line, underlayment type, flashing approach, ventilation plan, cleanup method.
- Claim coordination boundaries: They can document and discuss scope, but they shouldn’t promise things no policy supports.
One available local option is Penn Ohio Roofing & Siding Group, which states that it is licensed, bonded, insured, and available for emergency roofing service. That’s the kind of factual checklist you want from any contractor you consider.
Repair versus full replacement is not a sales trick
Experience demonstrates its value here. Some roofs can be repaired well. Some shouldn’t be patched because the patch itself becomes the next failure point.
According to this Youngstown roof repair guide, expert roofers use selective shingle replacement for minor issues but recommend full tear-off for roofs with over 25% damage, avoiding patchwork repairs that have a 40% failure rate within two years due to mismatched sealing and materials.
That trade-off matters.
A practical comparison
| Situation | Better fit |
|---|---|
| Small isolated wind damage | Targeted repair if surrounding materials are still sound |
| Broad hail impact across multiple slopes | Larger scope review, often beyond simple spot repair |
| Older roof with widespread storm hits | Full tear-off is often the more durable choice |
| Multiple prior patches | Replacement usually creates a cleaner long-term result |
Signs you should walk away
Not every bad contractor looks bad on day one. Some are smooth, fast, and very convincing.
Watch for these red flags:
- Pressure to sign immediately
- Vague promises about “covering your deductible”
- No detailed written estimate
- Refusal to explain materials
- No documentation of safety, insurance, or warranty terms
A contractor who can’t explain why a roof should be repaired instead of replaced probably shouldn’t be trusted to decide either one.
Good roofing work in Youngstown has to account for wind, ice, drainage, flashing details, and proper sealing around penetrations. The cheapest bid often leaves out the exact items that keep the next storm from opening the roof right back up.
The Repair Process What to Expect
Most homeowners feel better once they know what the workday will look like. Roofing is noisy, messy, and temporary. A professional crew keeps it controlled.
In Youngstown, storm damage roof repair costs typically range from $300 to $1,000 for small repairs and $7,000 to $15,000+ for full replacements, with repair timelines of 1 to 3 days for minor fixes and up to 2 weeks for complete replacements according to Youngstown storm repair cost and timeline data.
Before work starts
Materials are usually delivered first. Dump trailers or disposal containers may arrive. The crew should protect siding, landscaping, and access points as needed before tear-off begins.
Ask where vehicles will park, where materials will be staged, and whether attic access is needed. That avoids confusion on the first morning.
During the repair
The sequence depends on whether you’re doing a repair or a replacement.
For a repair, the crew usually isolates the damaged area, removes failed materials, checks the decking below, installs replacement components, then seals and blends the work as closely as possible.
For a replacement, expect a more involved process:
- Removal of old roofing materials
- Inspection of exposed roof decking
- Replacement of damaged wood if needed
- Installation of underlayment and flashing
- Shingle or metal installation
- Vent and penetration detailing
- Cleanup and magnetic sweep
What the homeowner will notice
You’ll hear footsteps, compressors, scraping, nail guns, and debris moving into disposal containers. Pets usually need a quieter room or a place off-site for the day. Cars should be moved away from the work zone.
A good crew also keeps the site from turning into chaos. That means debris management, consistent communication, and end-of-day cleanup.
The final walkthrough
Don’t skip the final inspection with the project manager or lead roofer.
Check:
- Flashing lines around chimneys, walls, and vents
- Drip edge and gutter condition
- Ventilation components
- Yard cleanup and nail sweep
- Any interior areas affected by the leak
Final check: If something looks rushed from the ground, ask about it before the crew leaves. It’s easier to resolve questions while the project is still active.
The repair phase should feel organized, not mysterious. If no one can tell you what was replaced and why, that’s a problem.
Beyond the Repair Proactive Roof Protection
A lot of homeowners treat roofing as a break-fix job. If it leaks, call someone. If it doesn’t, ignore it. In the Mahoning Valley, that mindset gets expensive.
Youngstown roofs deal with spring hail, hard wind, heavy rain, and winter ice. Routine maintenance is one of the few things a homeowner can control before the next storm tests the house.
According to this discussion of a content gap in Youngstown roof prevention advice, homeowners rarely find practical local guidance showing how routine maintenance can reduce storm vulnerability by 30% to 40%. That’s exactly why prevention deserves more attention.
Seasonal habits that matter here
Fall preparation
Ice problems in winter often start in fall. Gutters clog, drainage slows, and water backs up near the roof edge when freezing weather arrives.
Focus on:
- Clearing gutters and downspouts
- Checking flashing at chimneys and wall lines
- Looking for loose or lifted shingles before freeze-thaw cycles begin
Spring storm prep
Hail and wind don’t give much notice. A spring inspection can catch weak seal lines, exposed fasteners, or worn areas before they become emergency calls.
Walk the property and look for:
- Shingle tabs that appear raised
- Granules collecting at downspouts
- Sagging gutter runs
- Tree limbs hanging over roof sections
Upgrades worth considering after damage
A storm repair can also be a good time to improve weak points. That doesn’t always mean replacing the entire roof. Sometimes it means better underlayment, improved flashing details, or more durable shingle options if your existing roof system allows for them.
What works is a targeted upgrade tied to a known vulnerability. What doesn’t work is paying for cosmetic extras while leaving drainage, ventilation, or flashing issues unresolved.
Roofs usually fail at details first. Valleys, vents, walls, chimneys, and eaves cause more trouble than the field shingles people notice from the street.
The best long-term protection is boring stuff done consistently. Clean drainage. Periodic inspections. Fast response to small damage. That’s how you keep one storm from turning into a chain of repairs.
Frequently Asked Questions About Storm Damage Repair
Should I wait a few weeks and see if the leak comes back?
No. Waiting usually makes the scope worse. Water can move far from the entry point, soak insulation, stain ceilings, and damage wood before the leak becomes obvious again.
What if my insurance estimate seems too low?
Compare the line items, not just the total. Ask whether flashing, underlayment, ventilation components, decking repairs, and interior damage are included where appropriate. If the scope is incomplete, ask for clarification and supporting documentation.
Can a roof be repaired instead of replaced?
Sometimes yes. It depends on the age of the roof, how much of it was affected, whether matching materials are available, and whether the repair will hold properly. A small isolated problem is different from broad storm damage across multiple sections.
Do I need to be home during the work?
It helps, especially at the start and finish. Someone should be available for access questions, final review, and any decisions that come up if hidden damage is found after tear-off.
Is storm damage always obvious from the ground?
No. Some of the most important storm damage shows up as lifted shingles, broken seals, flashing movement, or hidden moisture. That’s why a proper inspection matters.
What should I keep after the claim starts?
Keep every photo, receipt, invoice, email, and inspection note until the work is complete and the claim is fully resolved. Don’t rely on memory when paperwork is involved.
If your home took a hit and you need a calm, local next step, contact Penn Ohio Roofing & Siding Group. They handle residential and commercial roofing, emergency response, and storm-related repair questions, and you can start with a straightforward inspection before making bigger decisions.