The best way to get your vinyl siding looking new again really comes down to how much dirt you're dealing with. If you've just got a few stubborn spots, a gentle hand-washing is often all you need. But for a full, top-to-bottom refresh, a low-pressure wash is the way to go.
When you pair either method with the right cleaning solution, you can bring back that fresh-from-the-factory look without causing any damage.
Giving Your Home's Siding a Fresh Start
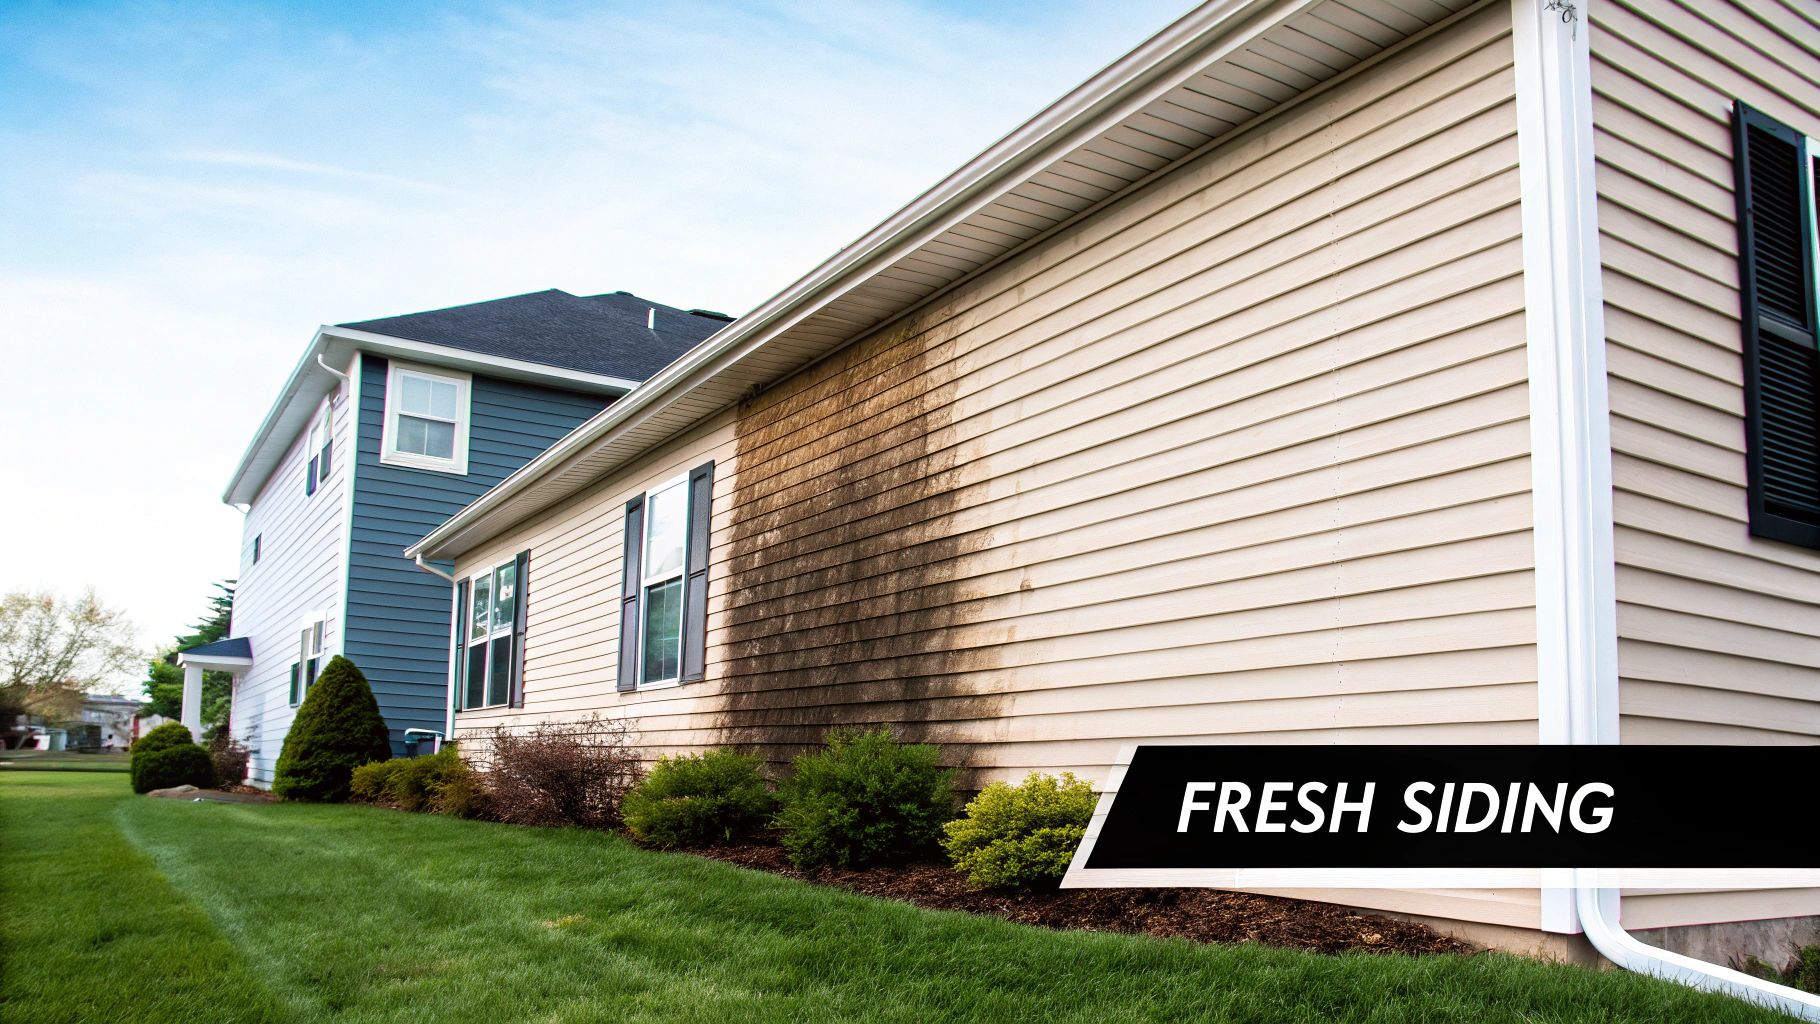
Let's be real—life happens. Over the seasons, a layer of grime, mildew, and general dirt can settle on your home, making it look tired and neglected. Environmental buildup is just a fact of life, and it can really dull your home’s color and hurt its curb appeal.
The good news? Vinyl siding is incredibly resilient and pretty easy to maintain. You definitely don't have to live with a dingy exterior. With the right technique and a little bit of elbow grease, you can restore its original shine and protect your investment for years to come.
This guide will walk you through two of the most effective and proven approaches to get the job done right.
The Two Core Methods for Cleaning Vinyl Siding
You've got two main options, and the one you choose depends on the scope of the job.
- Gentle Hand-Washing: This is my go-to for targeted cleanups. Think of it as spot treatment for specific areas with dirt, pollen buildup, or mildew. The best part is you don't need a lot of specialized equipment.
- Efficient Pressure Washing: When the entire house needs a deep clean, this is your best bet. It’s perfect for quickly stripping away widespread grime and getting into all the nooks and crannies.
The first step is always to take a good look at your siding. Is it just a few problem areas, or does the whole house need attention? Figuring that out will tell you whether a targeted scrub or a full-power rinse is the right call.
Deciding between a hands-on approach and a pressure washer can be tough. This quick comparison table breaks down the pros and cons of each to help you choose the best fit for your home and comfort level.
Vinyl Siding Cleaning Methods at a Glance
| Cleaning Method | Best For | Key Benefit | Potential Risk |
|---|---|---|---|
| Hand-Washing | Small, isolated stains, mildew spots, or light surface dirt. | Total control over pressure; safe for older or delicate siding. | Time-consuming and labor-intensive for large areas. |
| Pressure Washing | Cleaning the entire house; removing widespread grime and algae. | Fast, efficient, and requires less physical effort. | Can force water behind panels or cause damage if pressure is too high. |
By understanding the key differences, you can tackle this project with confidence and get fantastic results.
Cleaning your siding is one of the most impactful and affordable ways to give your home exterior a fresh new look. Let’s dive into the specifics so you can achieve that professional-level clean safely and effectively.
Assembling Your Siding Cleaning Toolkit
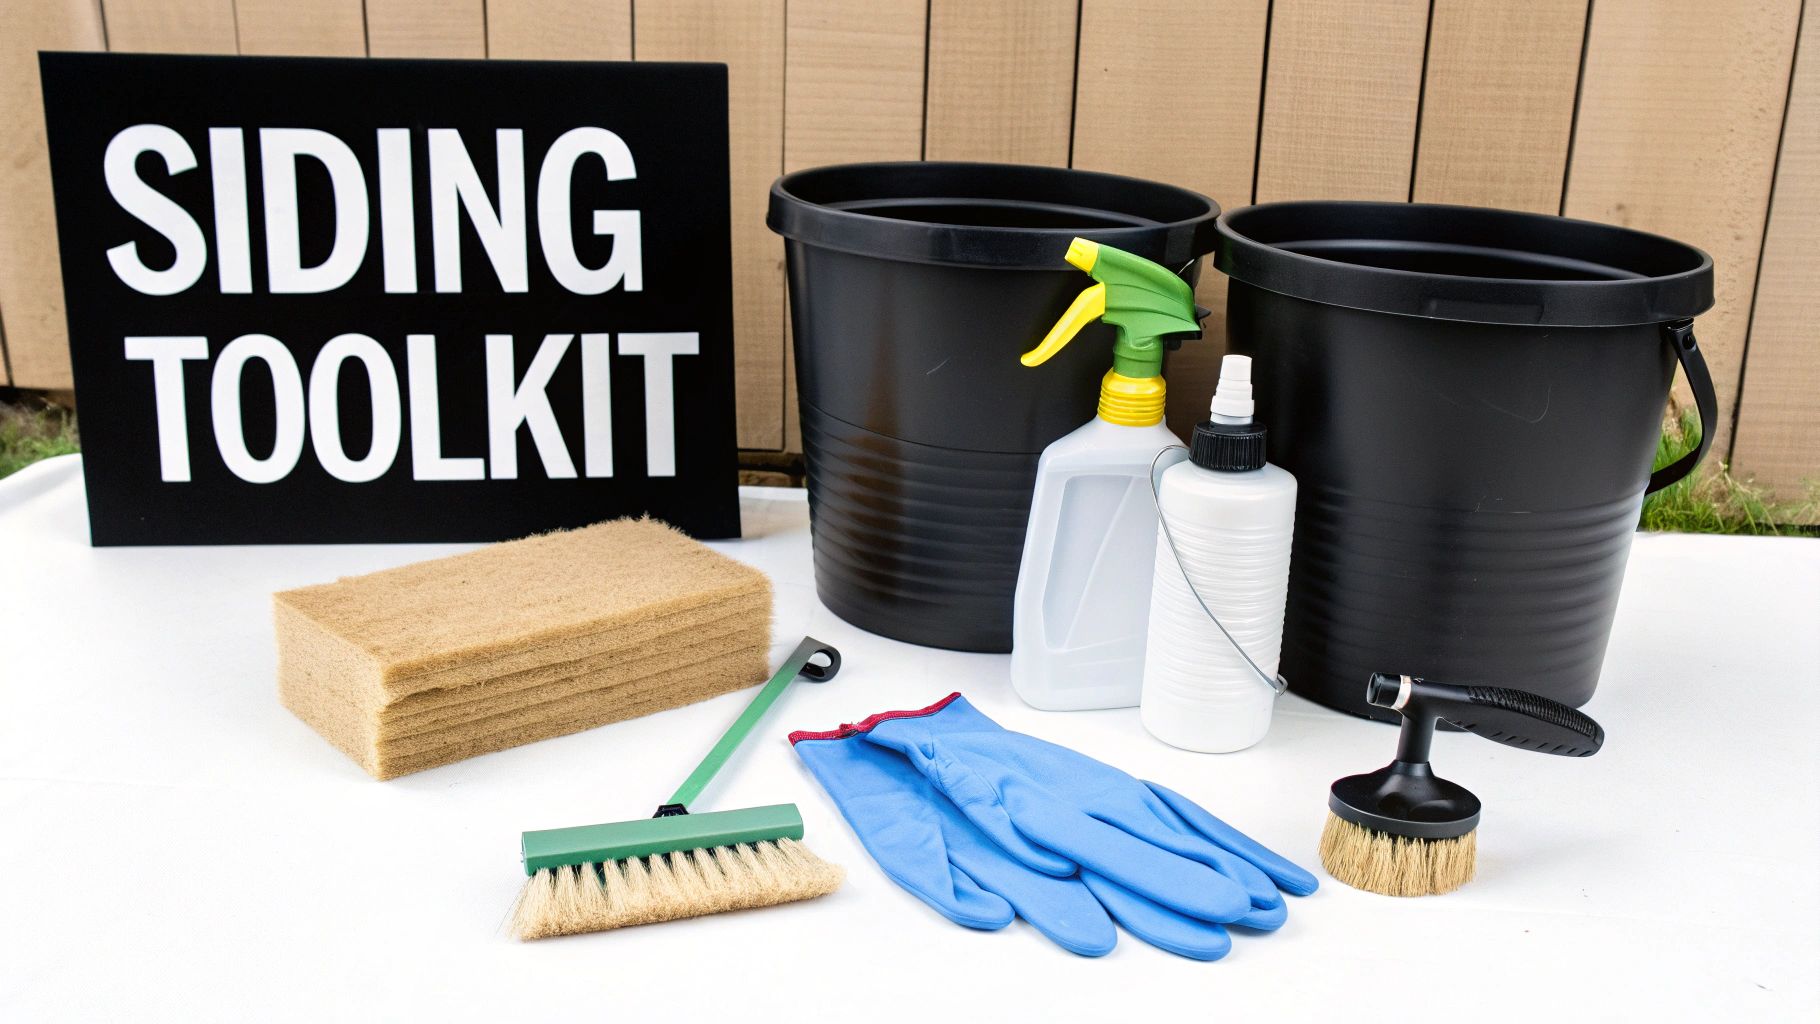
Before you even think about mixing up a cleaning solution, let's talk gear. Nothing kills the momentum of a weekend project faster than having to stop everything to go find a tool you forgot. A little prep work here goes a long way.
The best way to clean vinyl siding, especially for smaller jobs or problem spots, is often with good old-fashioned elbow grease. For this, your most important tool is a long-handled, soft-bristle brush. I can't stress the "soft-bristle" part enough—anything stiffer risks leaving permanent scratches on the vinyl.
You'll also need a couple of basic five-gallon buckets (one for your cleaner, one for rinsing) and a garden hose with a decent spray nozzle. It’s a simple setup, but it’s incredibly effective.
Gearing Up for a Pressure Wash
Now, if you're cleaning the entire house, a pressure washer is going to be your best friend. But more power isn't always better. You're cleaning vinyl, not stripping a battleship. A machine with a rating between 1,300 and 1,600 PSI is the sweet spot for residential use.
The single most important component for safely pressure washing vinyl is the nozzle tip. Using the wrong one can permanently damage your siding in seconds.
To avoid disaster, you need a tip that fans the water out, reducing its force. Stick with these two:
- 25-Degree Tip (Green): Think of this as your workhorse. It's perfect for most of the general cleaning and rinsing you'll be doing.
- 40-Degree Tip (White): This is the gentlest option. I use this one for applying soap solutions or for cleaning more delicate areas around windows and trim.
Whatever you do, never use a zero-degree (red) or 15-degree (yellow) tip. Their streams are far too concentrated and can cut right through vinyl siding. While these tools are ideal for vinyl, the process is different for other materials; you can learn more about how to clean aluminum siding to see the contrast.
Finally, no matter which method you choose, safety is non-negotiable. Grab a pair of protective glasses to keep splashes out of your eyes and some non-slip gloves to protect your hands and improve your grip.
Choosing the Right Cleaning Solution for Your Siding
The secret to getting your siding looking brand new again isn't about scrubbing harder—it's about using the right cleaning solution. It's easy to assume a stronger chemical means a better clean, but going that route can lead to discoloration, nasty streaks, or even permanent damage. The best approach starts with a solution that's tough on grime but gentle on your home's exterior.
For most routine cleanups, you don't need to look any further than your own pantry. A simple homemade mix of 70% water and 30% white vinegar is my go-to recommendation. It's cheap, eco-friendly, and surprisingly effective at cutting through the light dirt and mildew that builds up over the year.
If you notice stubborn mineral deposits from sprinkler systems or hard water, you’ll need a different approach. You can find some great advice in these DIY methods for removing hard water spots.
When a DIY Solution Isn't Enough
Sometimes, vinegar and water just don't have enough muscle, especially if you're dealing with stubborn mold or caked-on gunk. When that happens, you can easily upgrade your homemade cleaner by adding a bit of mild soap.
A couple of tablespoons of standard dish soap per gallon of your vinegar-water mix creates just enough suds to help lift away the tough stuff without being harsh on the vinyl.
Key Takeaway: Steer clear of any cleaners that contain organic solvents, undiluted chlorine bleach, or liquid grease removers. These are far too aggressive and can damage the vinyl's surface, causing it to fade or become brittle over time.
For a complete rundown of what to use (and what to avoid), our guide on cleaning solutions for vinyl siding has more recipes and specific tips for different types of stains.
Selecting a Commercial Siding Cleaner
If you'd rather just grab a bottle and go, there are plenty of great commercial siding cleaners out there. These products are formulated specifically for the job, so you know they're safe. My advice? Look for options that are biodegradable and clearly state they're safe for vinyl on the label.
Consumer tests have shown that both specialized commercial products and simple homemade solutions get the job done safely and effectively. For example, Bob Vila's comprehensive review gave Zep House & Siding Pressure Wash top marks, with an ease-of-use rating of 5/5 and an effectiveness score of 4.5/5. It’s a solid choice if you're looking for a reliable, ready-to-use option.
Nailing the Right Cleaning Technique
Once you have your gear and cleaning solution ready, it's all about the execution. The best way to clean your vinyl siding, whether you're using a pressure washer or just good old-fashioned elbow grease, comes down to a methodical approach. Each method has its own playbook for getting that perfect, streak-free finish.
What you're cleaning off the siding really dictates the best solution to use. This handy guide breaks it down.
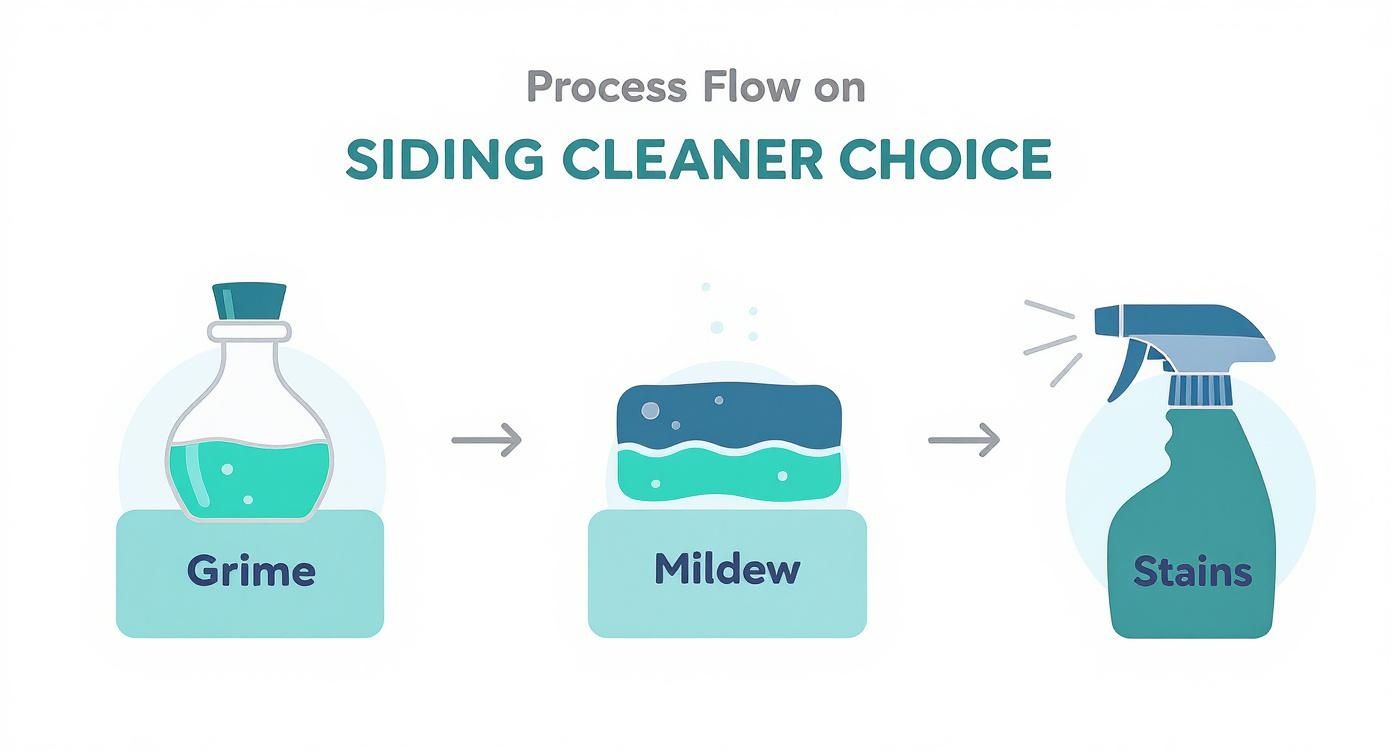
This visual is a great starting point for matching the cleaner to the grime, whether you're dealing with everyday dirt or stubborn mildew.
The Professional Pressure Washing Method
A pressure washer can make short work of a big job, but your technique is what makes or breaks the results. Most people instinctively start at the top and work down. Don't do that. When you're applying the cleaner, you actually want to do the exact opposite.
Start at the bottom of a manageable section and work your way up, applying the cleaning solution with steady, overlapping strokes. This simple trick prevents the cleaner from running down dry, dirty siding and creating those ugly streaks you’re trying to avoid. Let the solution sit and do its job for about 5-10 minutes, but be sure it doesn't dry on the surface.
Now, for the rinse, you flip the script. Start at the top and rinse your way down. This lets gravity work for you, pulling all the loosened dirt and soap away cleanly. It also keeps water from being blasted upwards and getting trapped behind the siding panels, which can lead to moisture problems down the road.
Pro Tip: Keep the nozzle moving at all times. Maintain a consistent distance from the siding and never linger on one spot. Pausing for even a few seconds is a classic mistake that can etch or even warp the vinyl, even with the pressure set correctly.
This bottom-up application and top-down rinse is the go-to method for pros. Stick to a pressure setting between 1,300 and 1,600 PSI and use a wider fan tip (a 25- or 40-degree nozzle is perfect) to avoid damaging the siding. It's a proven process that you can learn more about in these professional pressure washing tips.
Efficient Hand-Washing Techniques
If you’re scrubbing by hand, the name of the game is control. The trick is to break the job down into small, manageable sections—think about a 10×10 foot area at a time. Working this way ensures your soap and water won't dry on the siding before you get a chance to rinse, which is what causes that dull, chalky residue.
Apply your cleaning solution to one section with a soft-bristle brush, using gentle but firm circular motions to lift the dirt and grime. As soon as you're done scrubbing that patch, give it a complete rinse with your garden hose before you even think about moving on.
A couple of things to keep in mind:
- Overlap your work. Just like when you're painting a wall, overlap the edges of each section slightly. This ensures you get even coverage and don't end up with unintentional "grid lines" on your house.
- Follow the grain. Scrub along the horizontal lines of the siding panels. This helps the bristles get into the grooves and texture of the vinyl more effectively.
Taking this systematic approach might feel a little slow, but it guarantees a consistent, uniform clean across your entire home. The end result can look every bit as good as a professional pressure wash.
A Few Pro Pointers for a Flawless Finish
Alright, you've got the basic technique down. But let's talk about the little details that can make a huge difference, taking your results from "pretty good" to "looks like a pro did it." These are the things I've learned over the years that keep the job safe and the results spotless.
First things first, prep your workspace. Before you even mix your cleaning solution, take a few minutes to protect the surrounding area. I always use lightweight plastic sheeting or a tarp to cover any delicate plants, flower beds, and shrubs nearby. This keeps any cleaning solution runoff from harming your landscaping.
Next, and this is crucial, seal up anything electrical. Grab some painter's tape and plastic to cover all your outdoor outlets, light fixtures, and vents. Water and electricity are a bad combination, and this simple precaution is non-negotiable for safety.
It's All in the Timing and Technique
Believe it or not, the weather has a massive impact on your final result. I've found the absolute best time to clean vinyl siding is on a cool, overcast day. If you try to tackle this in direct, hot sunlight, your cleaning solution will dry up almost instantly, leaving behind a streaky, soapy residue before you can even think about rinsing.
Here's the most important tip I can give you: Never, ever spray water directly upward under the siding panels. Forcing water behind the vinyl is a recipe for disaster. It traps moisture against your home's structure, which can lead to serious mold, mildew, and rot down the line. Always keep your spray at eye level or angled slightly downward.
Keeping these pointers in mind will do more than just give you a streak-free shine. It'll protect your home from accidental damage and ensure the job is done right.
Answering Your Top Vinyl Siding Questions
Even with the best instructions, you probably still have a few questions rolling around in your head. It’s completely normal. Getting these details ironed out beforehand is what separates a smooth weekend project from a frustrating one. Let’s clear up some of the most common things homeowners ask about cleaning their siding.
How Often Should I Wash My Siding?
This is easily the number one question I get. For most homes, a good rule of thumb is to give your vinyl siding a thorough cleaning once every one to two years. That's usually enough to handle the typical buildup of dust, pollen, and general grime before it becomes a real eyesore.
Of course, your local environment is a huge factor. If you live in a damp, humid area with lots of shady trees, you're in a prime spot for mildew. Likewise, if your house is near a busy road, it'll get dirty much faster. In those cases, you might want to bump your cleaning schedule up to once a year to stay ahead of things.
What’s the Deal with Bleach and Mold?
Seeing green or black stains makes most people immediately think of bleach. But hold on—reaching for a bottle of household bleach is a move you might regret. It’s a harsh chemical that can strip the protective finish from your siding, leading to discoloration and damage over time. Plus, the runoff is terrible for your lawn, garden, and any nearby plants.
If you're dealing with stubborn green or black streaks, there's a right way to handle it. You can find specific, safe methods in our guide on how to clean mold off vinyl siding. It’s always smarter to start with a siding-specific cleaner or a simple vinegar solution.
Can a Pressure Washer Actually Damage Siding?
Absolutely. A pressure washer is a fantastic tool, but in the wrong hands, it can do more harm than good.
The biggest mistake homeowners make with a pressure washer is using too much force. A narrow, high-pressure stream can easily etch, crack, or even punch a hole right through a vinyl panel, turning a simple cleaning job into a costly repair.
The key is to use the right technique. Always start on the lowest pressure setting and use a wide fan tip—a 25-degree (green) or 40-degree (white) nozzle is perfect for this job. Keep the wand moving constantly and always maintain a safe distance, at least 12 inches, from the surface of the siding.
Ready to ensure your entire home exterior is protected and looking its best? The team at Penn Ohio has the expertise to handle all your siding and roofing needs. Visit us at https://pennohiorc.com for a free estimate today.