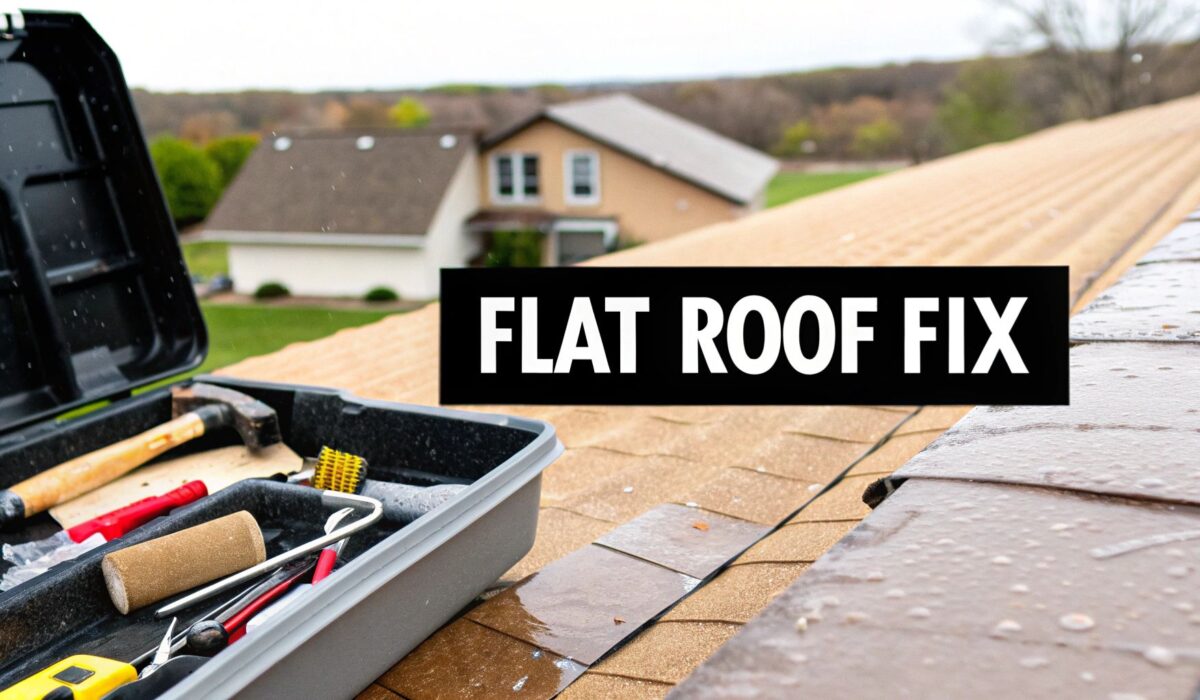
That sinking feeling when you spot a dark, spreading stain on your ceiling is unmistakable. Before you even think about climbing a ladder to find the source of the leak, the first 30 minutes are all about damage control and safety inside your home.
What you do right now can be the difference between a small cleanup and a massive, expensive restoration project.
What to Do When You First Spot a Leak
The moment you see that discolored patch, your priority shifts. Forget about the roof for a moment—the immediate battle is happening inside your house. Acting fast will protect your drywall, flooring, and personal belongings from extensive harm. This is your emergency response plan.
Your goal is simple: manage the water and make the area safe. Whatever you do, resist the urge to grab a ladder and head outside, especially if it’s still storming.
First, Contain the Interior Water Damage
Your first move is always to protect your property from the water that's already gotten in. Water is relentless and can quickly saturate everything it touches.
- Move Your Stuff: Get furniture, electronics, rugs, and anything else of value out from under the leak. Clear the area completely.
- Catch the Drip: Place a large bucket or waterproof bin directly under the drip. A great little trick to stop the annoying drip-drip-drip sound and prevent splashing is to put an old towel in the bottom of the bucket.
- Deal with Ceiling Bulges: If the ceiling is sagging or bulging, that's a sign water is pooling and putting a lot of weight on the drywall. This is dangerous. Put your bucket underneath the bulge and carefully poke a small hole in the very center with a screwdriver to let the water drain in a controlled way.
Don't underestimate the weight of trapped water. A 10×10 foot section of wet drywall can weigh over 450 pounds. Relieving that pressure isn't just about preventing more water damage; it's a critical safety step to avoid a sudden ceiling collapse.
Next, Run Essential Safety Checks
With the immediate water threat managed, turn your attention to electrical hazards. Water and electricity are a lethal mix, and this step is non-negotiable.
Take a look around the leak. Are there any light fixtures, ceiling fans, or outlets nearby? If water is even close to anything electrical, go straight to your breaker box and shut off the power to that room or circuit. If you have any doubt about which breaker it is, play it safe and shut off the main power. It’s a small inconvenience that could prevent a fire or serious injury. Never take chances with water near your wiring.
Finding the True Source of a Flat Roof Leak
So you've spotted a drip coming from your ceiling. That's the easy part. Actually pinpointing where that water is getting in on a flat roof? That’s a whole different ball game. Unlike a pitched roof where gravity gives you a pretty straight line to follow, water on a flat surface is a sneaky traveler. It can meander sideways, finding the tiniest, almost invisible channels in the roofing material before it decides to drop into your living space.
This means the wet spot on your ceiling is almost never directly below the real problem on the roof. Finding the source is genuine detective work. It takes patience and a methodical eye to trace that water's path back to its entry point. If you rush it, you’ll end up patching the wrong spot and dealing with the same drip a few weeks later.
Before you even think about climbing a ladder, there are a few critical first steps. This flow chart gives you a quick visual on what to do the moment you spot a leak.
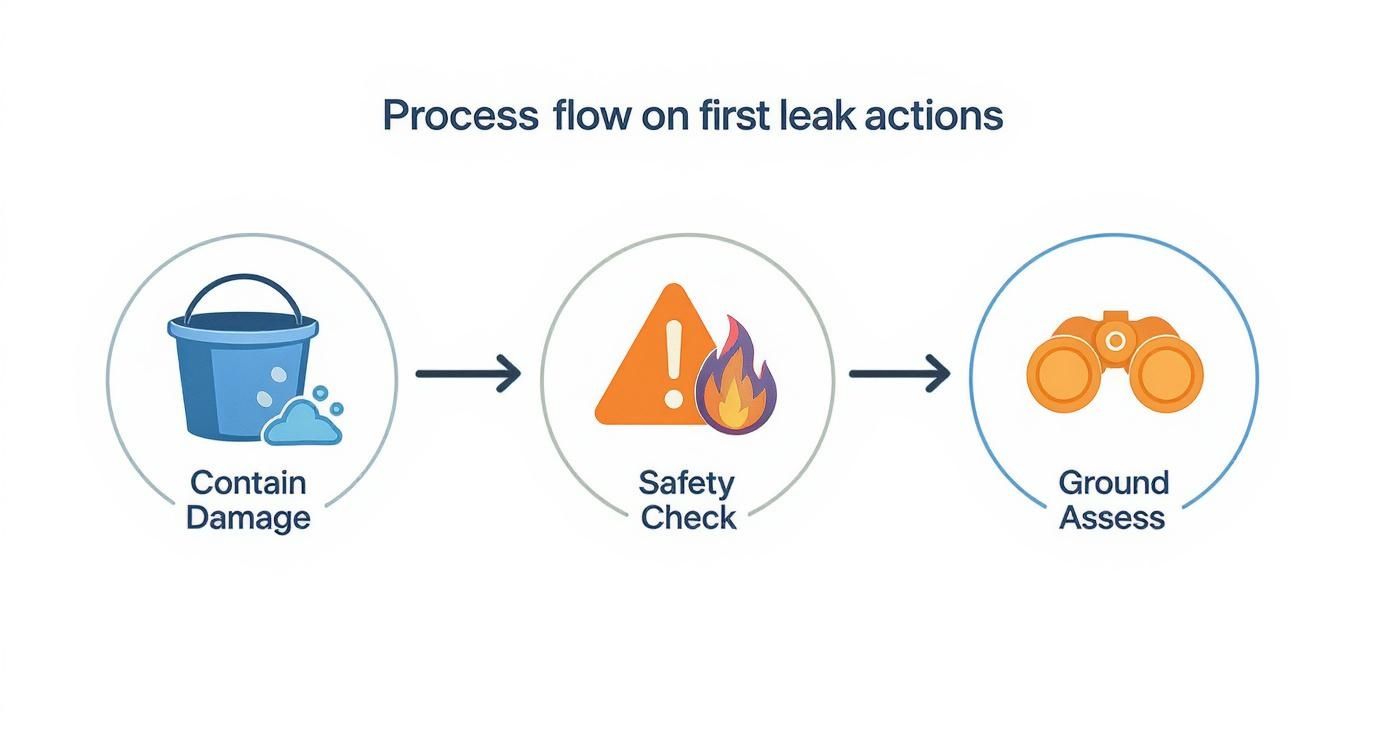
As you can see, containing the damage inside and making sure things are safe comes long before any rooftop inspection.
The Challenge of Ponding Water
One of the biggest enemies of a flat roof is ponding water—that's any water still sitting on the roof more than 48 hours after it stops raining. A flat roof's low slope (usually less than 10 degrees) is its greatest weakness. Water just doesn't run off quickly, giving it plenty of time to work its way through any tiny imperfection.
The roofing membrane is designed to be a perfect barrier, but over time, that constant exposure to standing water takes a toll. Every pipe, vent, or HVAC unit that pokes through the roof creates a potential failure point, and if not sealed perfectly, it’s just an invitation for a leak.
Start Your Search from the Inside
Your hunt for the leak actually starts inside the building. Grab a tape measure and note the distance of the water stain from the two closest walls. Take those measurements with you up to the roof. This gives you a starting point, a general search area, but don't assume you've found the bullseye just yet.
Remember, that water could have traveled several feet in any direction from where it finally came through the ceiling. This initial measurement just gets you in the right neighborhood.
A Systematic Roof Inspection
With a general area in mind, it’s time to get on the roof and perform a detailed visual inspection. Over 90% of flat roof leaks come from a handful of common failure points, so start your search there.
Look for the most obvious culprits first:
- Seams: Check where sections of roofing material overlap. Are they peeling, cracking, or pulling apart?
- Flashing: This is a big one. Inspect the flashing around every single thing that penetrates the roof—vents, pipes, skylights, and especially HVAC units. It's a notorious weak spot.
- Punctures or Blisters: Scan the membrane for small holes, tears, or bubbles. These can be caused by anything from falling tree limbs to foot traffic or even moisture trapped underneath.
- Drains and Scuppers: Make sure all your drainage points are completely clear. A handful of leaves can clog a drain, and a clogged drain is the number one cause of ponding water.
To help you out, here’s a quick reference table for what you might see on your roof and what it could mean.
Common Flat Roof Leak Sources and Visual Cues
| Potential Leak Source | What to Look For | Common Location |
|---|---|---|
| Seam Failure | Gaps, peeling, or cracking along the edges where two pieces of roofing meet. | Lengthwise across the roof where membrane rolls overlap. |
| Damaged Flashing | Cracked caulk, pulled-away metal or membrane, rust, or gaps. | Around chimneys, vents, pipes, skylights, and along walls. |
| Punctures/Tears | Obvious holes, slices, or deep gouges in the membrane. | High-traffic areas or under overhanging tree branches. |
| Blisters | Raised, bubble-like areas on the roof surface. | Can appear anywhere, often in sun-exposed areas. |
| Clogged Drains | Piles of leaves, dirt, or other debris blocking water flow. | At the roof's lowest points or where scuppers exit. |
| Membrane Deterioration | A pattern of cracks resembling alligator skin ("alligatoring"), brittleness. | Typically in older roofs with prolonged sun exposure. |
This table should give you a solid starting point for your visual check. Most of the time, the problem will be one of these common issues.
If a careful visual inspection doesn't turn up an obvious suspect, it's time for a water test. You'll need a garden hose and a helper inside on a cell phone. Start soaking the area downslope from where you suspect the leak is. Work in small sections, letting the water run for 15-20 minutes in one spot before moving on.
The moment your helper inside sees a drip, you've found your entry point. Mark that spot with chalk immediately so you don't lose it. For a more in-depth guide to tracking down elusive leaks, check out our tips on how to find stubborn roof leaks. Taking the time to do this right is the most important step in fixing a flat roof leak for good.
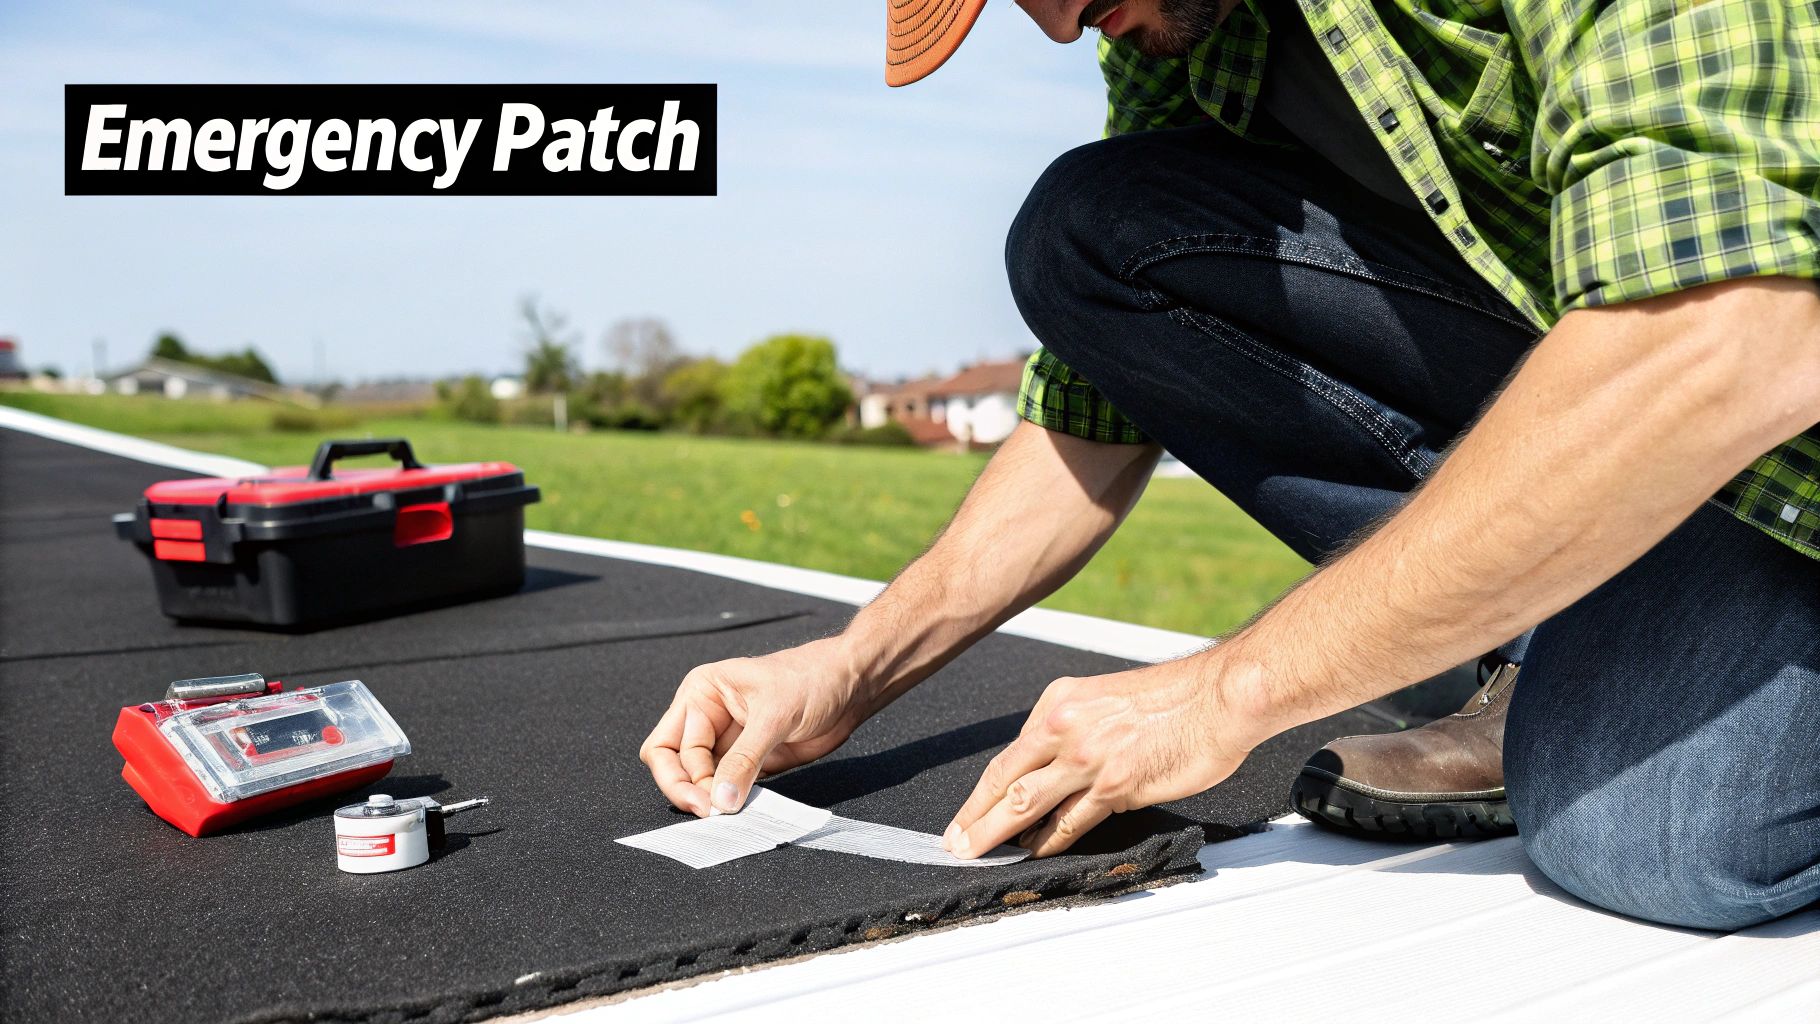
Emergency Patches to Stop Water Damage Fast
Nothing gets your attention like a water stain growing on the ceiling during a downpour. When that happens, you don't have time to wait for the storm to pass and get a roofer on the schedule. The goal is simple: stop the water now before it causes serious, expensive damage inside your home.
This is where an emergency patch comes in. Think of it as first aid for your roof. A well-applied temporary fix can create a surprisingly durable seal against the weather, often lasting for weeks or even months. It buys you the breathing room to plan a permanent repair without the constant stress of an active leak. The trick is using the right stuff and applying it correctly so you don't inadvertently make things worse.
Your Essential Emergency Repair Toolkit
You don’t need a professional roofer’s entire truck, but keeping a small, dedicated emergency kit can be a real lifesaver. Just a few key items will let you handle most temporary patch jobs effectively.
Here’s what I recommend having on hand:
- Roofing Cement or Mastic: This is the black, tar-like goo that’s perfect for sealing up small holes, cracks, and seams that have started to pull apart. Critically, you want a product rated for wet-surface application so you can use it even if it's still raining.
- Peel-and-Stick Patches: Think of these as giant, heavy-duty stickers with an incredibly strong adhesive. They are fantastic for quickly covering larger tears or sections with widespread cracking.
- Reinforcing Fabric or Mesh: This is a roll of fiberglass or polyester fabric. You embed it into wet roofing cement to give the patch some serious strength and structure, especially over bigger gaps.
- Utility Knife and Trowel: For cutting the patch material and spreading the cement. A cheap plastic trowel works just fine for this.
- Stiff-Bristled Brush and Rags: You absolutely must clean the area for the patch to stick. This is non-negotiable.
Applying a Temporary Patch with Roofing Cement
For smaller punctures or a seam that’s starting to fail, roofing cement paired with reinforcing fabric is a tough, reliable temporary fix. The process is pretty simple, but success hinges on good prep work.
First, get the area around the leak as clean as you can. Use your stiff brush to get rid of all the dirt, gravel, and any loose roofing material. Even if the surface is damp, you need to wipe it down and remove any grime that could sabotage the bond.
Next, slop on a thick, even layer of roofing cement with your trowel. Make sure you go well past the damaged area—extend the cement at least two inches beyond the edges of the crack or hole. While it's still wet, press a piece of the reinforcing fabric right into it. Smooth it out to get rid of any air bubbles. To finish, spread a second, thinner layer of cement over the top of the fabric, feathering the edges so you get a smooth, tapered transition.
Pro Tip: Think of this process like doing a fiberglass repair on a boat. The roofing cement is your resin, and the fabric is your reinforcement. The two working together create a patch that's far stronger and more flexible than just a blob of cement by itself, helping it withstand the roof's expansion and contraction.
Using Peel-and-Stick Patches for Larger Damage
If you’re up against a more significant tear or a section of "alligatored" membrane (where the surface is covered in a network of fine cracks), a peel-and-stick patch is usually the faster and less messy way to go.
The prep work is exactly the same: clean, clean, clean. A totally dry surface is the dream, but most modern patches are designed with aggressive adhesives that will grab onto a damp surface as long as you’ve wiped it down well.
Cut your patch to size, making sure it will overlap the damaged spot by at least three to four inches on all sides. More is better. Then, peel off the backing and carefully lay it down, starting from one side and smoothing it out to avoid trapping air. Use a small hand roller or even the heel of your hand to apply a lot of pressure across the entire patch, paying extra attention to the edges to get a perfect, watertight seal.
While these patches are incredibly effective for a quick fix, always remember they aren't a permanent solution. Sometimes, a leak is a red flag for a bigger problem, which is why it's so important to know when you need to call in an expert for emergency roof repair services.
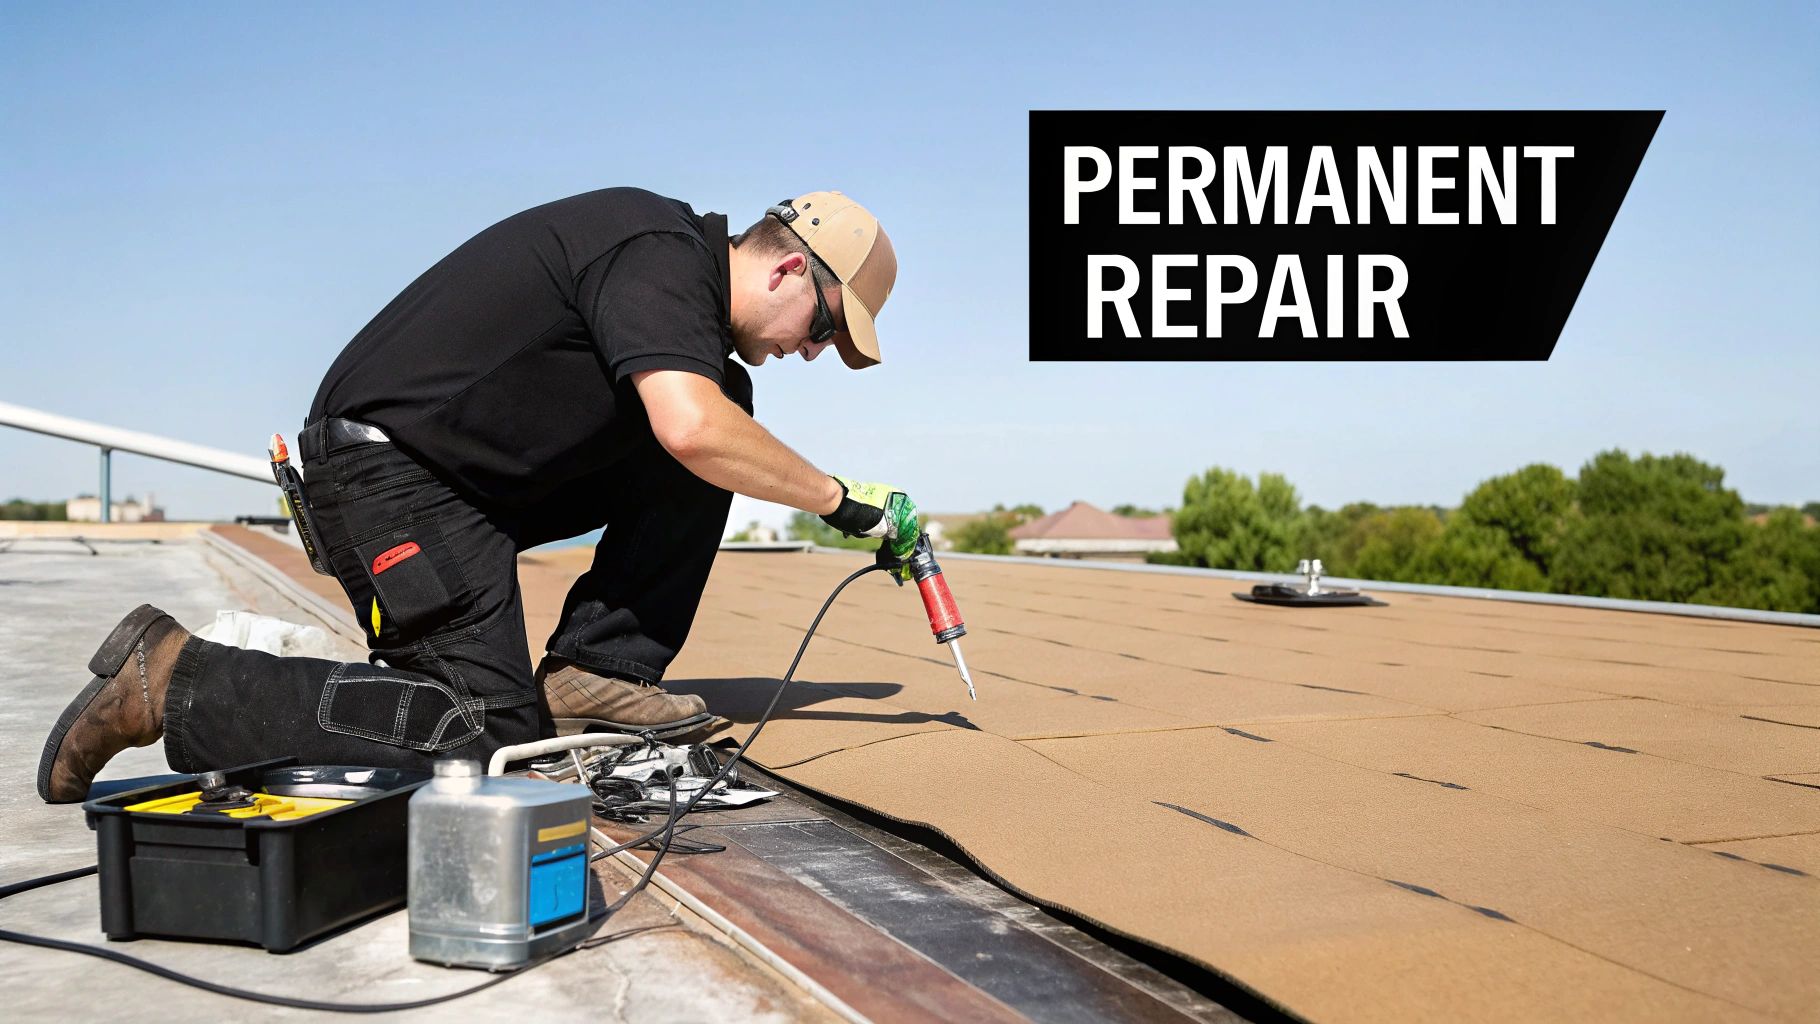
Alright, your emergency patch did its job and got you through the storm. Now it's time to think about a real, permanent fix.
A lasting repair isn't a one-size-fits-all deal. The right technique depends entirely on the type of material on your roof. Slapping the wrong sealant on can actually do more harm than good, leading to a failed patch and a whole lot more frustration down the road.
Knowing how to fix a flat roof leak for good means matching the method to the material. Every system, from modern EPDM rubber to old-school built-up roofing, has its own unique chemistry. Let's break down the professional-grade methods for the most common flat roofing systems so your hard work results in a watertight seal that actually lasts.
Repairing EPDM Rubber Roofs
EPDM—that black rubber membrane you see on a lot of commercial buildings—is tough stuff, but it’s not invincible. Punctures from fallen branches or tears along a seam are pretty common leak culprits. The secret to a successful EPDM repair is using a specialized patch kit. Don't even think about using standard asphalt-based products; they won't bond properly and can even degrade the rubber.
First things first: clean the area meticulously. You have to get every bit of dirt, grime, and oxidized rubber off the surface around the leak. I’m talking about using an EPDM-specific cleaner and a scrubbing pad, then wiping it down until your rag comes up completely clean. This step is non-negotiable if you want that patch to stick.
Once it's spotless and bone-dry, apply a special EPDM primer to both the roof surface and the underside of your patch. Let it "flash off," which means it gets tacky to the touch but doesn't come off on your finger. Carefully lay the patch over the damaged spot and use a small, hard roller to apply firm pressure. Start from the center and work your way out to push out every single air bubble. For a final, failsafe seal, run a bead of EPDM lap sealant around the entire edge of the patch.
Fixing TPO and PVC Membrane Leaks
TPO and PVC are single-ply membranes that are heat-welded at the seams during installation, creating what is essentially one giant, monolithic sheet. It only makes sense that the best way to repair them is to mimic that process with a heat welder. This method physically fuses the patch to the roof, creating an incredibly strong, seamless repair.
Just like with EPDM, cleaning is the most critical first step. You need a manufacturer-recommended cleaner designed for TPO or PVC to get the surface absolutely pristine for a proper weld.
For the repair itself, you’ll need a professional hot-air welder. Cut a patch from a matching material, making sure it overlaps the damaged area by at least two inches on every side. Tack-weld the corners to hold it in place, then use the welder and a silicone roller to systematically fuse the patch to the roof membrane. You’re essentially heating both surfaces until they’re molten and then pressing them together to form a single, unified piece. A good weld will have a small, consistent "bleed-out" of melted material along the edge of the patch.
Heat welding takes skill and the right gear. It's surprisingly easy to overheat and burn right through the membrane, making the problem worse. This is one repair where calling in a pro with experience makes a huge difference.
Sealing Built-Up Roofing (BUR) and Modified Bitumen
These are your classic "tar and gravel" or asphalt-based roofs. Whether it's traditional Built-Up Roofing (BUR) or its more modern cousin, modified bitumen, these systems are repaired using compatible asphaltic materials. The go-to method is often a three-course patch that layers on protection.
You have to start by cleaning the area thoroughly. Get rid of any loose gravel, dirt, and debris. If you have a gravel-surfaced roof, you'll need to carefully sweep the gravel aside to expose the membrane underneath.
The three-course patching process is straightforward:
- First Course: Trowel on a thick layer of asphalt-based roofing cement or mastic, extending it several inches beyond the leak itself.
- Second Course: While that cement is still wet, embed a piece of reinforcing fabric (usually a fiberglass or polyester mesh) into it. Use your trowel to press it in firmly until it's completely saturated.
- Third Course: Apply one last, thinner layer of roofing cement over the fabric, feathering the edges out to create a smooth transition to the rest of the roof.
If you had to move gravel out of the way, you can spread it back over the wet patch. This helps protect the new repair from UV rays and makes it blend in with the rest of the roof.
The demand for better waterproofing is really pushing repair technology forward. The global market for liquid roofing—a key part of modern repairs—was valued at $8.68 billion in 2022 and is expected to hit $16.61 billion by 2031. This just shows how the industry is moving toward advanced liquid-applied membranes and specialized sealants for better flexibility and durability. You can discover more insights about these emerging flat roof repair technologies and market trends.
Tools and Materials Checklist
Having the right gear on hand from the start saves a lot of headaches and trips up and down the ladder.
| Roof Type | Essential Tools | Essential Materials |
|---|---|---|
| EPDM | Scrub pads, rags, utility knife, small hard roller, caulk gun | EPDM cleaner, EPDM primer, EPDM patch material, EPDM lap sealant |
| TPO/PVC | Rags, utility knife, hot-air welder, silicone roller | TPO/PVC cleaner, TPO/PVC membrane for patching |
| BUR/ModBit | Stiff brush, trowel, utility knife | Asphaltic roofing cement/mastic, reinforcing fabric mesh |
No matter what type of roof you're working on, safety comes first. Always wear non-slip shoes, make sure your ladder is secure, and think about using a safety harness if you’re working near the edge. A permanent repair is an investment in your property, and doing it right ensures that investment pays off.
When to Call in the Pros
There's a real sense of accomplishment in fixing something yourself, especially when you stop a pesky roof leak and save a bit of cash. But being smart about how to fix flat roof leaks also means knowing when to step back and call for help.
Some problems are just bigger than a simple DIY patch. Trying to tackle a major issue without the right skills or equipment can turn a small repair into a full-blown roof replacement. You could end up voiding your roof's warranty, causing more damage than you fix, or even getting seriously hurt. Knowing the difference between a quick fix and a serious problem is key.
Red Flags That Demand a Professional Eye
So, when is it time to put down the sealant and pick up the phone? If you spot any of these warning signs, it’s a clear signal that the issue is beyond a simple patch.
- Widespread Ponding Water: Does your roof look more like a swimming pool 48 hours after it rains? If large areas of water are just sitting there, it's not a simple leak—it points to a major drainage or structural issue that a patch just can't solve.
- Large or Numerous Blisters: Blisters are those ugly bubbles that form when moisture gets trapped under the roofing membrane. A tiny one isn't a huge deal, but if you're seeing multiple blisters or any that are a foot or more across, it means moisture has invaded on a large scale.
- Spongy or Soft Spots: This is a big one. As you walk across the roof, if you feel any soft, bouncy, or squishy spots underfoot, stop immediately. That’s a classic sign the insulation underneath is waterlogged and failing, which compromises the roof’s entire structure.
- Extensive Membrane Damage: Are you seeing long tears, large sections of cracking that look like alligator skin, or seams pulling apart all over the place? This isn't just one leak; it's a sign your roof is failing. Patching one area will just be a frustrating game of whack-a-mole as new leaks pop up elsewhere.
The financial stakes are high, especially when leaks are left unaddressed. Water leaks in commercial buildings can average around $89,000 per incident, a stark contrast to the average cost for home roof leaks. Learn more about the critical importance of early leak detection and its economic impact.
The Risks of a Botched DIY Job
Jumping into a complex repair without the right know-how can backfire, badly. A classic mistake is using the wrong materials—for instance, slapping an asphalt-based sealant on an EPDM rubber roof. This doesn't just fail to seal the leak; it can actually eat away at the rubber membrane, making a professional repair much more complicated and costly down the road.
Worse yet, if your roof is still under warranty, an unauthorized DIY repair will almost certainly void it. That leaves you on the hook for the full cost of any future problems. And if that flat roof leak has already caused a mess inside, you'll need more than a roofer; you might also have to find a reliable water damage restoration service to handle the cleanup and stop mold from taking hold.
In the end, nothing is more important than your safety. Working on any roof has its risks, but those dangers multiply when you're dealing with saturated materials and potential structural problems. When you see these complex warning signs, the choice is clear. If you're not sure who to call, our guide on how to choose a roofing contractor can point you in the right direction.
Your Flat Roof Leak Questions, Answered
When you're dealing with a flat roof leak, you've probably got a lot of questions running through your mind. It's totally normal. To clear things up and give you some solid footing, here are straight-to-the-point answers to the questions we hear most often from property owners.
How Long Should a Flat Roof Repair Last?
Honestly, it really depends. The lifespan of a flat roof repair isn't a one-size-fits-all answer. It comes down to the quality of the work, the materials used, and the overall shape your roof was in to begin with.
A professional patch, done with materials that are actually meant for your specific type of roof, can easily last for years—sometimes as long as the rest of the roof membrane. On the flip side, that quick DIY job you did with a bucket of all-purpose tar might only get you through a season or two before it fails. A true, permanent solution means matching the repair method to the roof type, like heat-welding a TPO seam or using the right primer and adhesive for an EPDM patch.
Can I Use Flex Seal for a Flat Roof Leak?
Look, we've all seen the commercials, and it looks like magic in a can. But while products like Flex Seal are marketed as a quick fix for just about anything, they are not a good idea for permanent flat roof repairs.
These liquid rubber coatings might stop a drip for a little while, but they just don't have the UV resistance or flexibility needed to stand up to the elements. The sun and temperature swings will make them brittle and cause them to crack, and you'll be right back where you started. Worse yet, when a professional roofer comes in to do a proper repair, all that cheap coating has to be painstakingly removed, making the job much more difficult and expensive.
What Is the Most Common Cause of Flat Roof Leaks?
Nine times out of ten, flat roof leaks start at penetration points. Think about it—anywhere something sticks out of your roof, you have a potential weak spot. This includes vents, pipes, skylights, drains, and HVAC units. The flashing and sealant used to waterproof these areas are under constant stress.
Over time, sealants dry out and crack. The flashing can pull away from the membrane as the roof expands and contracts with temperature changes. This movement creates a perfect little highway for water to get in. Other frequent offenders are failing seams between membrane sheets and, of course, ponding water, which just sits there and works its way through any tiny imperfection it can find.
It's a common myth that a flat roof is perfectly level. A properly built "flat" roof actually has a slight slope—at least 1/4 inch per foot—to guide water toward the drains. If that slope isn't there or gets compromised, you get ponding water, and that's when the real problems begin.
How Often Should I Inspect My Flat Roof?
Staying ahead of problems is the single best thing you can do for your roof. Getting a professional inspection at least twice a year is strongly recommended. The best times are in the spring, after the harsh winter weather has passed, and again in the fall, before the cold sets in.
You should also do your own quick visual checks from a safe spot after any major storm or high-wind event. Just look for obvious things like debris piling up, puddles that aren't draining, visible cracks, or seams that look like they're peeling up. Catching these small issues early is the key to preventing them from becoming a major headache and a source of expensive interior damage.
When a quick fix won't cut it, or you simply want the confidence of knowing the job was done right, our team is here to help. We’ve seen and fixed every kind of flat roof leak imaginable. We'll find the true source of the problem and implement a lasting solution to protect your property. Visit us online or give us a call today for a free estimate.