When a storm damages your roof, that official-looking document from a roofing expert becomes the most powerful tool you have. This roof inspection report for insurance is your official evidence, spelling out every detail of the damage and making the case for why you need repairs or even a full replacement. Getting this report right from the start is the key to avoiding frustrating delays, arguments with your provider, or even a flat-out claim denial.
Why Your Report Is the Key to Claim Success
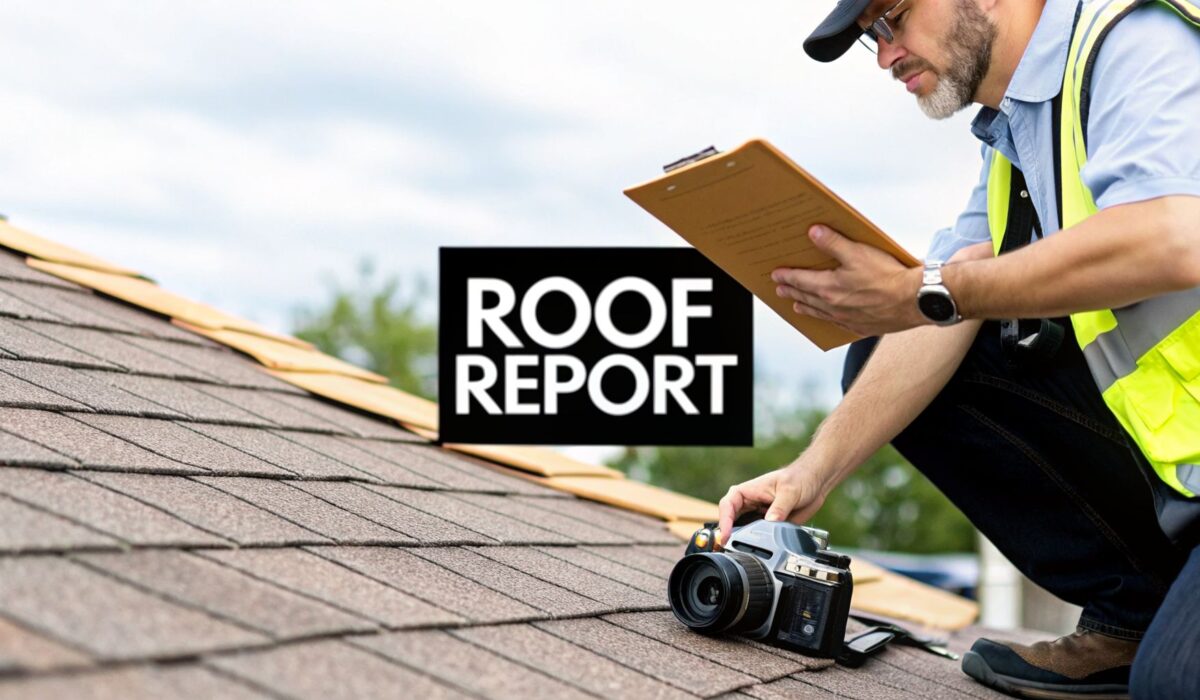
After a big storm blows through, most people's first reaction is to get on the phone with their insurance company. But here’s a pro tip: your actual first call should be to a trusted roofer to get a detailed roof inspection report for insurance. This isn't just a piece of paper; it’s the very foundation of your claim. It’s what ensures you get every penny you're entitled to.
Think of it this way: your insurance adjuster’s main job is to verify the damage that's been pointed out. Your contractor's job is to find all of it in the first place. A thorough report from a roofer acts as your advocate, laying out a clear, evidence-based argument that leaves no room for doubt. It tells the whole story, from obvious missing shingles to the subtle, pockmarking dents left by hail that an untrained eye would almost certainly miss. If you don't have this professional documentation, you're basically just asking the insurance company to take your word for it—and that often leads to a lowball offer or a denied claim.
The High Stakes of Roof Repair Costs
The financial risk has never been greater. With both materials and labor getting more expensive, the cost of fixing a roof has shot up. The industry saw a massive jump in repair and replacement costs, with 2026 being a standout year. According to one detailed industry report, these expenses rocketed to nearly $31 billion in 2026—that’s an almost 30 percent increase from just 2024. This trend puts a squeeze on everyone, making precise, undeniable documentation more critical than ever.
A professional roof inspection report is more than just a formality; it is your primary piece of evidence. It transforms a subjective damage claim into an objective, fact-based request that is difficult for an insurer to dispute.
A Tale of Two Inspections
It’s so important to understand that not all roof inspections are the same. A standard inspection, like the kind you get when buying a house, is really about the roof's overall health and remaining lifespan. You can learn more about the general benefits of regular roof inspections in our detailed guide.
An inspection for an insurance claim, on the other hand, is a completely different beast—it's more like a forensic investigation. It has a very specific job to do:
- Pinpoint a Date of Loss: It has to connect the damage directly to a specific weather event, like that hailstorm last Tuesday or the high winds from the weekend.
- Document Functional Damage: It must identify issues that actually harm your roof’s ability to do its primary job: shed water. This is what insurance policies are designed to cover.
- Justify Repair or Replacement: The report gathers the proof needed to show why a simple patch job won't cut it and a full replacement is required to protect your home.
This specialized report becomes the roadmap for your entire claim, helping you navigate the process and protect your home, which is likely your most valuable asset.
What Makes a Roof Inspection Report “Insurance-Ready”?
When you hand over a roof inspection report to your insurance company, you're not just submitting paperwork. You're submitting the evidence—the core of your case for getting a claim approved. An adjuster's job is to scrutinize that evidence. A flimsy, vague report gives them an open invitation to question the damage, drag out the process, or even deny the claim entirely.
Think of your report as the file a lawyer would build for a court case. Every detail, every photo, and every measurement is a piece of evidence that strengthens your position and leaves no room for doubt. It needs to anticipate an adjuster’s questions and answer them with clear, undeniable facts.
The Foundational Details Every Adjuster Looks for First
Before an adjuster even glances at the first photo of a damaged shingle, they need to get their bearings. They’re looking for basic, foundational information to confirm the who, what, where, and when of the claim. Without this, the report is just a random collection of pictures with no official standing.
Your report absolutely must begin with these key details:
- Inspector's Credentials: The inspector’s name, their company, contact info, and any certifications. This immediately establishes that the report is coming from a qualified professional, not just a guy with a ladder.
- Property & Homeowner Details: Your name and the full property address. This officially ties the documented damage to your specific policy.
- Date of Inspection: This is a simple but critical detail that creates a timeline, showing precisely when the damage was professionally documented.
- Date of Loss: This might be the single most important piece of information on the page. It connects all the damage to a specific event (e.g., "Hailstorm on May 15, 2024"), which is essential for proving the loss is covered by your policy.
Getting this information right on the first page sets a professional tone and makes it easy for the adjuster to start processing the claim without hitting any administrative roadblocks.
A solid report, built on strong evidence, is the foundation for a successful claim. It's a hierarchy—you can't get to the top (claim success) without a solid base of evidence.
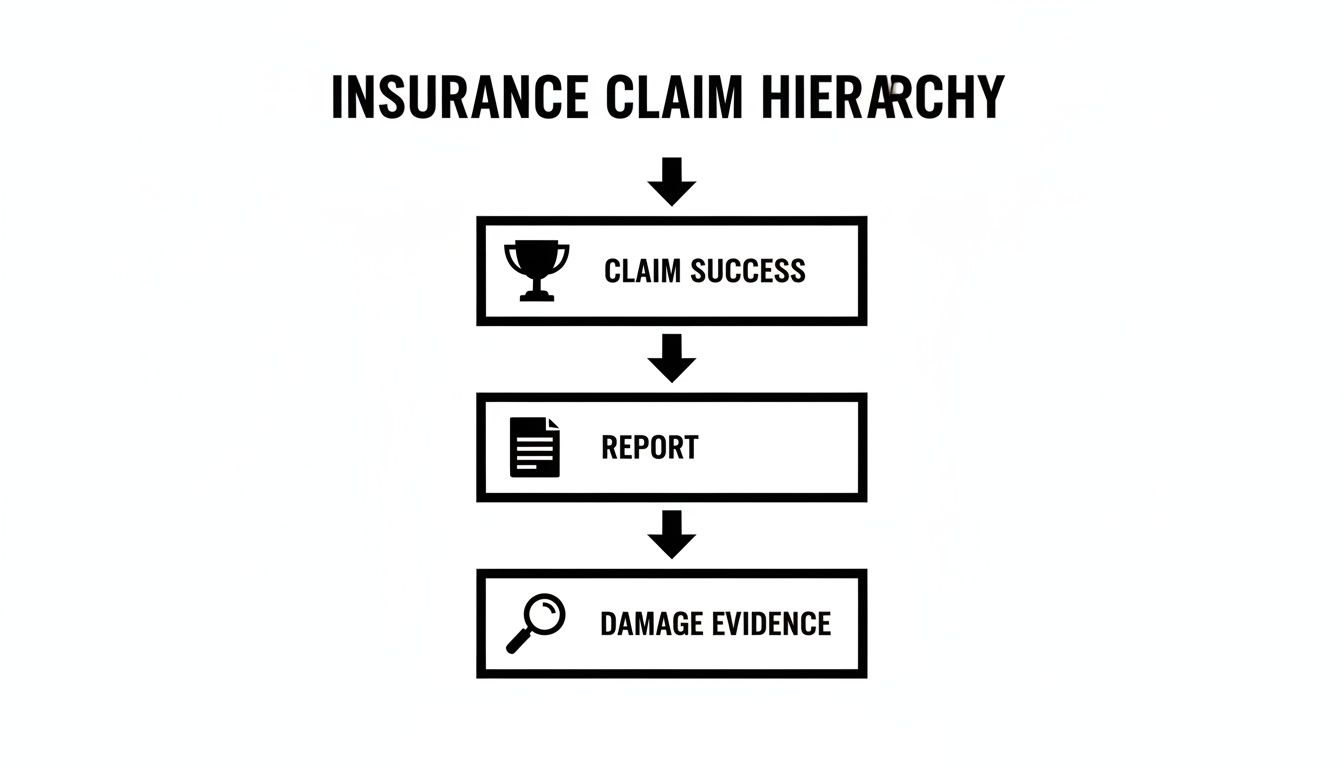
As you can see, every step builds upon the last, with detailed evidence forming the bedrock of the entire process.
To make this crystal clear, here's a checklist of the non-negotiable items that must be in your roof inspection report. A good contractor knows these are essential for satisfying insurance requirements and getting your claim moving.
Essential Components of an Insurance-Ready Roof Report
| Component | Purpose for Insurance | Why It's Critical |
|---|---|---|
| Inspector Credentials | Establishes credibility and professionalism. | Proves the findings are from a qualified expert, not an amateur. |
| Property/Owner Info | Links the report to the correct policy and location. | Prevents administrative delays and confirms the report's relevance. |
| Date of Loss (DOL) | Connects damage to a specific, covered event. | This is the primary trigger for coverage. Without it, the claim is invalid. |
| Roof System Specs | Defines the "what" that was damaged (materials, size). | Justifies the scope of work and materials needed for the repair estimate. |
| Detailed Damage Notes | Explains the "how" and "why" of the damage. | Moves beyond simple observation to explain the functional impact of the damage. |
| Annotated Photos | Provides visual, undeniable proof of the damage. | Photos with circles, arrows, and notes make the evidence impossible to ignore. |
| Test Square Photos | Quantifies the extent of the damage (e.g., hits per square). | Offers a standardized, measurable way to show if the damage is widespread. |
| Repair/Replacement Scope | Outlines the professional recommendation for a fix. | Translates the damage into a clear action plan for the adjuster to review. |
Having every one of these components turns your report from a simple "damage list" into a powerful tool that substantiates your claim from start to finish.
Documenting Your Roof and Its Pre-Storm Condition
With the basics out of the way, the report needs to paint a complete picture of your roof system. This section isn't about the damage yet—it’s about what was there before the storm hit. This context helps the adjuster understand what exactly needs to be repaired or replaced and justifies the scope of work.
An adjuster's job is to verify a loss. A detailed report from a qualified contractor makes that job easy by presenting clear, organized evidence that substantiates the claim, reducing friction and speeding up the approval process.
This part of the report should read like a technical spec sheet for your roof, including:
- Roof Dimensions: The total square footage and the roof's pitch (its steepness).
- Roofing Material: Be specific. Is it an "architectural asphalt shingle," a "3-tab shingle," or "standing seam metal"? The exact material matters.
- Number of Layers: If you have a layer of old shingles under the current one, that's a big deal. It affects replacement costs and building code compliance.
- Ventilation & Components: A full inventory of everything on the roof—vents, flashing, skylights, pipe boots, and chimneys.
This technical summary establishes a baseline. By showing the roof's specifications and noting its general condition before the date of loss, you proactively shut down any arguments from the insurer that the damage is just normal "wear and tear" or the result of poor maintenance.
The Heart of the Matter: Describing the Actual Damage
Now we get to the main event: the detailed breakdown of the damage. This is where your contractor makes their case, and where vague language can kill a claim. Simply writing "wind damage" or "hail hits" is a red flag for an adjuster. It’s not enough.
Each point of damage needs to be described with clinical precision. The report should specify the location (e.g., "north slope," "west-facing dormer") and, more importantly, explain how the damage has compromised the roof’s ability to protect your home.
For instance, instead of "hail damage," a powerful report would state: "Widespread hail impacts measuring up to 1.25 inches in diameter have caused significant granule loss and fiberglass mat bruising on all slopes. This has exposed the underlying asphalt, severely compromising the shingles' ability to shed water and shortening their lifespan."
That level of detail, backed up by properly annotated photo evidence, builds an airtight case that is incredibly difficult for any insurance company to dispute.
Documenting Damage to Tell a Compelling Story
You’ve probably heard that a picture is worth a thousand words. When it comes to an insurance claim, the right pictures are worth thousands of dollars. The photo evidence in your roof inspection report for insurance isn’t just about showing damage; it’s about telling a clear, convincing story that leaves no room for doubt.
A random jumble of blurry, out-of-context photos just creates confusion for an insurance adjuster. But a methodically organized visual narrative? That builds an undeniable case for your claim. It’s all about starting wide and zooming in.
Think of it like a movie director setting a scene. You don't jump straight to a close-up. You start with a wide shot of the city, then the building, then the room, and finally, the character. A professional inspector uses this exact same "general to specific" approach to document roof damage, creating a powerful story for the insurance company.

This process ensures every bit of damage is placed in the proper context, making it simple for an adjuster to grasp the full scope of the loss.
The General to Specific Photo Strategy
An experienced roofer doesn't just wander around snapping pictures. There’s a precise sequence they follow, a progression from a wide overview to a detailed close-up that’s crucial for building a logical and irrefutable report.
Here’s how the documentation process works:
- Overview Shots: It starts with the big picture. These are wide-angle photos of your entire property and each individual roof slope—front, back, left, and right. These shots establish the overall layout and condition of the roof.
- Quadrant Photos: Next, each slope is mentally divided into smaller sections, or quadrants. Photos of these areas provide a more focused view, helping to pinpoint where the most significant damage is concentrated.
- Specific Damage Close-Ups: Finally, it's time for the close-ups. The inspector captures detailed photos of individual damage points, like a single hail impact, a wind-creased shingle, or a section of lifted flashing.
This methodical approach prevents key evidence from getting lost and lets the adjuster follow the "story" of the damage from a bird's-eye view right down to the nitty-gritty details.
Making Your Evidence Impossible to Ignore
Just taking the pictures isn’t enough. The best reports use a few key techniques to make the visual evidence so clear that there's no room for misinterpretation. This is where a skilled contractor's expertise really makes a difference.
First, we use reference items for scale. A photo of a hail impact is just a spot on a shingle until you place a quarter or a tape measure next to it. Suddenly, "a spot" becomes a "1.25-inch hail impact"—a measurable and verifiable fact that an adjuster can't dispute.
Next up is photo annotation. A good report includes photos with digital markups. Think circles highlighting granule loss, arrows pointing to a hidden crease in a shingle, or text explaining the location. This directs the adjuster's attention exactly where it needs to go, leaving nothing to chance.
A well-documented claim is a story told through evidence. Each annotated photo and contextual measurement serves as a chapter, building a narrative that logically and powerfully leads to the only possible conclusion: the roof requires repair or replacement.
To add another layer of proof, inspectors also look for collateral damage. Hail strong enough to dent shingles doesn't just stop there. We take photos of dented gutters, damaged siding, or bruised air conditioning unit fins. This serves as powerful supporting evidence that a significant storm occurred, validating the damage seen on the roof itself. Some professionals now use advanced drone inspection services to capture this comprehensive documentation from angles that are tough or unsafe to reach otherwise.
Good Photos vs Bad Photos
Understanding the difference between effective and ineffective photo evidence can make or break your claim. It all comes down to clarity, context, and detail.
| Good Photo Example | Bad Photo Example |
|---|---|
|
|
|
|
By ensuring your roof inspection report for insurance is packed with "good" photos, you provide the clear, compelling evidence needed for a smooth and successful claim approval.
Common Types of Roof Damage Insurers Scrutinize
When an insurance adjuster shows up to look at your roof, they aren't just taking a casual glance. They’re trained to spot very specific kinds of damage that trigger coverage under your policy, and they approach every roof inspection report for insurance with a fine-toothed comb.
Understanding what’s going through their mind is the key to building a claim that gets approved. They are essentially separating problems that stop your roof from doing its job from issues that are just cosmetic. This single distinction can mean the difference between getting a new roof and getting a denial letter.
Identifying Wind Damage
High winds are a classic reason for roof claims, but adjusters need to see more than just a few scuffs. They are looking for definitive proof that the wind was strong enough to cause functional damage.
A good inspector knows exactly what to photograph and document. Here’s what’s on their checklist:
- Missing Shingles: This one is a no-brainer. A photo of a bare spot where a shingle used to be is undeniable proof of failure.
- Creased Shingles: Sometimes, the wind lifts a shingle just enough to bend it backward, creating a sharp horizontal crease. That crease permanently breaks the shingle's reinforcing mat, ruining its ability to shed water. It's a clear point of failure.
- Lifted Shingle Seals: Even if a shingle doesn't crease or fly off, strong updrafts can break the tar strip that glues it to the course below. You can't see this from the ground, but a hands-on inspection will reveal these unsealed shingles, which are now prime entry points for rain.
A weak report might just say "wind damage." A strong one will get specific: "15 shingles on the west-facing slope show significant creasing and broken seals, indicating wind uplift that has compromised the roof’s water-shedding integrity." That’s the kind of language that gets an adjuster’s attention.
Uncovering Hail Damage
Hail damage is trickier. From the street, your roof might look perfectly fine even after a serious hailstorm. An adjuster needs proof that the hail was big enough and hit hard enough to compromise the shingle’s structure, not just knock off a few granules.
The heart of any hail damage claim is proving the impacts bruised the shingle mat, not just left a cosmetic dimple. A bruised mat is like a crack in the shingle's armor—it creates a weak spot that lets water in and will cause the shingle to fail years before its time.
Here's what we look for to prove it:
- Bruising: This is everything. A true hail impact creates a soft, spongy spot on the shingle where the underlying fiberglass mat has been fractured.
- Granule Loss: While all roofs lose some granules over time, significant loss in a distinct, circular pattern points directly to a hailstone hit. These granules act like sunscreen for the asphalt, and once they're gone, the shingle deteriorates fast.
- Collateral Damage: We always look for supporting evidence. Dents on your home's metal gutters, siding, or A/C unit fins help paint a picture of a storm severe enough to damage the entire property, including the roof.
With severe weather on the rise, this level of scrutiny is becoming standard practice. Wind and hail are the main reasons roofing costs are climbing, making up more than half of all residential claims. What's interesting is that even smaller, non-catastrophic wind and hail events are driving claims up, showing just how persistent this issue is. You can read the full report on rising roof repair costs to see the data for yourself.
The Critical Difference: Functional vs. Cosmetic Damage
If you take one thing away from this guide, let it be this. The line between functional and cosmetic damage is where most insurance claims are won or lost.
- Functional Damage: This is any damage that stops the roof from protecting your home. Think of creased shingles that can't direct water, hail bruises that have fractured the shingle mat, or missing shingles that leave the underlayment exposed. This is what insurance is meant to cover.
- Cosmetic Damage: This damage affects how the roof looks but not how it works. Minor scuffs from a tree branch, a small amount of surface granule loss, or simple discoloration fall into this category. Insurers will almost always argue that cosmetic issues don't warrant a full replacement.
An experienced roofing inspector knows how to spot true functional damage and, just as importantly, how to document it in a way that separates it from normal wear and tear. If you're looking at your roof and aren't sure what you're seeing, you can check out our guide on the common signs of roof damage. Having that knowledge is the first step toward building a report that clearly proves a legitimate, covered loss.
A Step-By-Step Guide to the Insurance Claim Process
When a big storm rolls through and leaves your roof a mess, it’s easy to feel overwhelmed. But with a clear plan, you can navigate the insurance process and turn a stressful situation into a straightforward repair. This guide breaks it all down, step-by-step.
It all boils down to having the right expert and the right paperwork on your side from day one.
Step 1: Take Immediate Action After Damage
As soon as the storm clears and it's safe, walk around your property and take pictures of any damage you can see from the ground. Look for shingles in your yard, dented gutters, or downed tree limbs. These initial photos are for your records and give you a baseline.
Next, focus on preventing more damage. If water is dripping inside, grab some buckets. If you see a gaping hole in your roof, you’ll need a professional to put up a temporary tarp. Taking these steps shows your insurer that you're doing your part to protect your home.
Step 2: Find a Qualified Roofing Contractor
This might sound backward, but your first call shouldn't be to your insurance agent. It should be to a roofing contractor who has deep experience with insurance claims. This is the single most important decision you'll make.
You need a professional who does more than just fix roofs—you need someone who speaks the insurance company's language. A general handyman won't cut it. Your contractor’s job is to create a detailed roof inspection report for insurance that will become the backbone of your claim, documenting every bit of functional storm damage.
The professional inspection is everything. A great contractor is your advocate, meticulously finding and photographing all the damage so nothing gets missed. Think of their report as the expert evidence that proves your case.
More and more, homeowners are realizing how critical these professional assessments are. It’s no surprise the global roof inspection services market is expected to grow at a Compound Annual Growth Rate of around 7 percent, hitting a potential market value of $9 billion by 2033.
Step 3: File Your Claim and Schedule the Adjuster Meeting
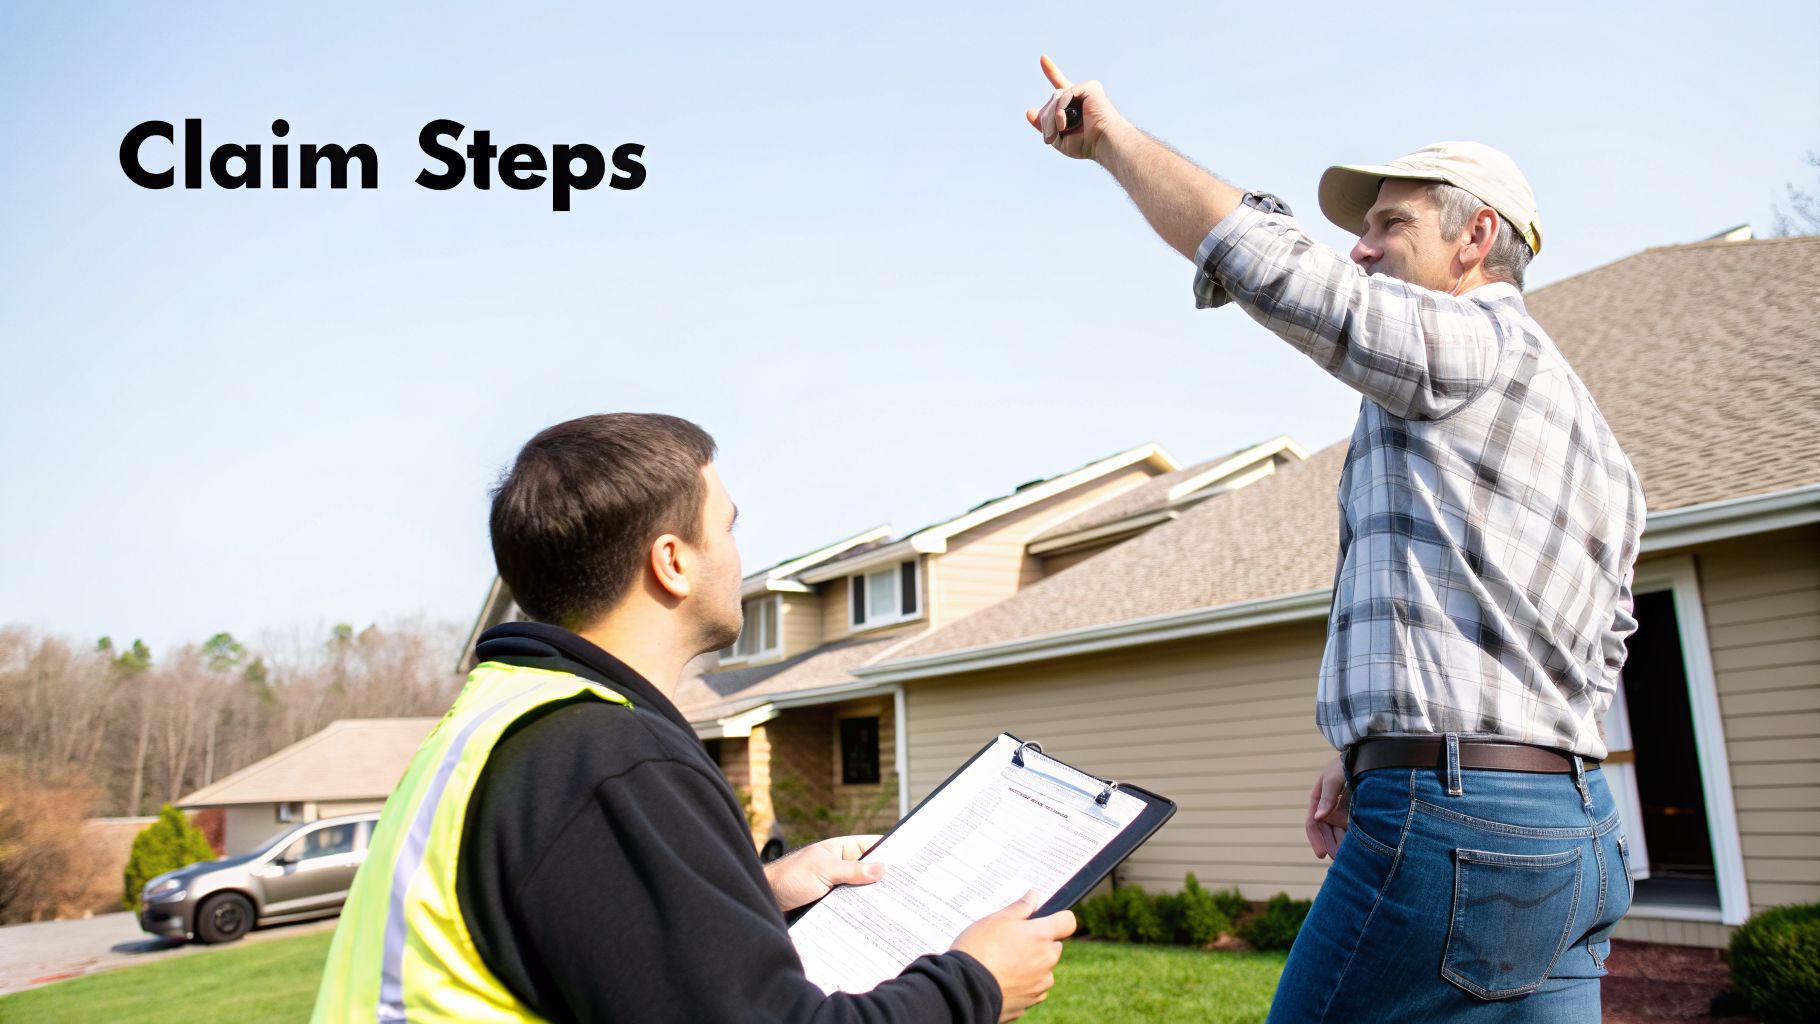
With your contractor's detailed report in hand, now you can call your insurance company to officially start the claim. You’ll give them your policy number, the date of the storm, and a quick rundown of the damage. They'll give you a claim number and assign an adjuster.
Here’s the pro tip that can make or break your claim: schedule the adjuster’s visit for a time when your contractor can be there, too. Having your roofer on-site with the adjuster is a game-changer. They can literally walk the adjuster across the roof, point out the specific damage from their report, and answer technical questions on the spot. This simple step clears up any confusion and prevents the misunderstandings that often lead to underpaid or denied claims.
Following these steps puts you in control of the process. For a more detailed look at how insurers handle things, this guide on navigating home insurance claims offers some great perspective.
And for an even deeper dive, you can find more guidance on our website.
Answering Your Top Questions About Roof Insurance Claims
When your roof takes a hit, a million questions probably start racing through your mind. It’s completely normal. Getting straight answers is the best way to feel in control of the situation. Here are a few of the most common questions we hear from homeowners dealing with the insurance process.
What Should I Do If My Insurance Claim Is Denied?
First off, don’t panic. A denial isn't necessarily the final word. Your first move should always be to ask the insurance company for a written explanation detailing exactly why they denied the claim.
Once you have that letter in hand, pull out your policy and compare their reasoning to your coverage terms. This is where you can file an appeal, using your comprehensive roof inspection report as your primary piece of evidence to challenge their decision. Having an experienced roofer in your corner to advocate for you can make a huge difference in getting that denial overturned.
A claim denial often feels like a closed door, but it's really just the start of a negotiation. Your detailed inspection report is the strongest piece of leverage you have, providing the hard facts needed to counter the insurer’s initial findings.
How Much Does a Roof Inspection for an Insurance Claim Cost?
The cost can really vary. Many professional roofing contractors, especially after a big storm rolls through the area, will offer a free initial inspection. This is a great way to get a quick, honest assessment of the damage without any upfront commitment.
However, creating the in-depth, photo-documented report that an insurance company requires might be a separate service. Sometimes, this cost is rolled into the total project price if you decide to hire that contractor for the repair work. The best advice is to always ask about any potential costs before you agree to anything. No one likes surprise bills.
What Is the Difference Between a Contractor Report and an Adjuster Assessment?
This is a really important one to get. Think of it this way: a contractor's roof inspection report for insurance is created for you. It’s your expert evidence, built to document every bit of functional storm damage and outline a fair, real-world estimate for the repairs.
An insurance adjuster, on the other hand, works for the insurance company. Their job is to evaluate the damage from their employer's point of view and calculate a payout based on their findings and their reading of your policy.
Your own contractor’s report gives you a powerful second opinion. It ensures your side of the story is told with professional, detailed documentation, which is crucial for making sure you're treated fairly.
Don't let a damaged roof and a confusing claims process leave your home vulnerable. With over 25 years of experience, the team at Penn Ohio Roofing & Siding Group has been helping homeowners in Hermitage and our neighboring communities get their claims approved with solid, insurance-ready reports.
If you even suspect your roof has been damaged, reach out to us for a free, no-obligation inspection and estimate. Let us give you the expert documentation you need to file a successful claim. https://pennohiorc.com