You walk outside after a hard rain and see the same ugly pattern again. Water is pooling beside the house, mulch is washed out, and the soil at the base of the foundation looks soft and dark. If you've got a basement in places like Pittsburgh, Erie, or Sharon, that scene usually comes with a second worry. What's happening on the other side of that wall?
That's where downspout extension installation stops being a small exterior chore and becomes a drainage job that protects the structure of the house. A short splash block or a loose corrugated tube might move water a little, but if it doesn't carry runoff far enough and downhill, it often solves nothing. Good drainage is about distance, slope, secure connections, and seasonal upkeep.
Table of Contents
- Why Your Foundation Depends on Proper Gutter Drainage
- Planning Your Project and Choosing the Right Materials
- Your Step-by-Step Installation Guide
- Installing Buried Downspout Extensions and Pop-Up Emitters
- Avoiding Common Mistakes and Performing Seasonal Maintenance
- Project Costs and When to Call a Professional
Why Your Foundation Depends on Proper Gutter Drainage
A lot of foundation trouble starts with water that lands exactly where it shouldn't. The roof collects runoff fast, the gutter channels it to one point, and the downspout dumps that volume beside the house. If the extension is missing, crushed, too short, or pitched wrong, that water saturates the soil next to the wall instead of leaving the area.
Once the ground at the foundation stays wet, pressure builds against basement walls and water starts looking for the easiest path in. Sometimes that means a damp corner. Sometimes it means seepage through a crack, a wet basement floor, or movement in a slab edge. In older homes around Pittsburgh and Sharon, where grading isn't always ideal and basements are common, I've seen minor discharge issues create major headaches over time.
Practical rule: A downspout should never dump water where you can still see wet soil hugging the house an hour after the storm has passed.
The frustrating part is that homeowners often blame the wall first. The wall may need attention, but the roof drainage is usually part of the story. If runoff keeps rewetting the same area, repairs inside the basement don't last the way they should.
For readers dealing with broader water movement around the home, Reliable foundation drainage contractors offers a useful look at how drainage design ties roof runoff to site grading and foundation protection. If you're also reviewing the condition of the gutter system itself, this Pennsylvania gutter installation resource helps connect drainage performance to proper collection at the roofline.
Start with the storm path
Stand outside during or right after a strong rain and follow the water. Don't start with the hardware store. Start with the path.
- Watch the outlet: Does water shoot straight down and dig a trench?
- Check the soil: Is the ground sunken or washed out beside the footing line?
- Look at the basement side: Moisture problems often show up nearest the overloaded downspout.
- Notice hard surfaces: Walks, patios, and driveways can bounce water back toward the house.
That simple inspection tells you whether you need a basic extension, a rigid run, or a buried drain line.
Planning Your Project and Choosing the Right Materials
Good downspout extension installation starts with a tape measure, not with a bag of fittings. The biggest mistake I see is buying a product first and then trying to force it to work in a yard that has its own slope, obstacles, and drainage limits.
Start with discharge distance, not product choice
Most DIY guides recommend 4 to 6 feet of extension, but building science guidance says extensions should reach 8 to 10 feet, and underground systems should ideally run 20 to 25 feet to prevent foundation moisture intrusion and basement flooding, as noted by home inspection guidance on downspout distance. That's the gap between “water is no longer splashing at the wall” and “water is far enough away to stop feeding the foundation.”
That difference matters in Pennsylvania. In Erie, long wet periods can keep soil saturated for days. In Pittsburgh, hillsides, retaining edges, and narrow side yards can make water loop back toward the foundation if you stop short.
Before choosing materials, map these points:
- Outlet location: Measure from the downspout elbow to the place where water can safely discharge.
- Surface type: Grass and garden beds absorb water better than compacted stone or worn bare soil.
- Obstacles: Air conditioner pads, sidewalks, fences, and neighboring property lines all affect the route.
- Available fall: The extension must keep dropping away from the house, not flatten out halfway.
If your gutters are undersized or poorly placed, extension work alone won't carry the whole load. This guide to gutters, soffits, and fascia systems is worth reviewing before you commit to a drainage layout.
Don't measure to the edge of the flower bed and call it done. Measure to the point where water can leave the foundation zone and keep moving.
Choose the material that fits your yard and budget
There isn't one “best” extension for every house. There's the right one for your terrain, your maintenance tolerance, and how permanent you want the fix to be.
| Downspout Extension Type Comparison | Pros | Cons | Best For |
|---|---|---|---|
| Flexible corrugated extension | Easy to install, bends around obstacles, low effort for simple rerouting | Can kink, trap debris, and look temporary | Quick fixes, uneven paths, short-term drainage improvements |
| Rigid above-ground extension | Better flow path, cleaner appearance, more durable than flexible tubing | Needs precise cutting and support, less forgiving around turns | Homeowners who want a sturdier visible system |
| Splash block | Simple, inexpensive, no pipe connection issues | Limited control, short discharge path, weak in heavy runoff | Mild drainage issues where grade already falls away well |
| Buried PVC or solid drain line | Hidden, durable, handles long runs well | More labor, trenching required, harder to correct if installed wrong | Permanent solutions and yards where surface extensions are impractical |
Material choice should follow the site.
A flexible extension works when you need a quick redirect around a shrub bed or across a short grassy run. A rigid extension is better when you want cleaner lines and fewer low spots. A buried line makes sense when you need to cross a walkway, preserve curb appeal, or send water toward a low point far from the house.
Plan the slope before you buy fittings
One overlooked detail decides whether the system works. The extension must keep falling away from the house the entire run.
For above-ground routing, this drainage guide notes that a downspout extension should maintain a minimum slope of 1/4-inch drop for every 1 foot of extension length, and water should exit at least 5 feet from the foundation, ideally toward an absorbable surface. That gives you a clear test standard when you're laying out the route.
Use stakes, marking paint, or even a chalk line to preview the path before you cut anything. If the route crosses a spot that rises, dips, or turns into mud, revise the plan now. It's much easier than redoing it after the first storm.
Your Step-by-Step Installation Guide
A lot of extension installs look fine on day one and still send water back toward the house in the first hard storm. I see that often in western Pennsylvania, especially where a yard looks flat until six hours of rain prove otherwise. The failure points are usually simple: a loose connection, a dip in the run, or an endpoint that stops short of real foundation protection.
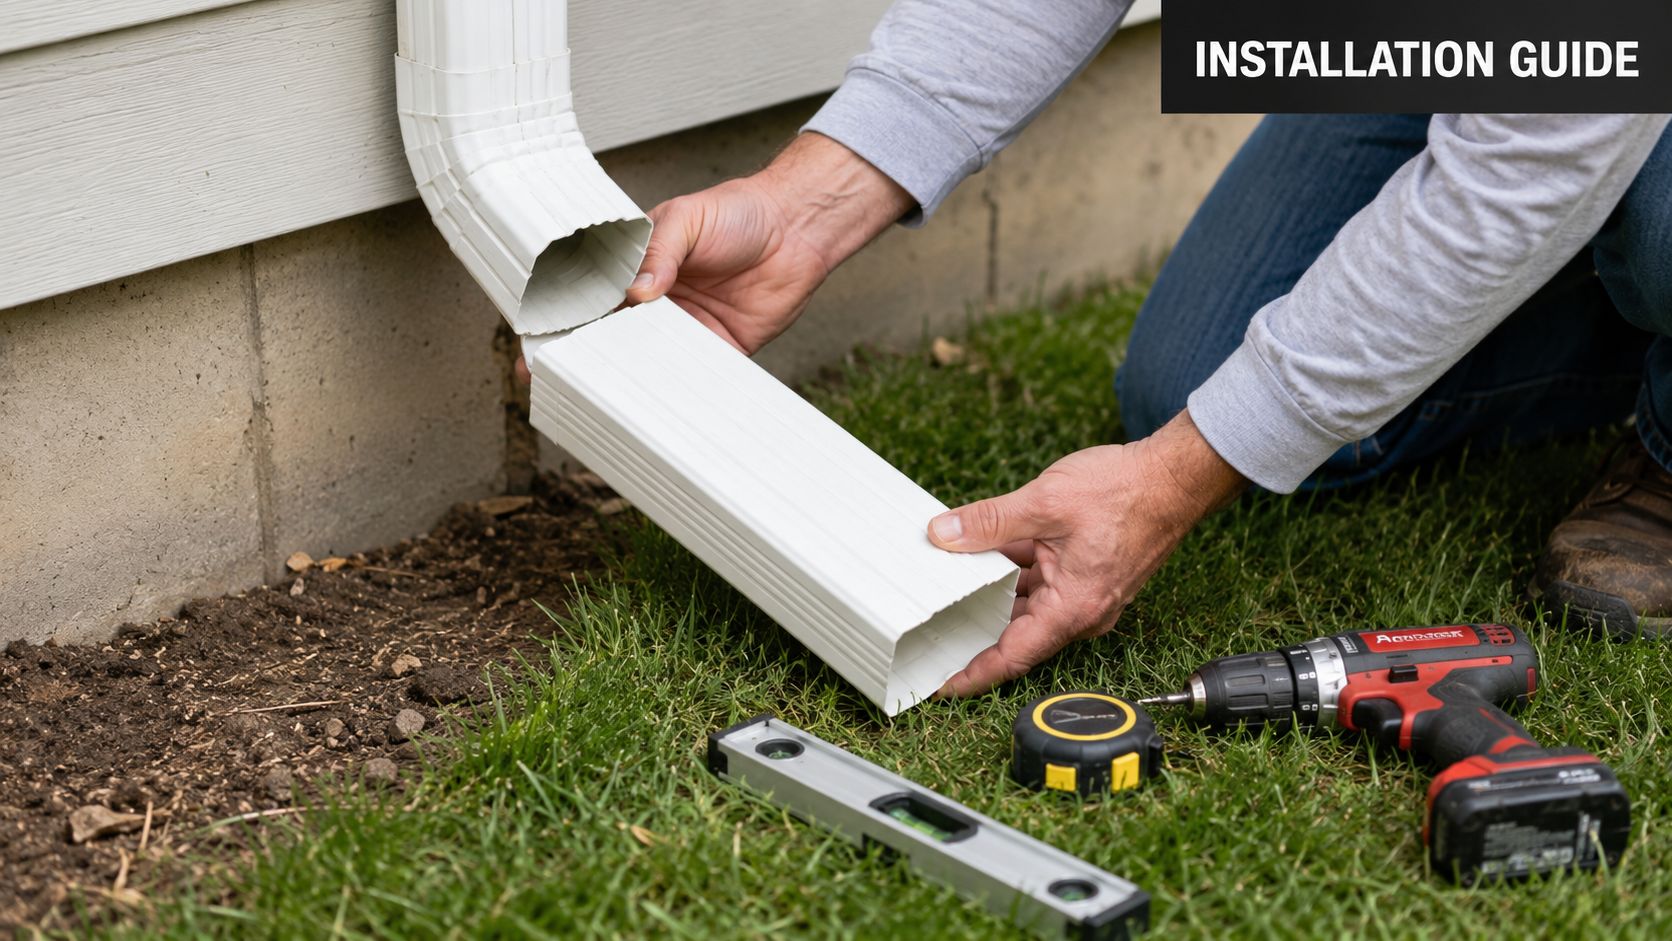
Create a secure connection first
Start at the bottom elbow or outlet. Clear out packed debris, old sealant, and any crushed metal at the discharge end so the new extension seats properly. For most above-ground jobs, a wire brush, drill, nut driver, tape measure, torpedo level, and tin snips are enough.
If you are installing a flexible extension, do not pull it tight and force the connection. Leave enough give for movement, expansion, and cleanup. A stretched-out extension tends to split sooner, and it is harder to keep aligned once the ground softens.
With rigid pieces, dry-fit everything before you fasten anything. Make sure the elbow points where the water needs to go, not just where it is easiest to assemble. On many homes, that means turning the run farther than expected so you can reach a discharge point 8 to 10 feet from the foundation instead of stopping at the common 4 to 6 feet that often leaves the wet zone too close to the wall.
Route the extension with continuous fall
The route matters as much as the connection.
Set the extension so water keeps moving away from the house for the full run. If the line crosses mulch, support it so it does not sink after two storms. If it crosses turf, avoid sharp bends and low pockets where debris collects and water stalls. In Pittsburgh and Erie, freeze-thaw cycles make small low spots worse. What looks acceptable in July can hold water, ice up, and pull apart by January.
Use a hose before you call the job finished. Run water through the downspout and watch the entire path, not just the outlet.
- Check for standing water: Any water left in the line after flow stops means the grade is off.
- Watch the outlet: Discharge should be steady and clean, without backing up or surging at a low spot.
- Look at the joints: Drips usually mean the pieces are twisted, loose, or not fully seated.
- Study the ground at the end: Water should spread out and soak in, not carve a path that turns back toward the house.
That hose test catches problems fast. It is easier to shim, rotate, or re-route an extension now than after runoff has washed a trench beside the footing.
Secure the system so it stays in place
An extension that survives a light shower can still fail during a heavy summer downpour or a winter thaw. Support keeps that from happening.
Rigid sections should be screwed together and staked often enough that they do not sag between supports. Flexible tubing needs the same attention at the adapter and at any exposed turns. If the fit feels loose by hand, it will likely separate when the downspout runs full.
I also tell homeowners to check how the extension sits after backfilling mulch or regrading soil nearby. A clean install can shift enough during yard work to create a belly in the line. That one small dip is all it takes to hold water and start a recurring clog.
Finish the endpoint with intent
The last few feet decide whether the whole job works. Sending water onto bare soil beside the house solves nothing.
Pick a discharge point where runoff can spread without returning to the foundation. Grass usually handles this better than compacted gravel. A planting bed can work if the soil drains well and does not stay saturated. On tighter lots, a splash block can help control erosion, but it does not make up for stopping too close to the house.
Aim for a true exit point, not just a place where the extension disappears from view. If you cannot get runoff at least 8 to 10 feet away while keeping steady slope, the better answer is usually a buried line rather than a shorter surface extension that only moves the problem a few feet outward.
Installing Buried Downspout Extensions and Pop-Up Emitters
When you want a cleaner finish or need to move water across a walkway or lawn, an underground system is the stronger option. It takes more work, but it solves surface clutter and gives you better control over where the runoff ends up.
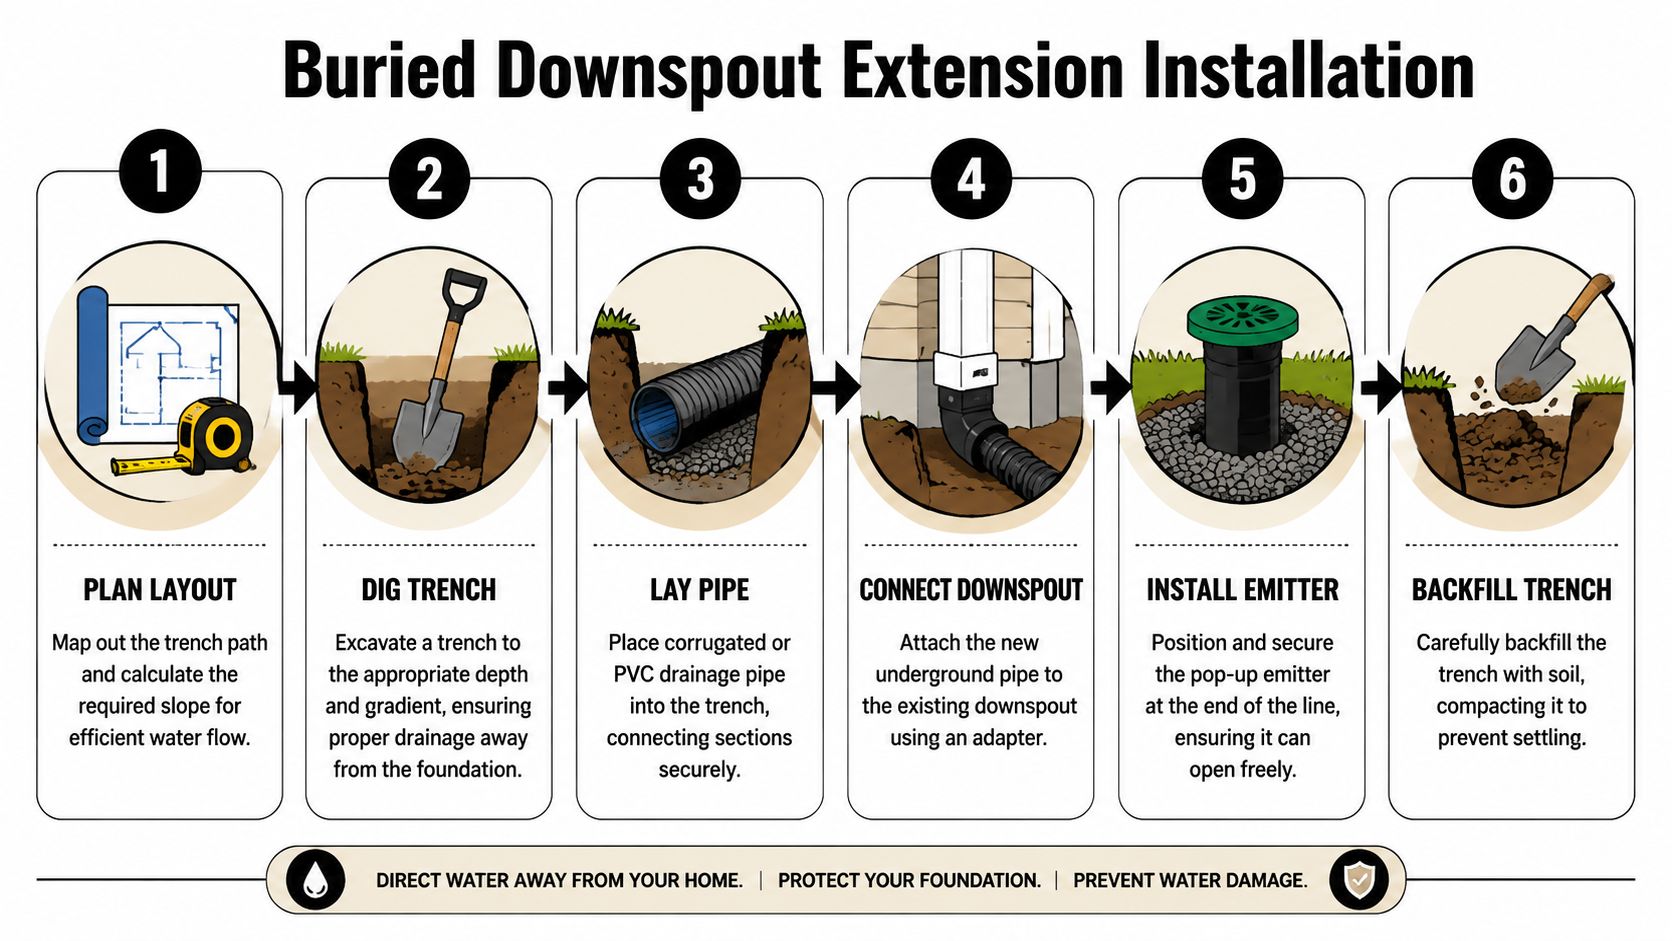
Lay out the trench before you dig
A buried line needs enough run to get water beyond the danger zone around the foundation. According to NorthStar Gutter guidance on underground extensions, underground systems should run at least 20 feet laterally, ideally 20 to 25 feet toward streets or natural low points, and maintain a slope of about 1/8 to 1/4 inch per foot so water keeps moving.
That means the trench path comes first. Don't start digging and hope the grade works out. Mark the route with paint or flags, identify the outlet location, and confirm that the endpoint won't send water toward a neighbor, patio, or low area beside the home.
Use solid drain pipe for the buried run and an adapter that transitions neatly from the downspout to round pipe. Corrugated pipe is easier to snake through a trench, but smooth-wall pipe generally gives you a cleaner flow path and fewer places for sediment to hang up.
Set the pipe and emitter correctly
Once the trench is open, keep checking the fall with a level. Small errors compound quickly over a long run.
A solid install usually follows this order:
- Dry-fit first: Assemble the adapter, elbows, straight sections, and pop-up emitter without glue so you can verify alignment.
- Confirm the outlet elevation: The emitter must sit where water can escape freely.
- Connect each section securely: Keep joints straight and fully seated.
- Protect the emitter opening: It should sit flush and open without obstruction.
One small but important detail gets missed all the time. If you're using a pop-up emitter, don't bury the face under gravel. Gravel can support the area around it, but the top must open freely or the line will back up.
Buried drainage works because gravity does the job every time it rains. If the trench wavers, the pipe can't save you.
Backfill without ruining the grade
Backfilling is where careful work can get wrecked fast. Don't dump heavy soil onto the pipe and stomp blindly along the trench. Add material in stages, check that the pipe stays in place, and keep the final grade slightly proud because fresh fill settles.
If you're working in Sharon or Erie where freeze-thaw cycles are rough on shallow drainage, take the trench seriously. A line that looks fine in summer can shift, crush, or hold water by winter if the burial depth and grade weren't consistent.
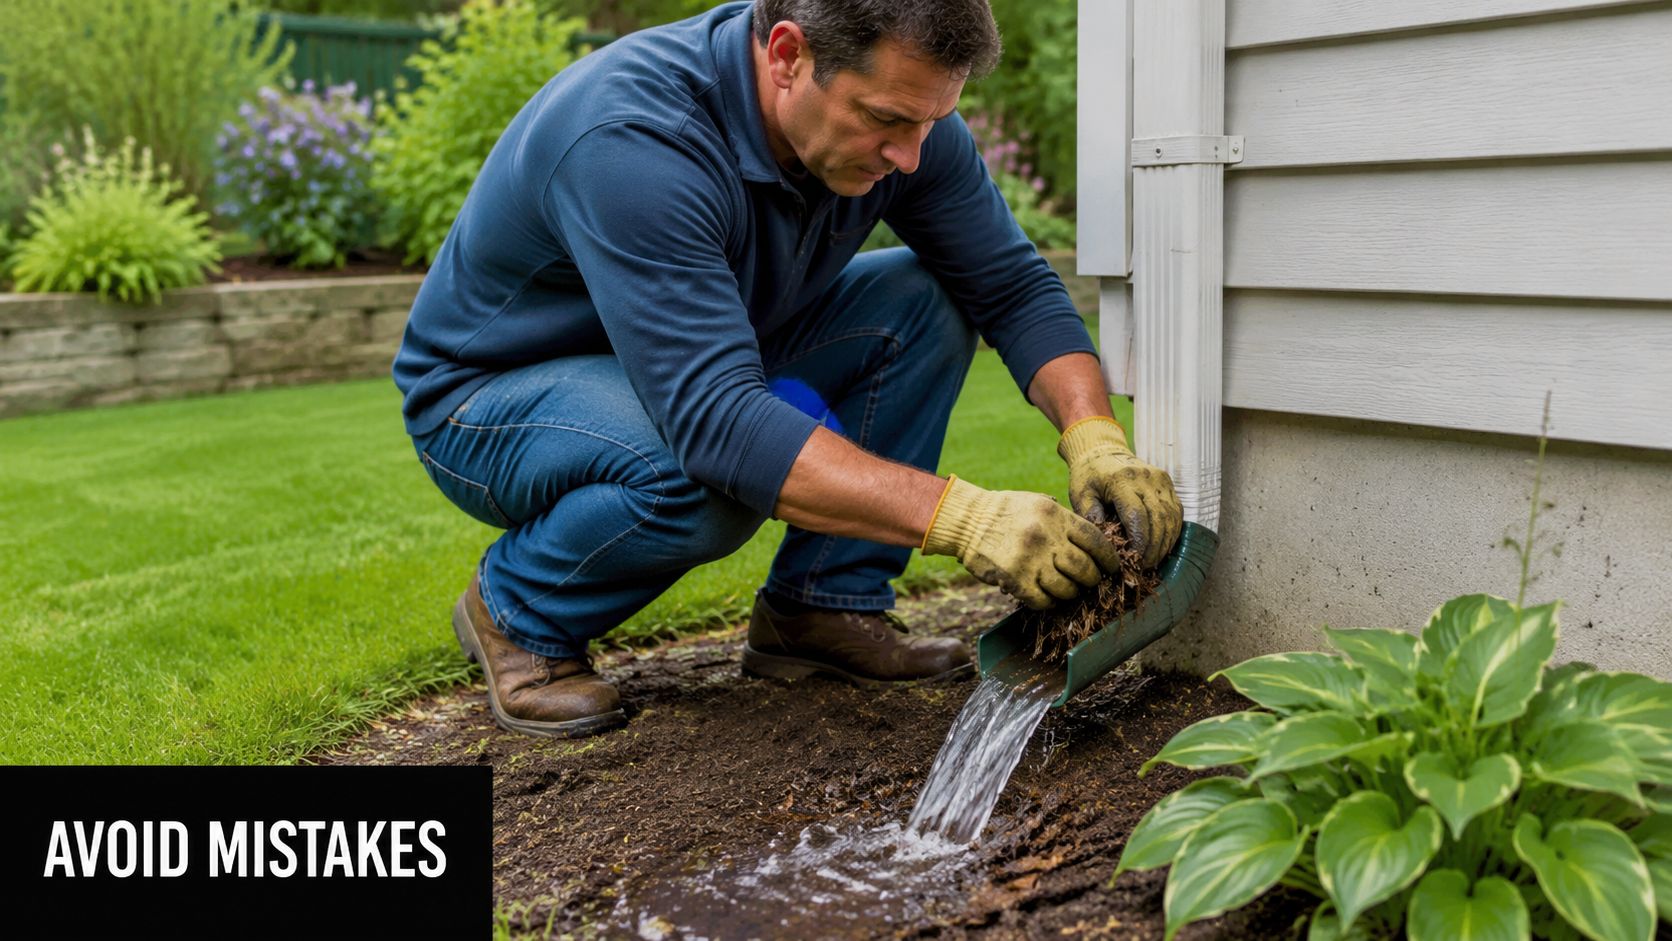
Avoiding Common Mistakes and Performing Seasonal Maintenance
The bad installs usually don't fail because the homeowner bought the wrong elbow. They fail because water wasn't given a clear downhill path, or because nobody checked the system after the seasons changed.
The failures that cause call-backs
The biggest buried-system mistake is trench grade. Acculevel's installation guidance warns that failing to maintain the required 1% slope away from the home leads to a 90%+ failure rate in preventing water pooling near the foundation because sediment accumulates and blocks the pipe. The same source notes that the drain line must be buried at least 8 inches deep to reduce freeze damage.
That lines up with what shows up in the field. A pipe with inconsistent slope starts acting like a sediment shelf. Water slows, debris settles, and eventually the system dumps water back where it started.
Other common failures show up above ground too:
- Too-short extensions: Water still lands inside the foundation zone.
- Loose connections: Heavy flow disconnects the extension at the elbow.
- Unsupported rigid runs: The pipe sags and creates a low spot.
- No dry-fit check: The final assembly twists out of alignment.
Winter maintenance in Pennsylvania
A lot of homeowners install extensions in a warm month and never think about them again. That's a mistake in Pennsylvania.
Municipal guidance on gutters and downspouts from Milwaukee Metropolitan Sewerage District points out that 6 to 10 foot extensions require winter maintenance, especially clearing snow from the discharge area so the system can keep working. That's especially relevant in Erie, where lake-effect snow can bury an outlet, and in Pittsburgh, where freeze-thaw cycles create slush and blockage around emitters and splash areas.
A basic maintenance routine is usually enough:
- After fall leaf drop: Clear gutters and check that the extension isn't packed with debris.
- Before a freeze: Make sure discharge points aren't buried or blocked.
- During winter thaws: Look for water backing up near the house instead of leaving the system.
- In spring: Hose-test the run and check for settlement, joint separation, or crushed sections.
Snow piled over the outlet turns a good drainage system into a plugged one.
Keep the endpoint working
The endpoint needs as much attention as the pipe. If the soil around the outlet gets compacted, water can pond there and migrate back along the same corridor.
One smart finish is to direct discharge into a planted area designed to absorb runoff. Rain gardens and native plantings can work well at the end of an extension if the area drains properly and sits far enough from the foundation. That approach can soften the impact of concentrated roof runoff and reduce erosion at the outlet.
Project Costs and When to Call a Professional
Cost matters, but so does the cost of getting it wrong. Downspout extension installation is one of those jobs that can be very manageable as a DIY project on a simple site and very unforgiving on a complicated one.
What the project can cost
According to Angi's underground gutter drainage cost guide, the average cost to install underground gutter drainage is $2,800, with most homeowners spending $1,500 to $7,000 depending on system complexity. A simple drainage extension to reroute water away from the house can cost $800 to $2,000, and material choices affect the total. The same guide notes that PVC drainage pipes cost $9 to $30 per 10 linear feet, while cast iron pipes cost $50 to $120 per 10 linear feet, and permits can add $300 to $1,500 where required.
That spread tells you something important. The visible pipe is only part of the project. Layout, excavation, grade control, discharge location, and restoration often drive the actual cost.
If you're trying to compare visible upgrades at the roof edge with drainage work below, this breakdown of seamless gutter cost helps put the collection side and discharge side in the same budget conversation.
When DIY stops making sense
A straightforward install is a fair DIY job if the route is open, the grade falls naturally away, and you can verify discharge safely away from the foundation. But some conditions should push you toward professional help.
Call for an assessment when you're dealing with any of these:
- Complex grade changes: The yard rises, flattens, or wraps water back toward the house.
- Multiple problem downspouts: Several roof sections all overload one side of the property.
- Basement seepage: Drainage changes outside should be evaluated with the whole foundation in mind.
- Hardscape conflicts: Walks, driveways, decks, and patios limit where the line can go.
- Municipal tie-in questions: Local requirements can affect legal discharge options.
The right way to think about the cost is simple. You're not paying for a tube. You're paying to move concentrated roof runoff far enough, fast enough, and consistently enough that it stops feeding the foundation.
If you're seeing pooling water, basement dampness, or downspouts that just dump runoff beside the house, Penn Ohio Roofing & Siding Group can help you sort out what's really happening. Their team serves homeowners across western Pennsylvania and can evaluate whether the fix is a simple extension, gutter correction, or a broader drainage plan that protects the home through all four seasons.