A true nail pops repair goes beyond just grabbing a hammer and whacking the nail back into place. That’s a temporary fix at best. To solve the problem for good, you need to properly secure the drywall or shingle and figure out what caused the pop in the first place.
On an interior wall, that means setting the old nail, adding drywall screws for a solid hold, and refinishing the spot. For a roof, it’s a whole different ballgame involving carefully removing the old nail, sealing the hole, and driving a new, specialized roofing nail.
Why Nail Pops Appear in Your Walls and Roof
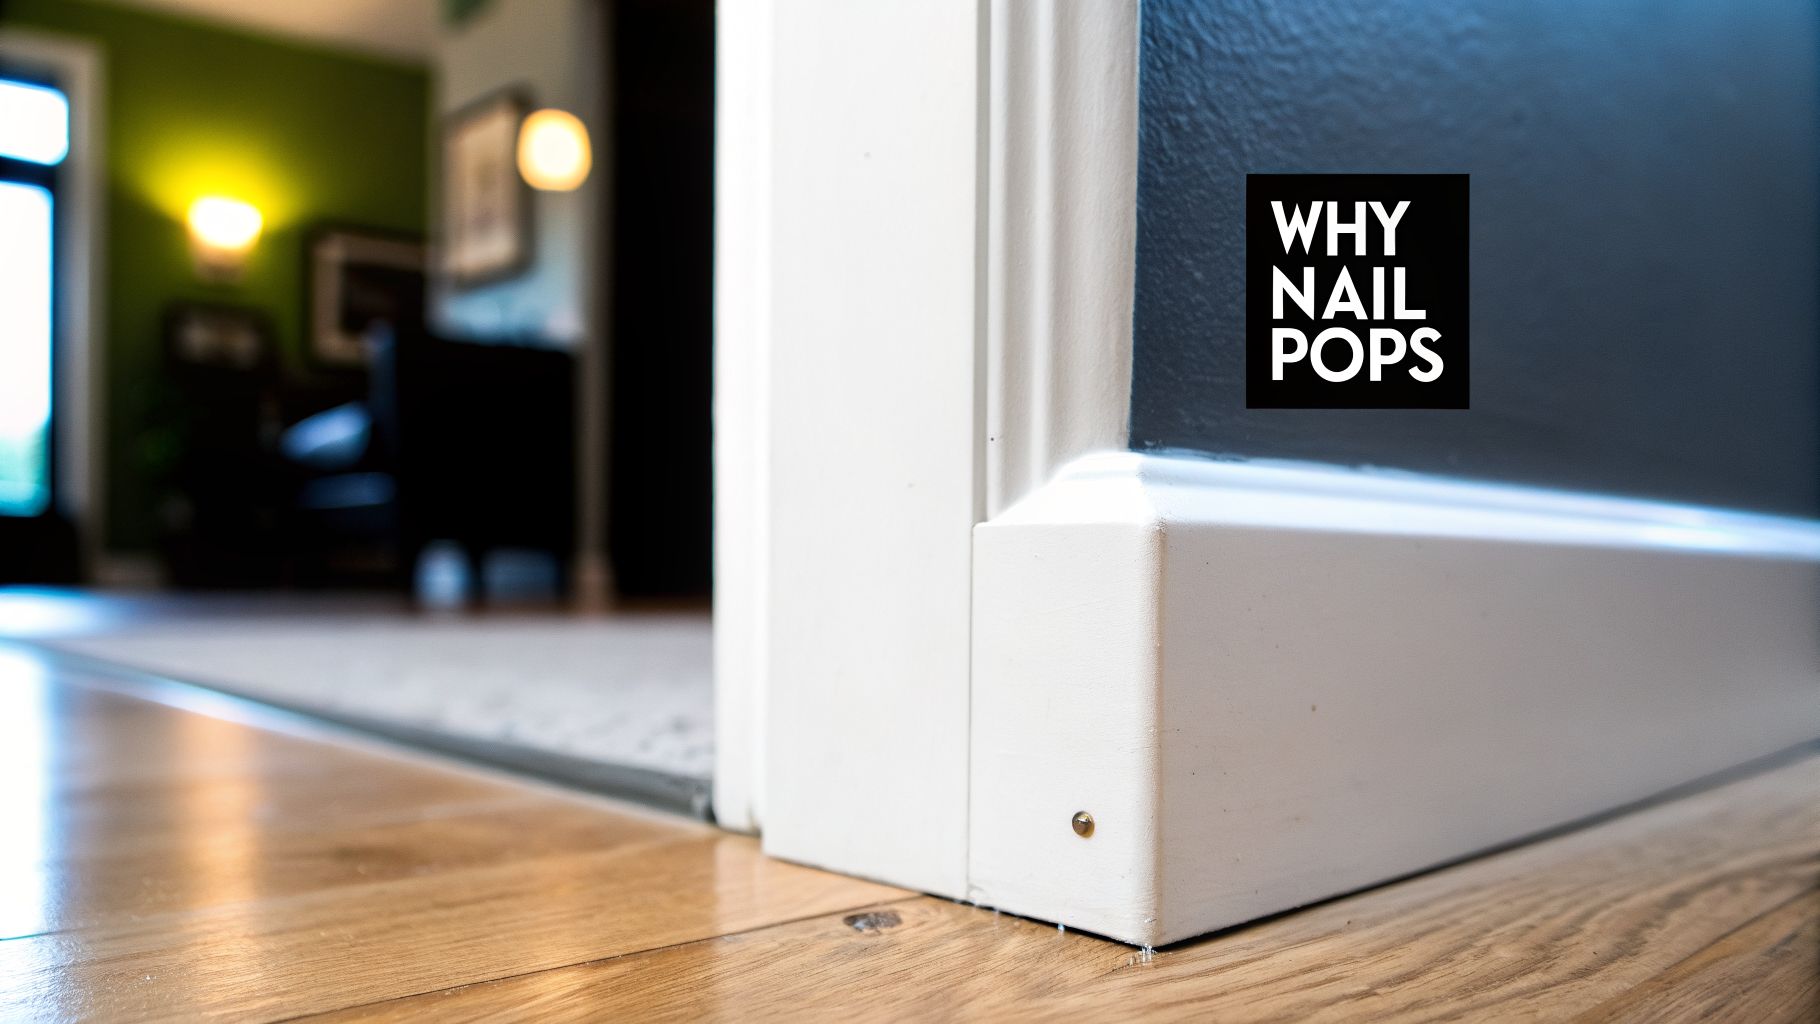
You’ve probably seen them—those little bumps or circular cracks on your drywall or a shingle that’s slightly lifted. These are nail pops, and they’re a sign that your house is moving and shifting, even if just a tiny bit. Getting to the bottom of why they're happening is the key to a lasting repair.
Inside your home, nail pops are often just a normal part of a house aging. The wooden studs behind your drywall expand and contract with seasonal changes in temperature and humidity. This constant, subtle movement can eventually push a nail head right through the paint and drywall mud.
Common Causes of Interior Nail Pops
It's usually not one single event but a combination of factors that create those frustrating blemishes on your walls and ceilings.
- Lumber Shrinkage: This is incredibly common in newer homes. The framing lumber used during construction still has some moisture in it. As it dries out over the first couple of years, the wood shrinks away from the nail, leaving the nail head to "pop" out from the drywall.
- House Settling: Every home settles into its foundation over time. This slow, powerful movement puts stress on the entire frame, which can easily work fasteners loose and push them to the surface.
- Truss Uplift: If your home has roof trusses, seasonal humidity can cause the bottom wooden chord of the truss to bow upwards. This lifts the ceiling drywall but leaves the nails attached to the interior wall partitions behind, creating a gap and a pop.
The Story Behind Roofing Nail Pops
While an interior nail pop is an eyesore, a nail pop on your roof is a much bigger deal. It's a potential leak waiting to happen. A popped nail physically lifts the shingle, breaking its watertight seal and giving rain and snow a direct path to your roof deck.
Knowing the difference between what causes a pop inside versus outside can help you diagnose the severity of the issue. This quick table breaks it down.
Common Causes of Interior vs Exterior Nail Pops
| Location | Primary Cause | Contributing Factors |
|---|---|---|
| Interior | Wood framing movement (shrinking or shifting) | House settling, humidity changes, truss uplift, vibrations |
| Exterior | Thermal expansion/contraction of the roof deck | Improper nail length or type, missed framing, moisture in the decking, foot traffic |
As you can see, the culprits are quite different. An interior pop is usually a cosmetic issue tied to the house's natural behavior, while a roof pop is an immediate vulnerability that needs attention.
A surprising number of homes have roofing issues they aren't even aware of. In fact, studies show that roughly 38% of U.S. homes have roofing conditions that are considered moderate to poor, and nail pops are a huge contributor to this statistic.
Many of these problems could have been avoided with better installation from the start. For example, knowing how to properly nail roofing shingles—using the right nail in the right spot—is fundamental. Common mistakes like using smooth-shank nails that don't grip well or installers missing the rafters entirely are frequent causes of popped nails down the road.
Getting Your Toolkit Ready for Interior and Roof Repairs
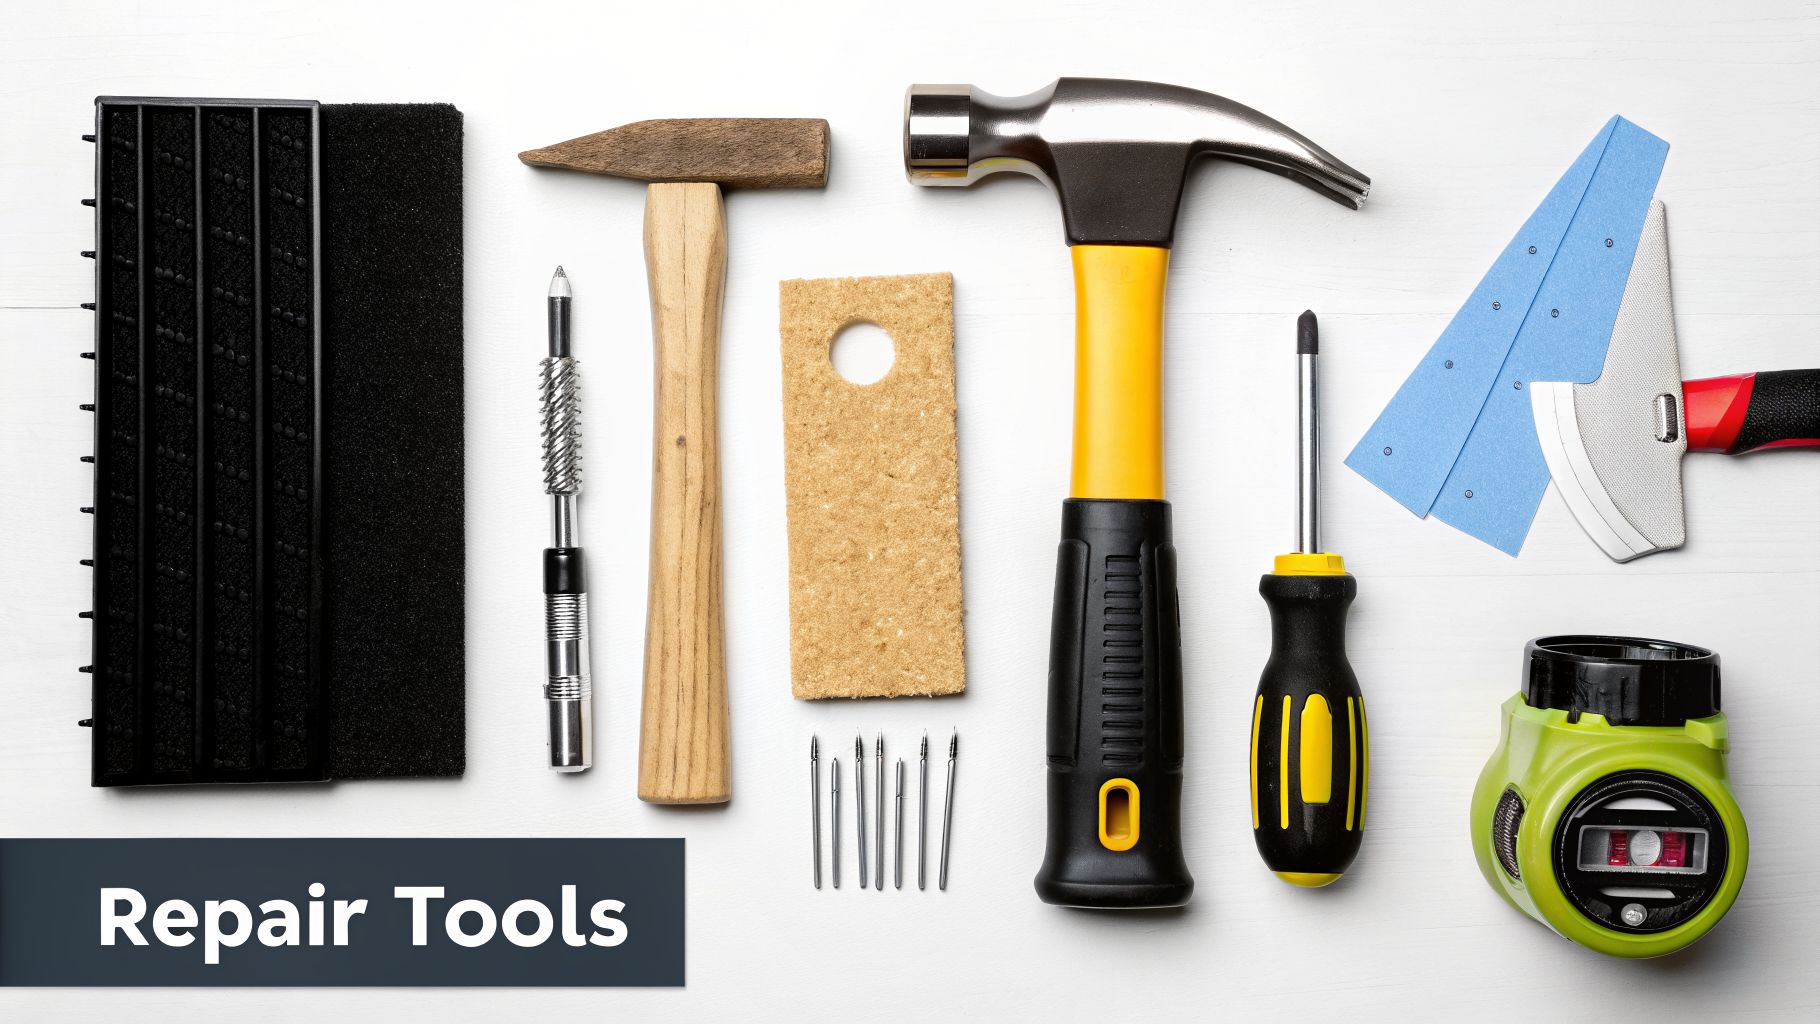
Before you jump into fixing those annoying nail pops, let's talk about gear. Trying to wing it with the wrong tools is a surefire way to turn a quick fix into a full-blown headache. Having everything you need within arm's reach makes the job go smoother and leaves you with a result you can be proud of.
Of course, the tools you'll need for an interior drywall pop are completely different from what you'd use on a roof. We'll break down both scenarios.
Tools for a Flawless Interior Drywall Repair
When you're dealing with a nail pop inside your home, the name of the game is finesse. The goal is to make that little bump vanish without a trace. This requires a few specific tools meant for clean, detailed work.
Here’s what I recommend having on hand for any interior job:
- Hammer & Nail Set: You’ll use the hammer to gently tap the nail back in, but the nail set is the real hero. It lets you sink the nail head just below the surface of the drywall without creating a huge, hammer-sized dent.
- Utility Knife: Perfect for carving away any loose drywall paper or crumbling bits around the pop. A clean starting point is key to a smooth finish.
- Spackle or Joint Compound: For a single pop, a small tube of spackle is fine. If you have several spots to fix, a small tub of all-purpose joint compound is usually more cost-effective.
- Putty Knife: I find a flexible 4- or 6-inch knife gives the best control for feathering the edges of your patch.
- Fine-Grit Sandpaper: Once the compound is dry, a light sanding with 120- or 220-grit paper is all you need to get it perfectly flush with the wall.
- Primer & Matching Paint: Don't skip the primer! This is a critical step. It seals the porous patch so your topcoat of paint won't soak in and look dull, creating a "flashing" effect.
A Quick Tip for Ceilings: If you're working overhead, grab a lightweight spackle. It's designed to be less prone to sagging, which is a lifesaver when you're fighting gravity to get a flat, invisible patch.
Must-Have Supplies for a Watertight Roof Repair
When a nail pops on your roof, your priorities shift entirely. Forget cosmetic perfection—this is all about creating an ironclad, waterproof seal to protect your home from water damage. The tools here are tougher and built to stand up to the elements.
Make sure your roofing toolkit includes these items:
- Pry Bar (or Flat Bar): You need this to gently—and I mean gently—lift the shingle above the popped nail. The goal is to get access without cracking the shingle.
- Hammer: You'll need it to pull out the problem nail and drive in its replacement.
- Roofing Cement & Caulk Gun: This is your best friend for waterproofing. You’ll use it to fill the old nail hole and to dab over the head of the new nail, sealing it completely from moisture.
- Galvanized Ring Shank Roofing Nails: Don't just grab any old nail from the toolbox. These nails are designed for this job. The tiny ridges along the shank give them a superior grip, making them far less likely to back out again as your roof expands and contracts with temperature changes.
A simple nail pop repair is one thing, but if you get up there and find the problem is bigger than you thought, it's good to be prepared. For more widespread damage, our guide on patching a roof hole will walk you through the more involved process.
Fixing Nail Pops in Your Drywall and Ceilings
When you see that tell-tale bump on your wall, your first instinct might be to just hammer it back in and cover it with spackle. Trust me, that’s a temporary fix at best. The nail pop will almost certainly be back to haunt you.
The real secret to a permanent repair is understanding why the nail popped in the first place. It’s all about movement. To get rid of it for good, we need to re-secure the drywall to the stud behind it. Let's walk through how to do this right, so the patch is both invisible and built to last.
Resetting and Securing the Drywall
First things first, let's deal with that popped nail. Grab a hammer and a nail set. You want to gently tap the nail head so it sits just below the surface of the drywall—about 1/8 inch deep is perfect. This creates a small dimple. Be careful not to go too deep or you'll risk breaking the paper face of the drywall, which creates a much bigger headache.
Now, here’s the most important part. That nail came loose because the wood stud behind it likely shrank or the house settled. Simply sinking the nail again won't solve the underlying problem. You need to anchor that section of drywall permanently.
This two-screw method is the key to preventing a repeat performance:
- Take a 1 5/8-inch drywall screw and drive it into the same stud, roughly one inch above the old nail head.
- Next, drive a second screw about one inch below the original nail.
- Sink each screw head just enough to create its own slight dimple, being careful not to tear the drywall paper.
By adding these two screws, you’re creating a new, solid connection to the framing. The drywall is now held tight, and the old, failed nail is no longer doing any of the work. This is what stops the pop from ever coming back.
Applying Compound for an Invisible Patch
With your drywall firmly secured, it's time to make the evidence disappear. The trick here is to work in thin, patient layers of joint compound (often called "mud").
Using a flexible 4- or 6-inch putty knife, apply your first thin coat. You’re just looking to fill the three dimples—the one from the original nail and the two from your new screws. Skim it flat and scrape off any excess. Don't slather it on; a thick coat will just shrink and crack as it dries.
Let this first coat dry completely. Depending on your home’s humidity and the type of compound you’re using, this could take a few hours or up to a day. You'll probably notice it has shrunken a bit, which is totally normal.
Rushing the drying time is a classic mistake. Each layer has to be fully cured before you add the next one. If you apply wet mud over a semi-dry coat, you trap moisture, which leads to a weak patch that’s guaranteed to crack later on.
Once it's dry, apply a second coat, spreading it a little wider than the first. Feather the edges outward to help it blend seamlessly with the wall. Let that dry completely. For a truly perfect finish, a third, even wider and thinner coat might be necessary to smooth the transition.
The Final Finish: Sanding and Painting
Your final coat is bone-dry, and the patch feels solid. Now for the finishing touches that make it truly invisible. Here's a pro tip to avoid a cloud of dust: try wet-sanding.
Instead of sandpaper, grab a slightly damp sponge and gently wipe the patched area. Use a light, circular motion to knock down any high spots or ridges. This works beautifully for small repairs and keeps your room clean.
If you’d rather stick with traditional sanding, use a fine-grit 220-grit sandpaper on a sanding block. Sand lightly until the patch is perfectly flush and smooth with the rest of the wall.
Before you reach for the paint, you absolutely must prime the area. It’s not an optional step. After you prime sheetrock before painting, you seal the porous joint compound. This prevents the topcoat of paint from soaking in and looking dull or blotchy—a problem known as "flashing."
Once the primer is dry, apply a coat or two of your matching wall paint. Stand back and admire your work—that annoying nail pop is gone for good.
Fixing Nail Pops on Your Shingle Roof
A nail pop inside your house is mostly a cosmetic headache. On your roof, however, it’s a totally different story. That little bump isn't just an eyesore—it’s an active leak waiting to happen. When a nail pushes a shingle up, it breaks the water-tight seal and creates a direct path for rain to get to your roof decking. This is a nail pops repair you can’t put off.
Before you even think about grabbing a ladder, let's talk safety. Make sure your ladder is planted on solid, level ground. And wear shoes with a good grip; you'd be surprised how slick a roof can be, even when it's dry.

Get Under the Shingle and Remove the Old Nail
First things first, you need to get to the problem. You’ll have to gently slide a flat pry bar under the shingle that’s covering the popped nail. Go easy here—you only want to lift it enough to get your hammer in there. If you force it, you risk cracking the shingle, especially if it’s old and brittle from years in the sun.
Once you have access, use the claw of your hammer or pry bar to pull that old nail completely out. Take a good look at that little hole you just made. That’s your leak.
Plug the Old Hole and Set a New Nail
Now, let's make sure that old hole is sealed for good. Grab your caulk gun and a tube of quality roofing cement. Squeeze a small dab of cement right into the empty hole. This is a critical first seal.
You never want to reuse the same nail hole. Instead, drive a brand-new ring shank roofing nail about an inch away from the original spot. We use these nails for a reason. They have tiny ridges all the way down the shank that grip the wood decking like a vise, making them far less likely to back out over time from the wood expanding and contracting.
The type of nail used is a bigger deal than most people think. In our experience, many nail pops are the result of poor installation, and a big part of that is using the wrong fasteners. Standard smooth-shank nails just don't have the staying power and often work themselves loose.
Driving the nail is only half the battle. Properly sealing the shingle itself is what makes the repair last. For a closer look at that process, check out our guide on how to patch shingles.
Create a Final, Watertight Seal
You're almost done. The last step is to make everything completely waterproof. Put a generous dollop of roofing cement right over the head of the new nail you just drove in. This locks out moisture and prevents rust.
Press the shingle you lifted back down firmly. If its factory sealant strip was broken when you lifted it, run a small bead of roofing cement along the underside of the shingle's edge to glue it back down. This final touch ensures your nail pops repair is solid, secure, and ready to protect your home for years to come.
Recognizing When a Nail Pop Is a Red Flag
Most of the time, a nail pop is just a cosmetic headache. But every so often, it’s the first sign of a much bigger, more expensive problem brewing behind your walls or on your roof. Learning to spot the difference between a simple fix and a serious warning can save you a world of trouble down the road.
A lone pop on a long, empty wall is usually just your house settling—totally normal. The real trouble starts when you see specific patterns emerging. These are the clues that tell you what’s really going on with your home’s structure.
Red Flags for Interior Nail Pops
Inside your home, context is everything. A single nail pop is one thing, but a cluster of them, especially with other odd symptoms, points to issues that go way beyond a loose fastener. These are the signs that mean you need more than just a putty knife and some paint.
Keep an eye out for these tell-tale signs on your interior walls and ceilings:
- Pops Appearing in Bunches: If you suddenly see dozens of pops, or if they’re all lined up in a row, it could mean your home’s framing is moving or the foundation is shifting.
- Cracks Spreading from the Pop: Big, spiderweb-like cracks branching out from a nail pop are a major concern. This tells you the drywall is under a lot of stress, probably from the house itself moving.
- Doors and Windows Starting to Stick: Is a door that always swung freely now jamming in its frame? This is a classic sign that the structure is out of whack, which can easily cause widespread nail pops.
- Ugly Water Stains: Any yellow or brown discoloration near a nail pop is a dead giveaway that water is getting in. It could be a leaky roof, a plumbing problem, or even a condensation issue, but it always needs to be addressed immediately.
A single pop might just be an annoyance, but a whole group of them with cracked drywall is your home's way of sending an SOS. Ignoring these signals can let a small problem with moisture or the structure spiral into a catastrophic failure.
Serious Warning Signs on Your Roof
When it comes to your roof, the stakes are even higher. A popped-up nail is a literal hole in your home’s primary defense against the weather. One or two can be dealt with, but certain signs point to a systemic issue that needs a professional roofer to diagnose.
Pay close attention to these red flags from the outside:
- Dozens of Pops All at Once: If your roof suddenly looks like it has a case of chickenpox from all the nail heads pushing up, it often signals improper installation or that the roof decking is expanding and contracting too much.
- Shingles Look Worn Out: Check the shingles right around the popped nails. If they are also curling, cracking, or losing their granules, the roof's ability to protect your home is seriously compromised.
- Soft or Spongy Spots Underfoot: If you can walk on your roof safely, be alert for any areas that feel soft or spongy. This is a huge red flag that the roof decking underneath has started to rot.
- Leaks Showing Up in the Attic: The most obvious sign of all. After it rains, head up to your attic with a flashlight. If you see water stains on the wood, damp insulation, or active drips, you know you have a problem.
If you run into any of these serious indicators, it’s time to put the tools down and call a pro. You can get a better handle on what to look for by reviewing the common signs of roof damage, which often go hand-in-hand with failing fasteners. Acting fast is the key to protecting your home.
Common Questions About Nail Pops Repair
Even after you’ve tackled a repair or two, some questions always seem to linger. It's completely normal to wonder if you did it right or if there’s a better way to handle things. From our experience, here are the answers to the questions we hear most often from homeowners.
Can I Just Hammer It Back In?
It's the first thing everyone thinks of doing, right? Grab a hammer, give that annoying bump a solid whack, and the problem's solved. For about a week.
While hammering the nail makes the surface look flat again for a little while, it's a Band-Aid fix at best. I can almost guarantee that nail will work its way back out. The real issue is that the wood framing has likely shifted or shrunk, leaving the original nail with nothing to grip. When you hammer it back in, it's just sitting loosely in an oversized hole.
The only permanent fix is to re-secure that section of drywall. This means driving new drywall screws into the stud, usually one above and one below the old nail. This creates a new, tight connection that holds the drywall firm and stops the movement.
How Can I Prevent Nail Pops in My Home?
An ounce of prevention is worth a pound of cure, especially with houses. While you can’t stop a house from settling completely, you can definitely take steps to keep nail pops from showing up in the first place.
Here's what works:
- Keep Your Humidity Levels Stable: Wood expands when it’s humid and shrinks when it’s dry. These constant changes are a major cause of nail pops. Running a dehumidifier in the summer and a humidifier in the winter helps keep the wood framing in your home much more stable.
- Insist on Quality Materials: If you're building a new home or doing a major renovation, make sure kiln-dried lumber is used. It has a much lower moisture content from the start, so it's far less likely to shrink dramatically after it's been installed.
- Always Choose Screws Over Nails: This is a big one for drywall. Screws have much more holding power and are far less prone to popping than nails. If you have a contractor doing work, specifying screws for the drywall is one of the smartest preventative moves you can make.
The most effective way to stop nail pops is to create a stable environment inside your home and use the right materials from the start. It’s all about preventing the movement that causes them in the first place.
How Much Does Professional Nail Pop Repair Cost?
This is the million-dollar question, and the honest answer is: it truly depends on the scale of the problem.
If you just have a few cosmetic pops inside your home, the repair cost is usually pretty minor. A handyman or painter can often roll it into the cost of a larger project. But the price goes up quickly when the pops are a symptom of something bigger.
For instance, widespread nail pops across your roof or interior pops coupled with signs of water intrusion point to a more serious issue. In those cases, the cost reflects fixing the root cause—like a failing roof or structural movement—not just patching the little bumps. It’s a much more significant investment, but a necessary one.
Getting a professional quote is the only way to know for sure. An expert can quickly tell you if you're looking at a simple fix or a serious problem that needs to be addressed immediately to avoid more costly damage down the road.
When you see nail pops on your roof, or if you suspect there's a bigger problem at play, don't leave your home's integrity to chance. For a thorough, professional assessment and repairs you can count on, trust the experts at Penn Ohio Roofing & Siding Group. Contact us today for a free estimate.